|
The Brushless
Watercolor technique is another technique I use quite often both
on watercolor paper as these samples, but also on cardstock, and
other substrates.
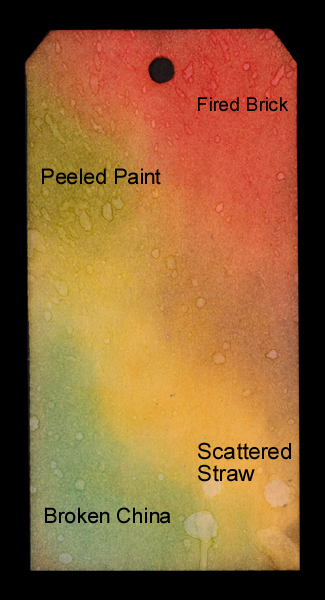
I'm using a purple
cardstock tag cut with Tim's Sizzix die and a cheap watercolor
paper (Canson 90# CP pad).
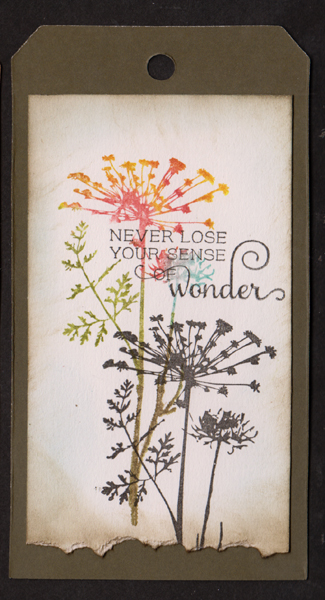
The colors I used were Forest Moss
and Walnut Stain on the stems, Barn Door & Mustard Seed on the
flowers.
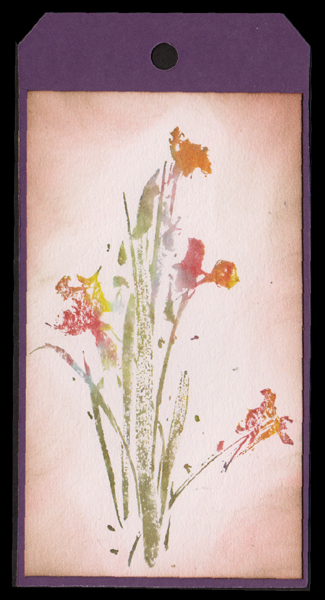
The first image has the inked
image misted with water and stamped onto the watercolor paper.
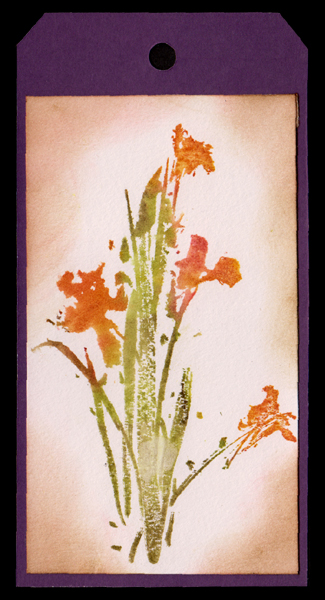
The second image has the inked
stamp, stamped onto the watercolor paper, and the image then
misted with water and dried.
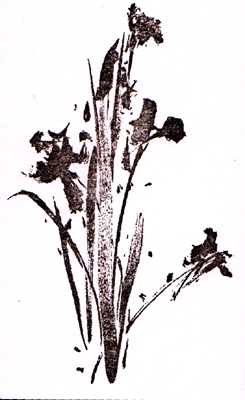
The third image has the inked
stamp, stamped onto slightly misted watercolor paper and dried.
Each gives a subtle different
effect and depending on the stamp used whether it's a more solid
image or a very open image will also effect the results.
The edges were sponged with either
the red or honey and then with the Walnut Stain.
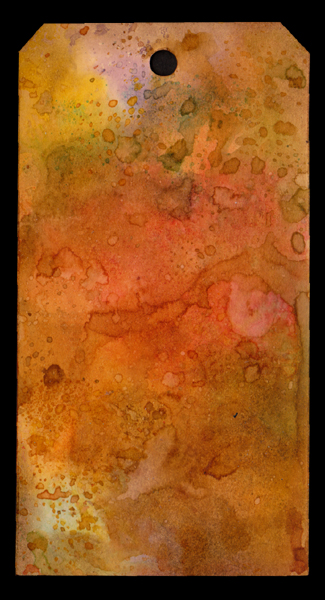
The image below is a more open
stamped image using the same colors
|