ID: Gelli Printing - Page 4
 

Created: September 22, 2013
Modified:


MASKING/Resist on Gelli Plate
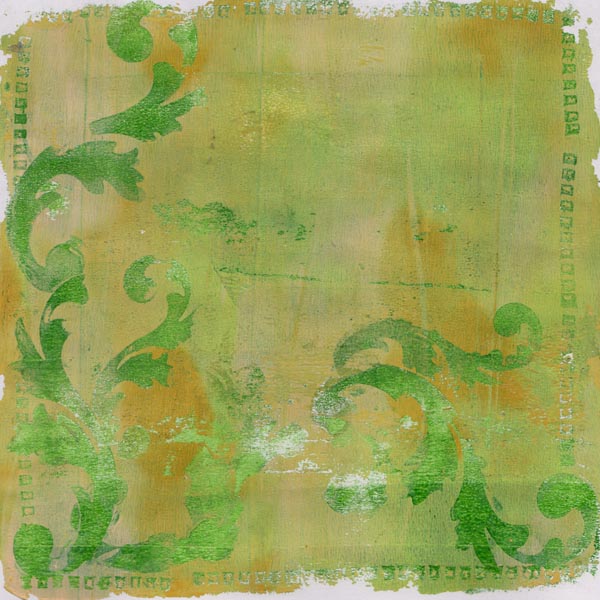
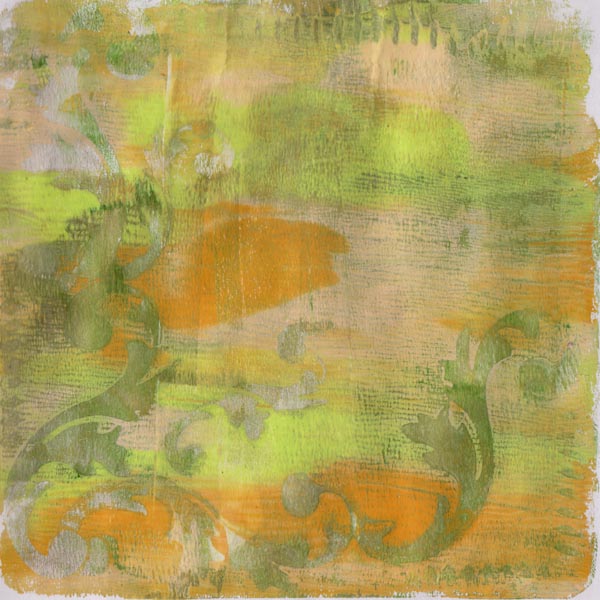
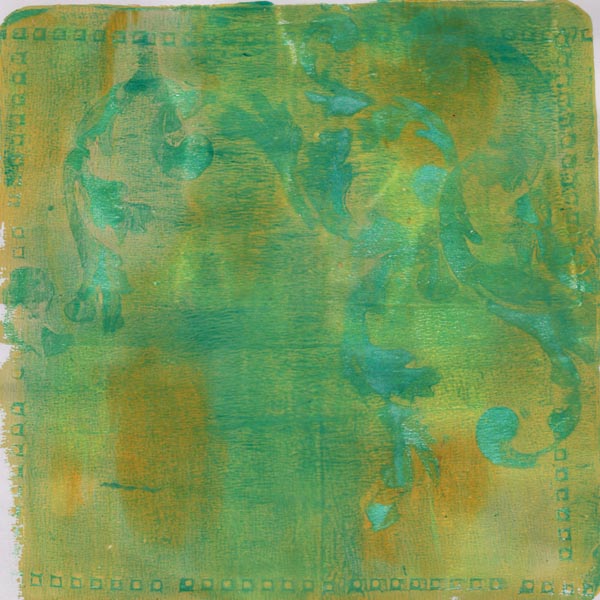


Sample 14:

Brayer Gelli plate as per sample #9 using fluid acrylics, place masks all over and add textural marks. Make sure you press marks into wet paint so that they will lift the colors. Remove masks. Pull print. Brayer on the Gelli plate HEAVY body acrylic. Note if using light colors for first brayering, then use a deep color for 2nd brayering. Or visa versa. Pull print again.

Colors used for sample 14: Same as sample #9, 2nd brayering Liquitex Hooker’s Green Hue Permanent.


Sample 13:

Note: Sample 13 shows the 1st brayering step only being blended lightly and leaving streaks. In sample 14 above, there is more blending. Also in sample 13, the 2nd brayering used a similar intensity of color as the 1st brayering, whereas the sample 14 has a deeper green as a 2nd brayering color adding more contrast to the masked elements.

Colors use for sample 13: same as sample #9, 2nd brayering colors Artist’s Loft Bronze, Copper, Liquitex Hooker’s Green Hue Permanent.

Sample 15:

Colors used for sample 15: Same as sample #9, 2nd brayering Liquitex Basics Deep Violet


Sample 16:

Used fluid acrylics for the 2nd brayering instead of the Heavy Body. It works but is not as much of a resist technique.

Colors used for sample 16: Same as sample #9, 2nd brayering Folk Art Metallic Emerald Green

click on the Home button to go back to "Nitty Gritty - Gelli Plate Gallery

 or next button for next Gelli Plate page


Home Page Index
(text only)
Glass
Gallery
"And More"
Gallery