ID: Gelli Printing - the basics
 

Created: September 22, 2013
Modified:

GELLI PRINTING

Note: all prints were pulled on regular copy paper unless otherwise stated.

Basic Gelli Printing:
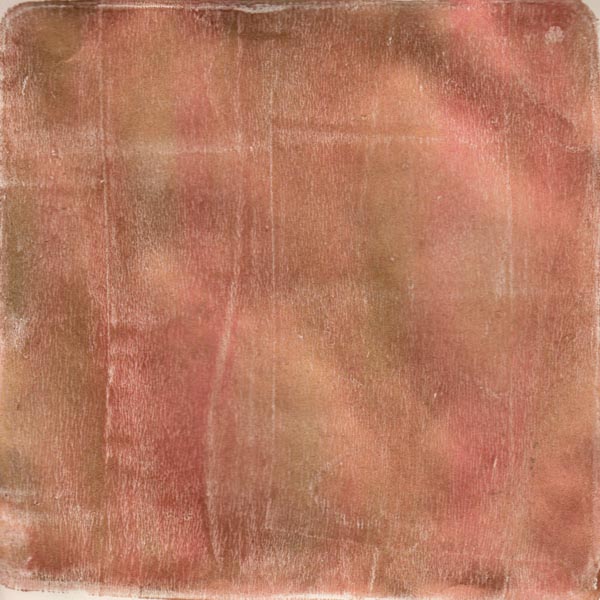
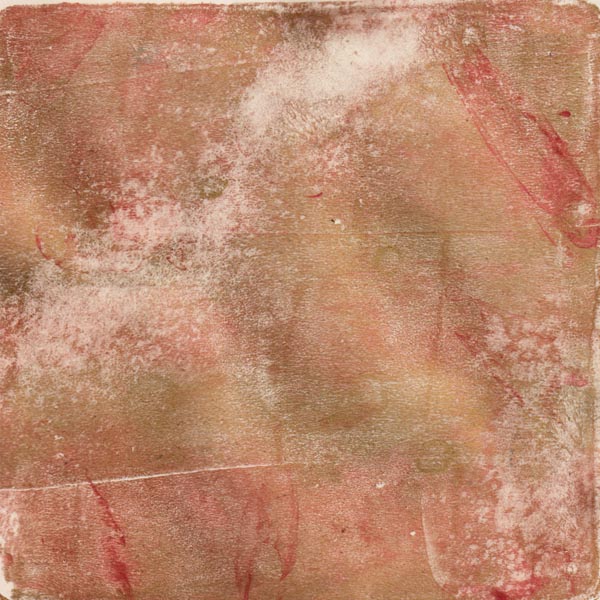
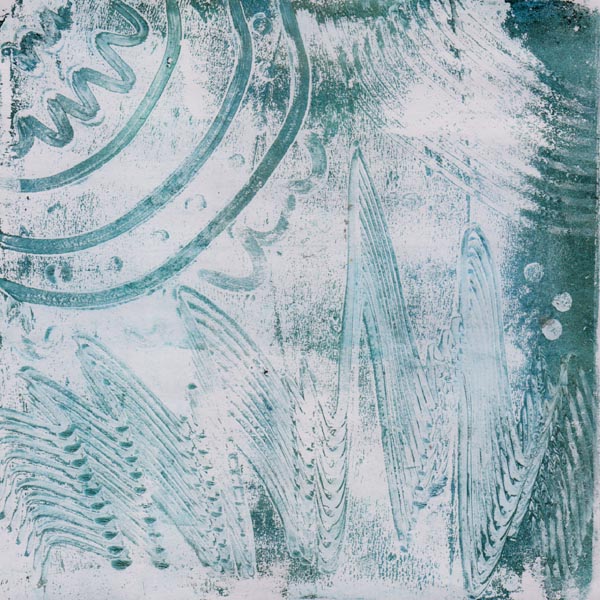
Spread a thin layer of fluid acrylic paints (1 or more colors) onto Gelli plate with a brayer. (Tole Art paints like Delta Ceramcoat, Americana, Folkart, Golden’s Fluid acrylics etc).
 

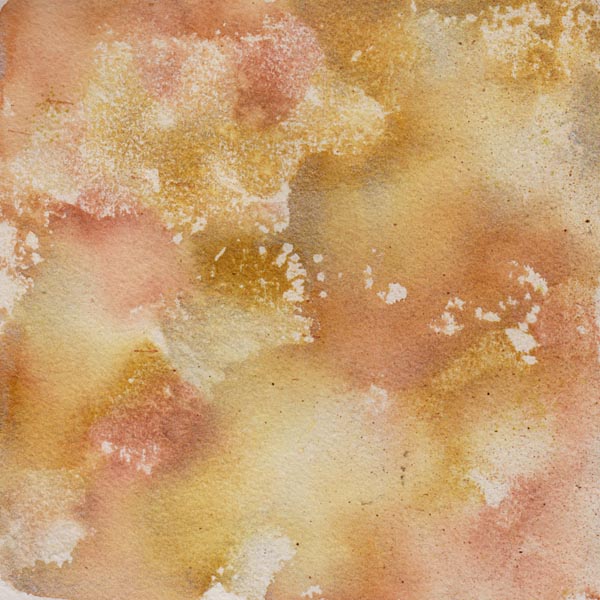
Sample at right done on Arches Text Wove with Golden's Fluid Acrylics & metallic paints.


You can pull a print at this stage to make beautiful backgrounds.

OR


Sample 30:

Folk Art Metallic Red & Deco Art Glorious Gold brayered on Gelli plate. Print pulled on Columbia Mills LBS End Sheet Paper.


Sample 31:

Everything the same as sample 30 except Gelli Plate was misted with water prior pulling print. It adds textural effects.


Sample 2:

Put design/texture into the wet paint using a variety of tools – stencils, clear or unmounted rubber stamps, stylus and soft tipped type tools, soft rubber combs, burlap, netting etc.

Press your paper/cardstock on to the Gelli plate and burnish either with a clean brayer or your hand to transfer all the design to your paper. You can also use a piece of newsprint over your printing paper to keep the back clean. Remove paper and set aside to dry. You have your first pulled print.

Colors used see sample 2: FolkArt Metallic Blue Sapphire, Metallic Emerald Green, Deco Art Metallic Glorious Gold.


Sample 3:

Note: in some cases you can pull a 2nd print from the same plate – a ghost print.
OR
Allow the paint to dry on the Gelli plate and brayer white heavy body type acrylic paint. Pull a print.

Colors used sample 3: adding Liquitex Titanium White.


click on the Home button to go back to "Nitty Gritty - Gelli Plate Gallery

 or next button for next Gelli Plate page


Home Page Index
(text only)
Glass
Gallery
"And More"
Gallery