ID: Gelli Printing - Page 2
 

Created: September 22, 2013
Modified:

GELLI PRINTING - PRINTING with Styrofoam and adding Color
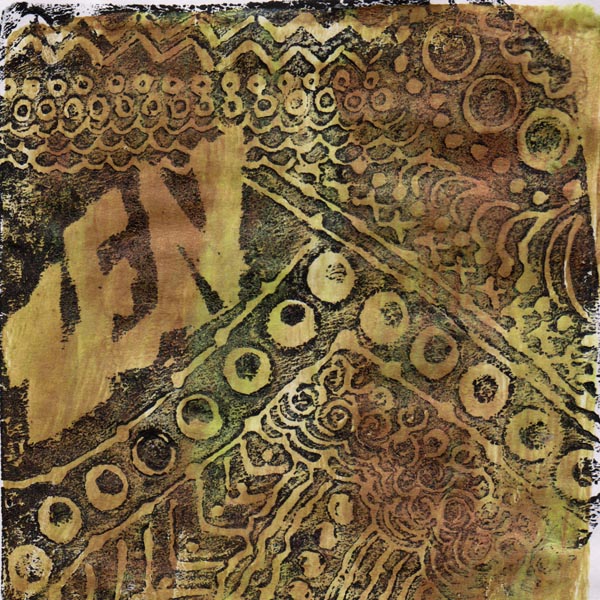
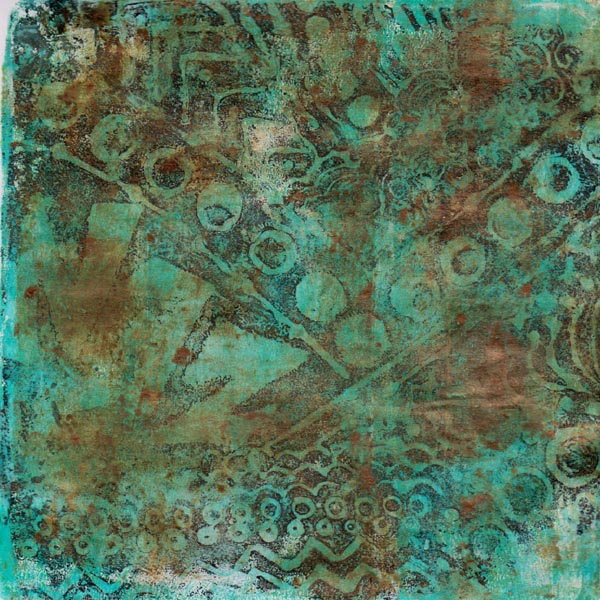
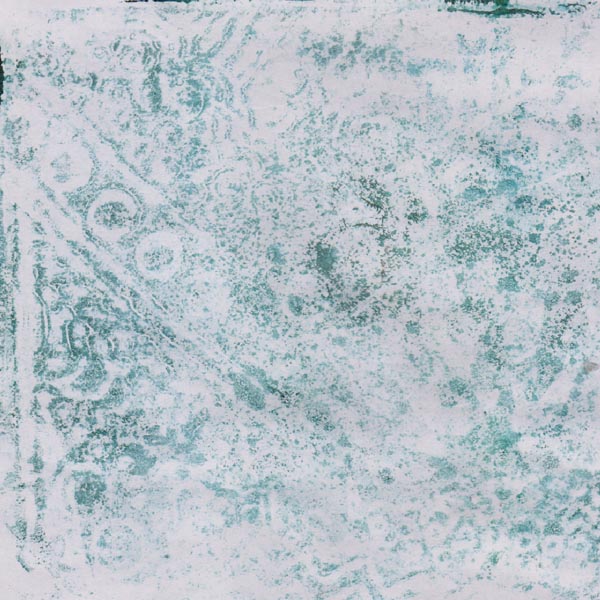
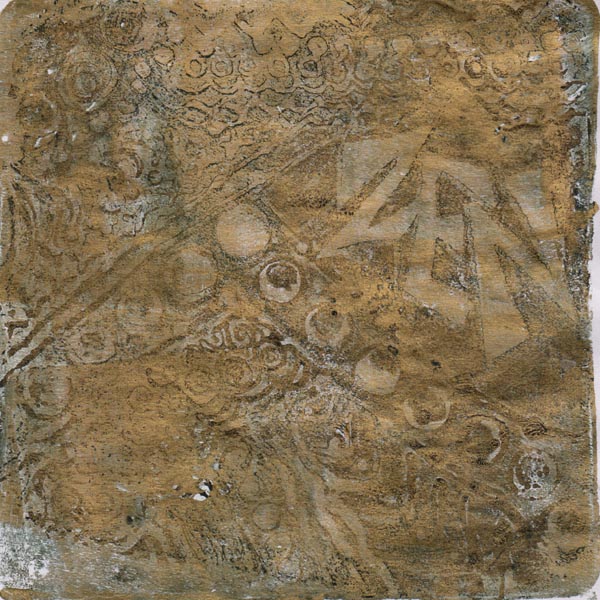


Sample 4:

Use a ballpoint pen or a stylus etc to make indented marks in a Styrofoam plate.
NOTE: If putting words, they need to be reversed for this type of Styrofoam printing.

Colors used: Delta Ceramcoat Black


Sample 5:

Brayer various colors on Gelli plate and pull using same print.
(see sample 5 below)
 

Colors used sample 5: Silk’s Ice, Pretty Peridot, & Nutmeg

 Sample 6:

PRINTING with Styrofoam on Gelli Plate
Brayer the Gelli plate with the black and press Styrofoam onto Gelli plate to transfer the design. Remove Styrofoam . Stamp with words or letters to lift color, and pull a print.

Colors used sample 6: Delta Ceramcoat Black


NOTE: If putting words, they need to be right side up on styrofoam for this technique.


Sample 7A:

Extra Option: Allow black ink to dry on Gelli plate and brayer on some heavy body acrylic paint. Pull a 2nd print. I found the color too intense so I softened it by brayering on to my Gelli plate with a very thin layer of liquid acrylic glaze. Repeated it again with another color of glaze.

Colors used sample 7a: Delta Ceramcoat Black, Liquitex Basics Bright Aqua Green, Silk’s Emperor’s Gold, Silk’s Pretty Peridot.


Sample 7B:

After pulling the styrofoam/Gelli plate print, allow ink to dry on Gelli plate, brayer plate with Titanium white heavy body acrylic paint and pull a second print.


Sample 8:

Using a pulled print as per sample 6: Brayer liquid acrylic DecoArt Metallic Glorious Gold on Gelli plate and pull the print again.

click on the Home button to go back to "Nitty Gritty - Gelli Plate Gallery

 or next button for next Gelli Plate page


Home Page Index
(text only)
Glass
Gallery
"And More"
Gallery