ID: DT March/11 Spellbinders Ovals
Flower Tutorial
Created: February 26, 2011
Modified:
SUPPLIES:
(Note: most of the supplies can be found online at
QuietfireDesign.ca (items
in Pink)
For Flowers:
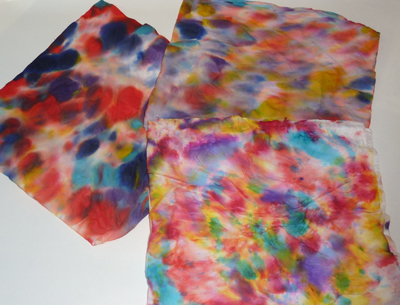
Tissue (Kleenex)
Distress or
Ecoline inks in floral colors
Mister
Cardstock thin white
65# (1 sheet 8.5" x 11")
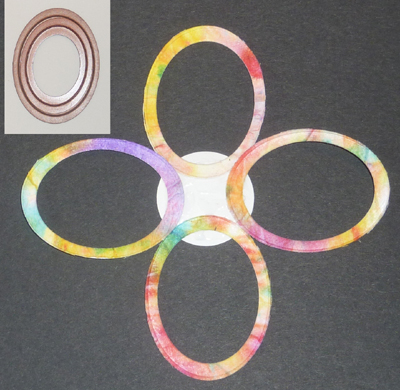
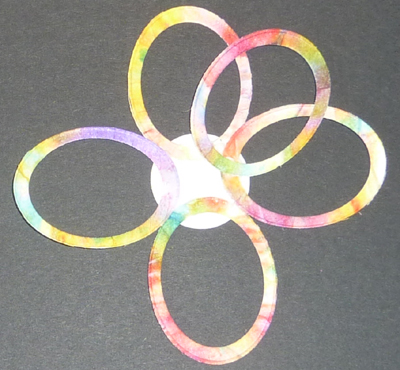
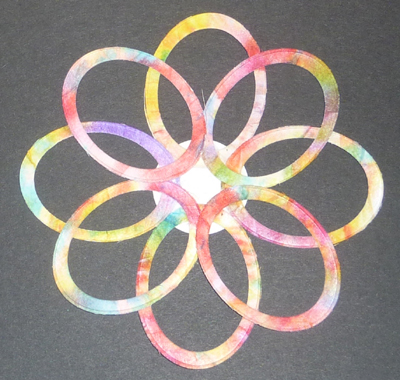
Spellbinders Nestabilities
"Classic Ovals Large"
"Classic Ovals Small"
Scrapbook paper - coordinating
pieces
Sharp scissors
Sizzix Tim's "Tattered
Flowers",
Die Cutting
Machine of choice
Big Shot
Glue stick,
White Glue
Rhinestones coordinating colors medium size
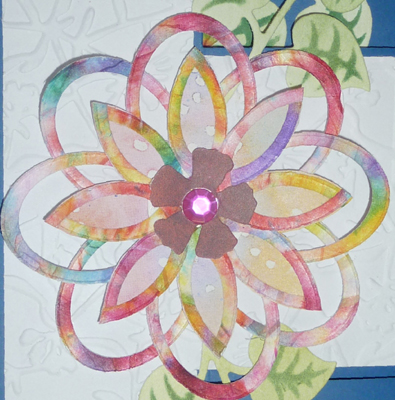
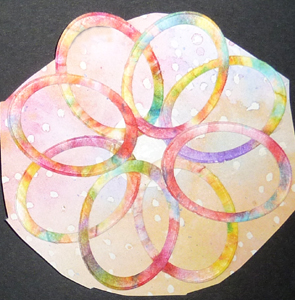
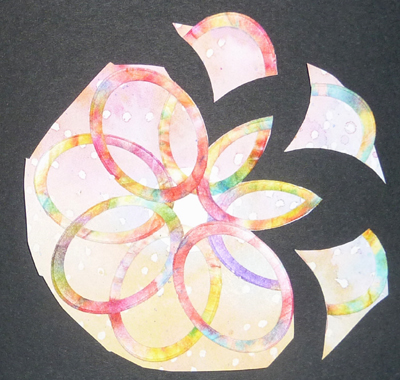
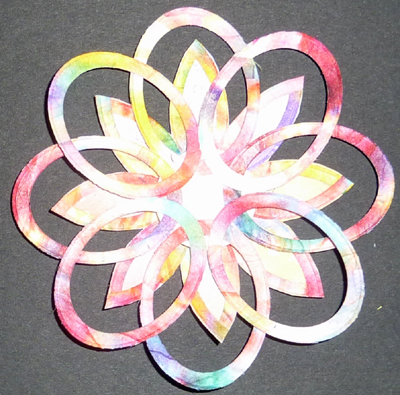
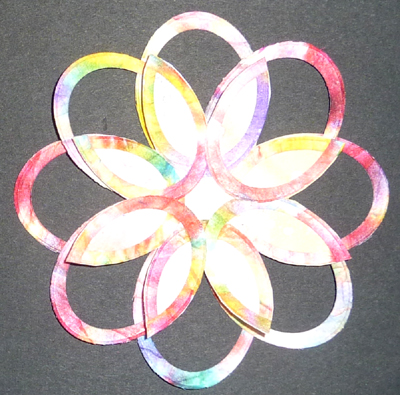
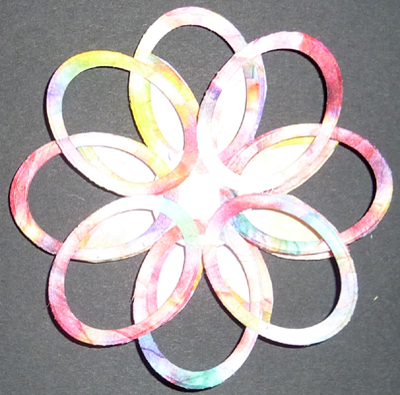
Flower embellished with a Tim's Tattered Flower
from scrapbook paper and a rhinestone
Click HERE to see the card made with this flower
or either of these two cards with
similar flowers
Hope Perches or
Leave Behind