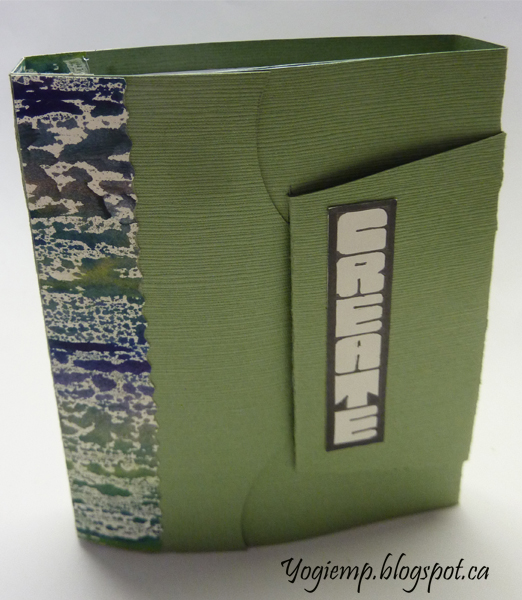
ID: Button Pouch #30 - W/C Booklet - Create 

Created: December 18, 2022
Modified: December 20, 2022
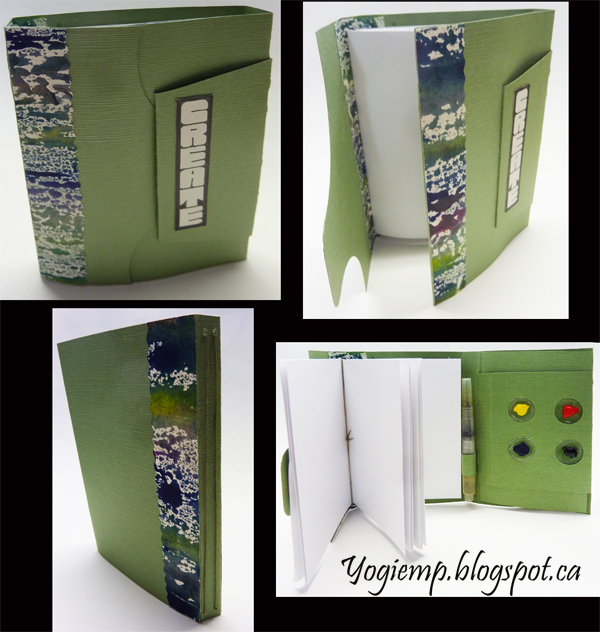
Size closed: 4"w x 6"h x .5"thk

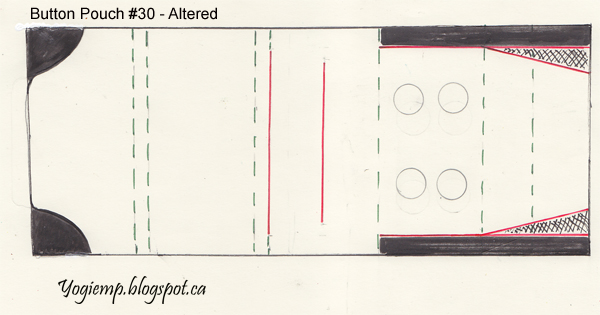
Our challenge for our  January 10, 2023  meeting is to try the next  structure in the book - Button Pouch #30 from Hedi Kyle's "Art Of The Fold" book.

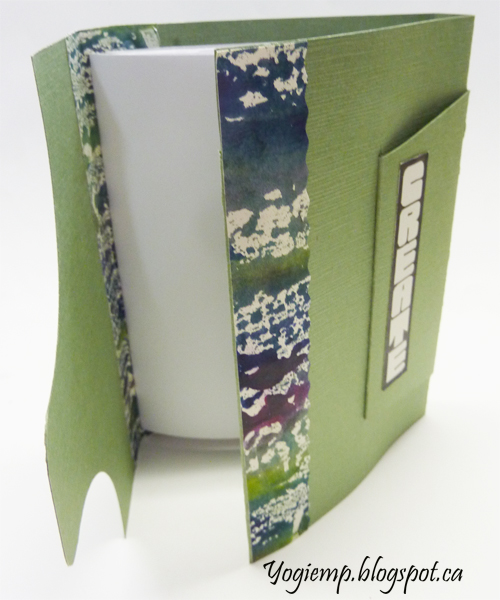
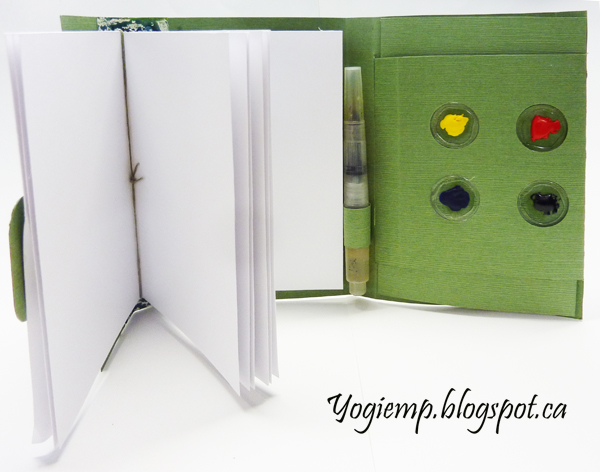
I looked at it and said it's not something I need or want... and then I got to thinking and decided to do a bit of altering to create a watercolor travel booklet... I'm totally pleased with the results.

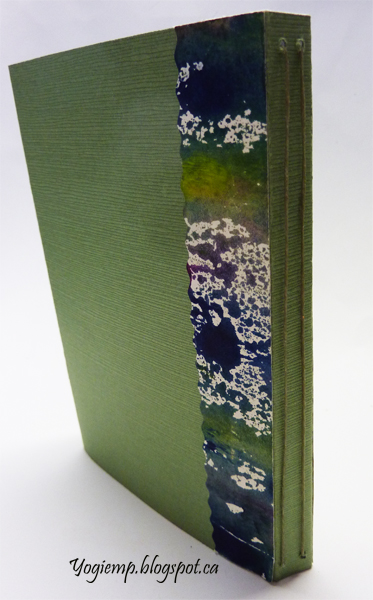
I used Linen cardstock I recently got through Annette from the Paper Place in Ontario. It's a nice weight of cardstock, folds nicely and I love the texture.

I read the instructions and without making a sampler I went straight in to creating a finished booklet to a size I wanted. Of course I goofed a couple times... but underneath all those pretty geli plate papers are score lines that shouldn't be there... so now are hidden... BIG GRIN

The other thing I changed was added a 1/2" spine to accommodate my waterbrush and pages.

on the cover flap: I LOVE this Art Nouveau style of block lettering...

The booklet pages slip under the 4 ply waxed linen thread so they are removable when filled. 

The booklets are created with Edge Mixed Media 90# paper 
I changed it to Fabriano 1264 Mixed Media 110# paper. This definitely accepts water media...


I added one of my smaller water brushes.

I die cut clear plastic with a 7/8" Spellbinder's die. Added a Glossy Accents bead around the edge. 

This holds any moisture inside the little circle.  

Filled with Winsor Yellow, Winsor Red, Ultramarine Blue and Payne's Grey. I figure there's not too many colors I couldn't create with these basic colors. It will be a good exercise...

1) Cut c/s to 21"w x 6"h (or 5 times your page width plus 2 spine widths and any height)
2) From left edge score at 4",then 4.5", then 8.5" then 9" (this will give you your cover flap and booklet thickness section.
3) Continue scoring at 4" increments from last score line. (you should have 6 score lines)
4) The last score line will be from the right edge. Fold the right edge to the 6th score line
5) Cut the top and bottom sections away, approx 3/4" (the solid black section)
6) Measure from the new bottom and top edges (right edge)  approx 1/2" then cut away from that point to the 2nd score line as indicated by the cross hatched area
7) Cut: the 1st red vertical line from left edge (long line) on the score line, this is the height of the 2 red horizontal lines
8) Cut: the 2nd red vertical line (short line) is the height of the 1st score line from the right edge
9) Cut, punch or die cut your holes (circles, squares, whatever) between the 2nd and 3rd score lines from right edge, then start folding the flap into the largest slit (from the inside), around the back cover and into the smaller slit and gently coax the flap downward onto itself to prevent it from coming loose.
10) Cut the scallop corners (make sure the bottom edge of the circle is at least more than 1/2 the width of your page from the left edge),  (use the cut piece to cut the top cut out)
11) Cut another piece of c/s for the insert piece for the buttons (or whatever), approx 1/8" shorter from the top and bottom edges. Place into the folded section and adhere your elements.
12) I reinforced my spine edge on the inside with a piece of cardstock and then covered with a decorative piece of paper. Use a bookbinder's awl and punch a couple holes approx 1/4" from the bottom and top edges. I punched 2 holes on either end, used a 4ply waxed linen thread and tied a double knot on the inside, then slid my 2 signatures under the loops. They are now removable when filled.
13) I adhered a 3/4"w piece of c/s to hold my waterbrush


Or back to BVCG Feb 2021 Lettering Challenge HERE
 or to go to the  Misc Challenges Card Gallery 2021 click HERE

or  And More Gallery for hand made greeting cards please click the link below.

More Cards Gallery

 Or to go to the Calligraphy Art Gallery


Home Page Index
(text only)
Glass
Gallery
"And More"
Gallery