|
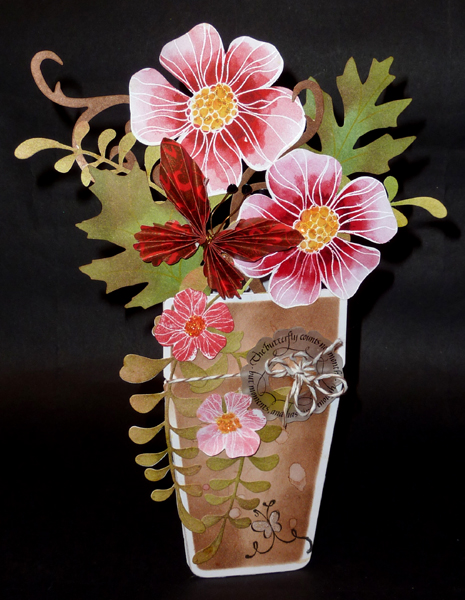
I scored and folded my card and then
cut it out with the Spellbinders Flower Pot die, keeping it shy of
the cutting edge of the lip of the pot. Sponged with various
Distress browns, keeping the die in place, then misted with water
and dried. Created silhouette
images of the flowers (Hero Arts clear stamp set "Blossom Art), cut
with my electronic cutter, then stamped the large flowers with
Perfect Medium and embossed with white embossing powder. Painted
with watercolors, when dry added yellow Stickles dots in the
centers. The small flowers were inked with Distress Festive Berry,
misted with water and stamped onto the cut outs, dried and the
yellow Stickle centers.
Sponged various greens and a touch
of Persimmon on white cardstock, die cut with Cheery Lynn "A Pair of
Ferns die set. Again sponged various greens and some brown on white
cardstock and die cut with Tim's "Tattered Leaves".
Sponged some browns onto white
cardstock and die cut the small flourish using Tim's "Elegant
Flourish" die.
Adhered all the elements. Added a
piece of brown/white bakers twine and tied with a double bow.
Stamped the flourish butterfly with Versafine Black Onyx and colored
with a white colored pencil, then added Stickles "Picket Fence".
Stamped the quote (it's approx 4.25"
dia) onto frosted Shrink Plastic with the black. Die cut using
Spellbinders "Blossom Three" die, then die cutting the center with a
circle die. Shrunk in oven and adhered to card with Glossy Accents.
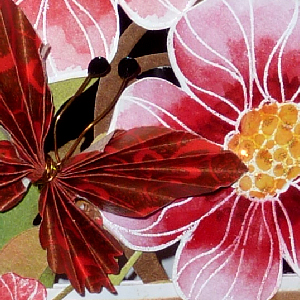
The origami butterfly is made from
my Paper Roots collection. See tutorial
HERE (http://www.papercraftcentral.com/paper-butterfly.html)
. It's basically a circle attached with a square and accordion
folded and pinched in the middle. I tied
mine with thin wire and black dots of embossing powder melted for the
antennae.
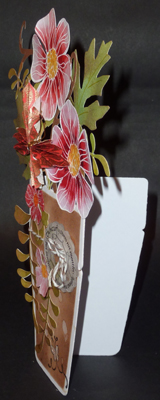
I adhered the back to the front for
sturdiness. Die cut another flower pot card and adhered the front to
the back of my assembly. So now the front is actually 3 layers
thick. |