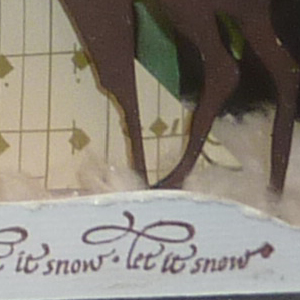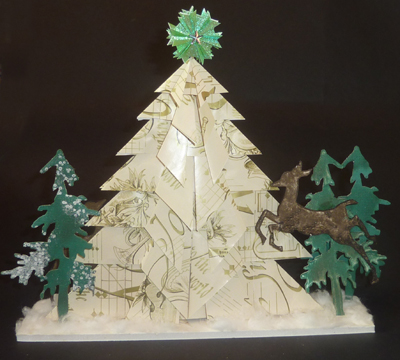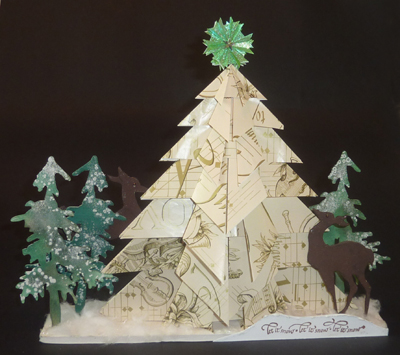
Glued the bottom of the tree to a piece of foam core. The leaping reindeer is adhered to the back of the back tree, to give the illusion of leaping.
ID: Tea Bag - Xmas Tree
Scene
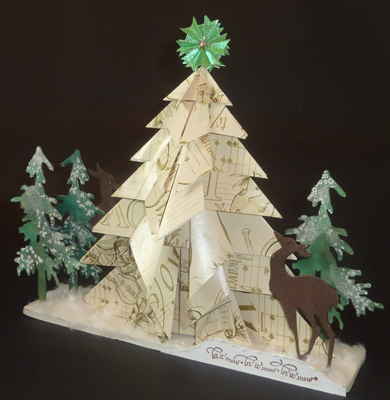
9"h x 9.75"w x 2"deep
Created: December 7, 2010
Modified:
This is a continuation of something I made the other day which you can find HERE. After making the other one, I started thinking and this one evolved while I was riding on the bus...
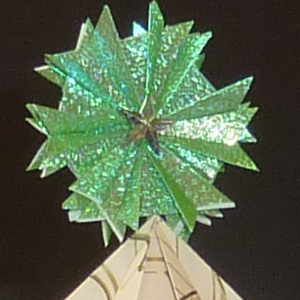
The tree is made from Xmas wrapping paper with squares between the sizes of 2" & 8" in 1" increments. The star on top is 1"squares. You can find the tutorial for the basic Tea Bag shape HERE. This tree is made up of an alternating combination of the the basic shape in the tutorial and one that has the legs not meeting in the center, leaving about a 1/2" space between the legs. The star is made only of this type of shape from green metallic origami square paper.
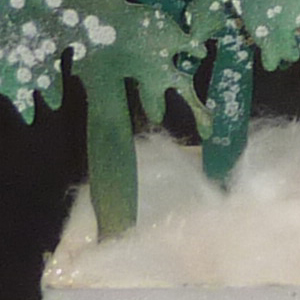
I die cut several trees and the two reindeer (both are Sizzix - Tim's Alteration dies) from mat board - a green for the trees and a brown fabric for the reindeer. I sponged more color on the colored side and lots of color on the white side. Stamped my speckle stamp on the trees and embossed with White Puffs. On the reindeer I added mini half pearls in brown for the eyes.