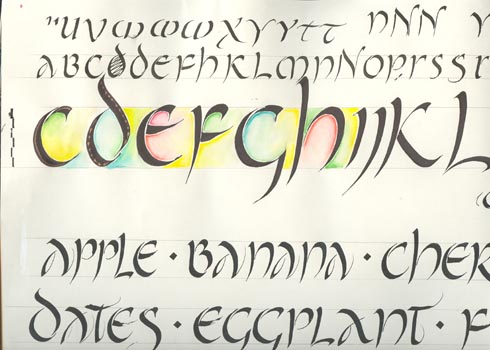
I was enjoying doing this exemplar so much I got carried away and started coloring in using my Derwent Inktense watercolor and then blending with a my water brush. Then I started doodling with my gel pen in on the black lettering. I really like the way these letters split apart and the more rambunctious type strokes. It was done on Genoa bond paper (my basic practice pad.)
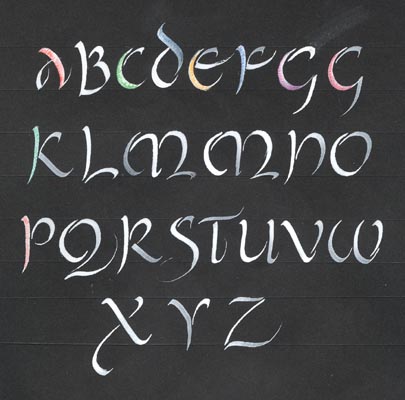
My next exemplar I did on Full Spectrum black cardstock and used Dr Martin's Bleed Proof white ink and a Mitchell nib. Let that dry and then went in with some Derwent watercolor pencils and very lightly moved the color. The Bleed proof reconstituted itself and started merging with the colors, so I made sure I didn't overwork the blending. It's a soft subtle look.
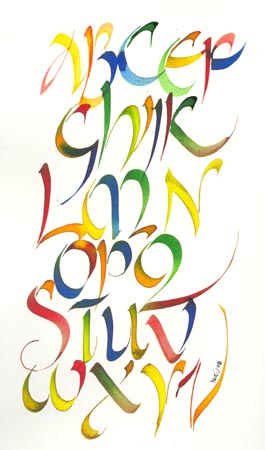
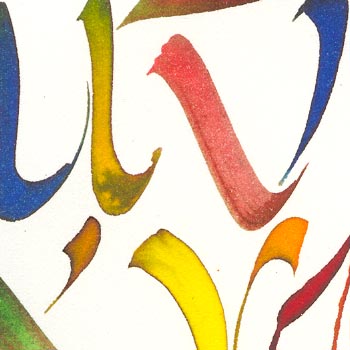
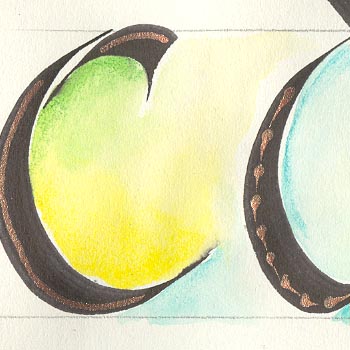
Then I got a bit more daring and used a piece of 90# Arches watercolor HP paper to do this exemplar. I love the way the Ecoline inks blended and merged. I used 5 colors and individual eye droppers to apply the ink to my (I believe 2.4) Parallel Pen. I think these are the 5 basic colors I go to all the time - Scarlet, Deep Yellow, Light Yellow, Ultramarine Light & Light Green.
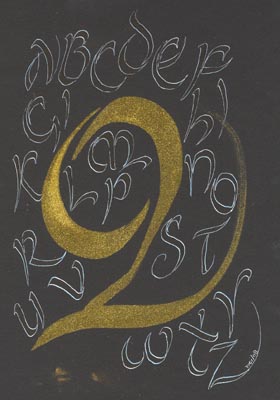
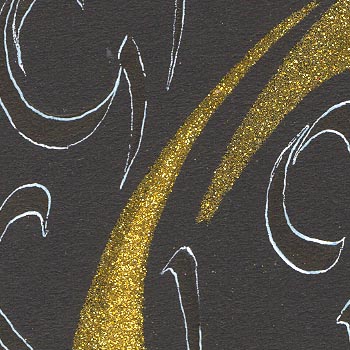
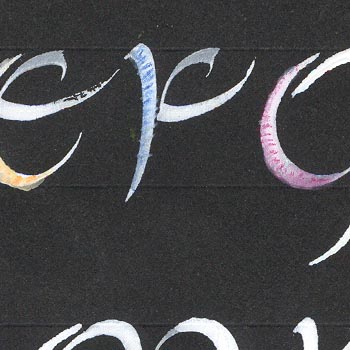
This piece is a work in progress (more specifically the first try of a layout). It didn't work as I had hoped. I started with a Zig extra wide 2 way glue stick to do my "Q" and then sprinkled gold Ritz Glitz micro fine glitter. (I also had it all over me too...). I then used a Parallel pen and Moon Palace black Sumi ink for my alphabet. What I was hoping for was a contrast of the black ink with the black of the mat board, but the black's were too close in tone. I wanted something that contrasted like a shinny black with the matte background, or something like that. So I used a quill nib and Dr Martin's Bleed Proof white and outlined my letters instead. I didn't want them to interfere with my "Q". Georgia suggested I do the lettering following the lines of the large letter which is what I'll do next - when I have more than two minutes.