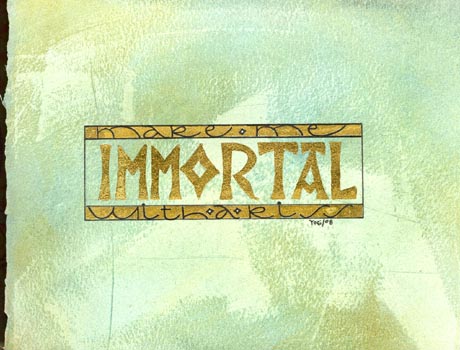
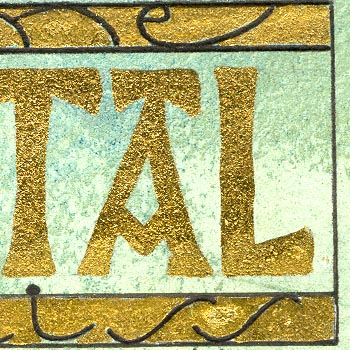
The first exercise was to take a very short quote that could be put onto three lines and do it on a few different types of papers/backgrounds to see how the size reacted. This green background was a piece that Georgia did and gave to us to try. She made several variations of colors using the technique. Love it and I'm sure you'll be seeing some of it in the near future. I believe it's done on a watercolor paper, Liquitex gesso is applied and random linear marks are put on or texture is rolled on using a large dowel wrapped with twisted twine. This is then left to dry and painted with powdered Pigment colors, dried and then sanded. Pity you can't feel the surface. I wrote in my quote and border with a Zig black marker and filled in the background of the top and bottom line. The center word I filled in the letters only without any black marker. PS this was "real" gold.
Quote: Make me immortal with a kiss.
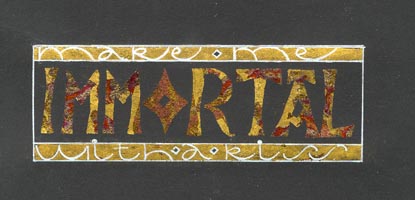
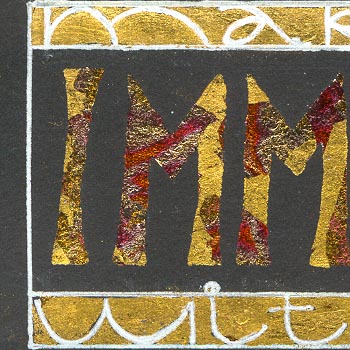
This is the second piece in the above exercise done on Strathmore Black Artagain paper. I used a variegated red gold leaf for the center word. The lettering is done with a Ranger white Inkssentials pen. My lettering seems to be a bit tipsy.

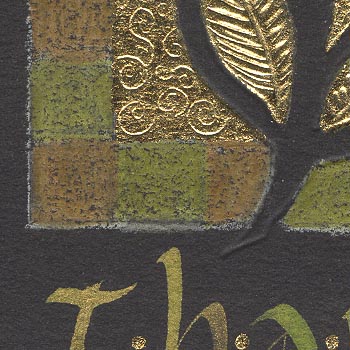
Georgia was staying with one of our Guild members and made a thank you card for her which I fell in love with. It was done on - can't find the scarp of paper the name was written down on. But Georgia got back to me and said it was Fabriano's Cartera Magnani, similar to Stonehenge but with a more feathery surface. Anyway it had a very pale green tint to it and she did a gouache alternate squares border. An olive sprig with the background and the center portion of the leaves filled in with gold. The dry embossed designs and veins. Wrote her "thanks" word under the artwork. Looked so classic.
So I decided to try the techniques and I'm in love again. It's a pity you can't see this in real life. I used Arches black cover which I love doing the gilding on. It gives it a nice texture and has a nice weight to it. I colored in my squares first with a white Prisma color pencil, then went back in with a Super Ferby Metallic pencil in a green and a gold tone. Then blended with my Lyra Spendor Blender. Gilded the background and leaves leaving a margin around the leaves. Then went in with a pointed stylus and a piece of clear type of plastic to emboss my design elements. Wrote in the word "thanks" with a Mitchell nib and a mix of two gold's and a spring green gouache. Added the gold dots between the letters and that made them just pop.