Textured Letters Booklet (Part 1)

Created: April 17, 2011

Modified:

This is the booklet we created in Barbara Close's class holding the samples we made during the Monday/Tuesday class.

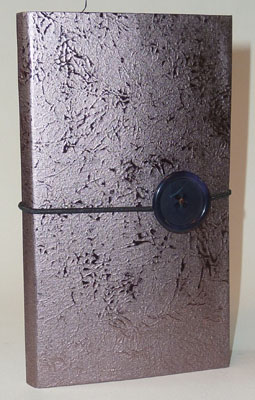
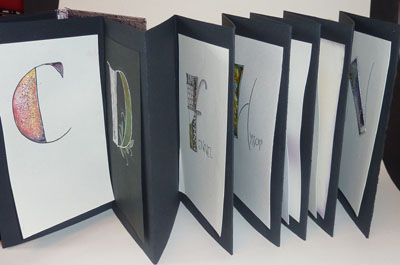
The booklet when opened is 56"w x 7"h. It's an accordion folded booklet with an elastic tie to keep it closed. I used an Oriental paper in a bronze texture to cover the covers. I'll eventually put a title on the front cover.

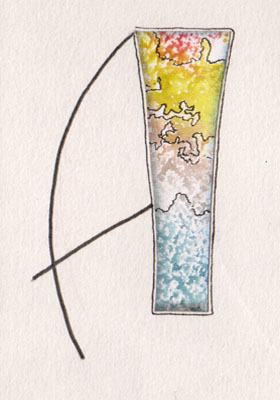
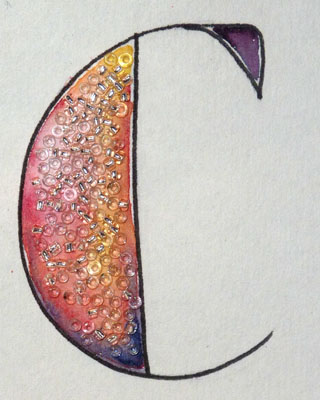
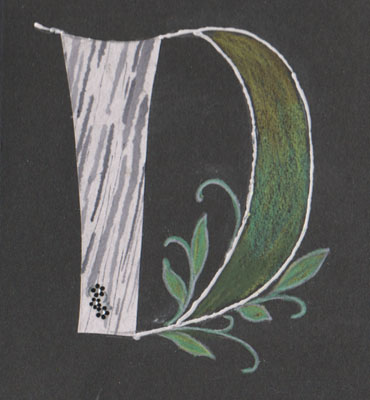
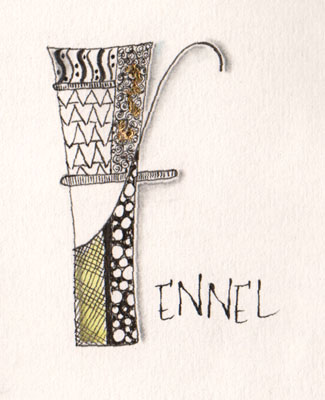
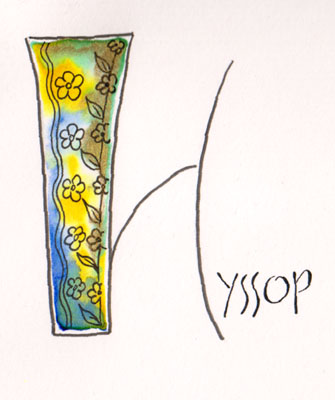
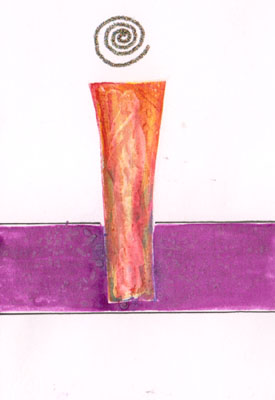
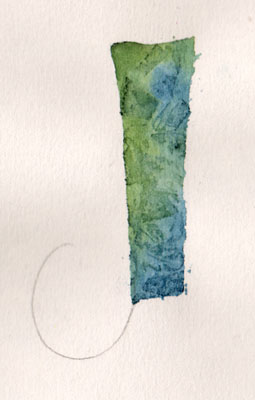
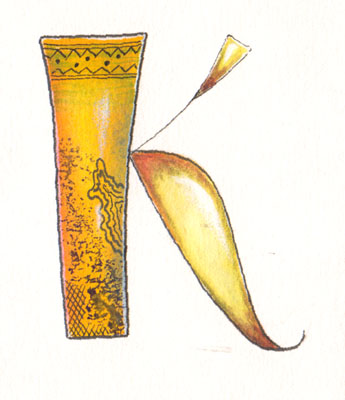
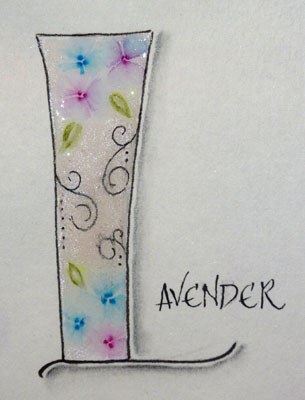
All the pages are UNFINISHED... I was concentrating more on getting letters done than on completing a page. Each letter will eventually have the rest of the word - I'm doing an ABCedarium of herbs and spices. The pages will also have a bit of explaining text and maybe some mini drawings. So still lots of work to be done.

Most of the pages are done on Arches Text Wove with a couple done on Black Full Spectrum Color Line, or a brown Value pack cardstock. The accordion is done on Arches Black Cover.

We weren't concentrating specifically  on any type of hand, but just using a letter that pleased us and got be decorated. We also cut out a plastic template so all our decorated areas would have a consistent size.

As my pages get finished I will upload and replace the ones that are here now.

I used the template and sponged some watercolors lightly onto my paper. Let dry, then outlined the color areas with a Micron pen. Shading the inner outside edges with a pencil and blending.


Love this technique. Colored the letter with watercolors, let dry, then brushed on a coat of Gel Medium and sprinkled the clear glass beads. Let dry. Letter was outlined with a Zig Writer.


Interesting technique. On a piece of rice paper apply various shades of black diluted watercolors in thin and thick strokes. let dry. Using the template cut out your stem stroke - I cut mine on the diagonal. Adhere to your letter. I colored the rest of the letter with Prisma colors and added the foliage detail.

The outline of the letter was done with Rangers White Enamel Accents. A mini sticker in the bottom corner.

Drew our template stroke and doodled inside with a micron pen. added a bit of pencil shading and a touch of color. The added specks of Hot Foil with a battery operated heat pen.


This one was done on 140# CP watercolor paper (wrong side which is smoother). I applied some Sakura Gel pens in the corners and moved them around with a water brush, then added some of the yellow and gold. When dry, doodled my flowers.

This so far is the most disappointing letter. I had applied some color, then did a wash over it, scratched into it and finally applied some gesso over it. Not sure what I'm going to do to it after this. The horizontal piece is not much better. There was some seepage under my template, so I decided to hide that with that bar of color. It was lighter originally but needed to get darker... It does remind me of the collage type artwork some people do. it might grow on me.

The swirl of the "i" is a Quickie Glue pen and glitter.


Totally unfinished. Again a watercolored letter within the template and dried with a piece of Saran Wrap scrunched on top.

I love the colors of this one and the way it started to look Egyptian. I was blending yellows and oranges and dry brushing some green, a small area of a sponge then doodling with a Micron pen, adding a white accent. Then colored the legs to match.


I love these 3 dot watercolor flowers. I learnt them a while back when Barbara came the last time (2007) and so glad she taught it to us again, because I really left them behind.

You put 3 little dots close together on some paper. let them dry a bit. then with a damp small pointy brush pull the colors from the dots to create a "V" edge and continue to apply moisture to create the petal. Then pull a bit more color into the petal area allowing the color to just migrate where it will. When dry, add a dot of Stickles.

I also colored my background with a Pearlescent white and then doodled the vines. Shaded with a pencil. Put a thick layer of Glossy Accents which gives such a nice 3D glazed look. Can't see it in the image C'est la vie.

Please use your back button for previous images or should you wish to go back to the Barbara Close Class Gallery please click on the link below.

Barbara Close April 2011 class Gallery

or click  for page 2 of Textured letters booklet


Home Page Index
(text only)
Glass
Gallery
"And More"
Gallery