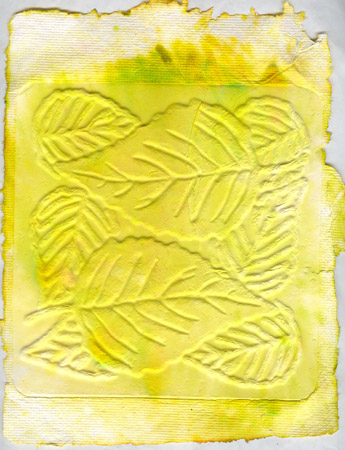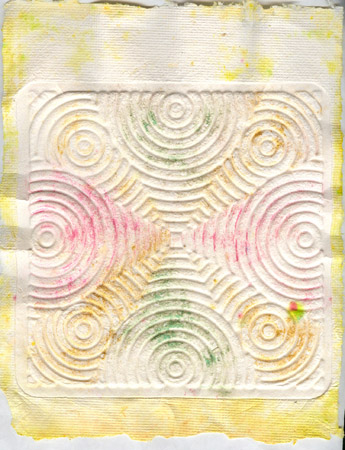
Paper casting #1
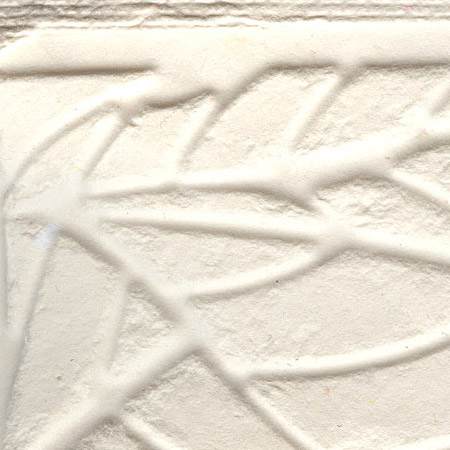
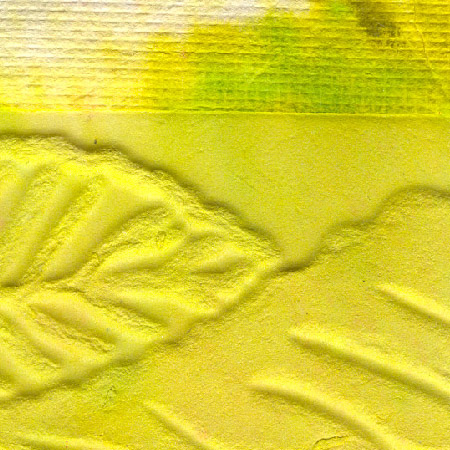
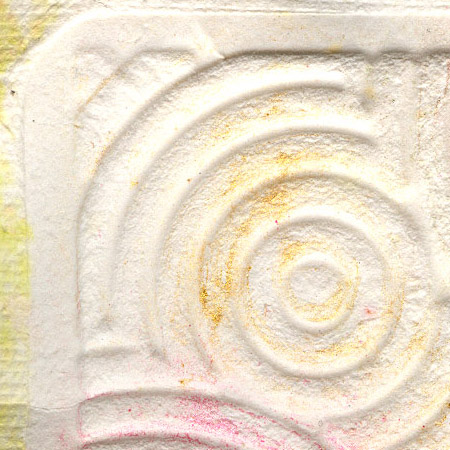
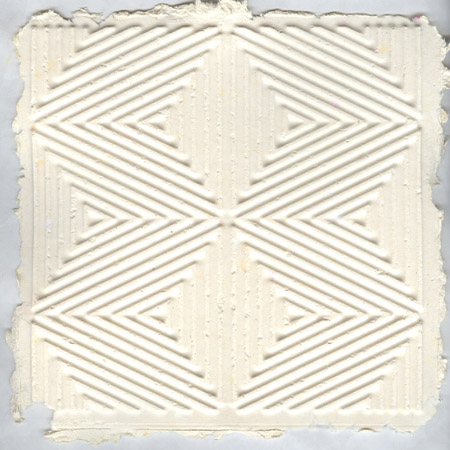
Paper Casting #1 Detail
ID: Paper Casting with a
slurry mixture and Texture Plates
Created: December 31, 2007
Modified:
I have a plastic bag attached to my desk where I throw all my small scraps of paper/paper (not cardstock) to make slurries with when I need. It's usually whites and creams with a bit of other colors thrown in.
I cut these up with a pair of scissors to about 1/2 x 1" pieces and toss into my blender. Add lots of water and blend till I get my slurry (no pieces of paper).
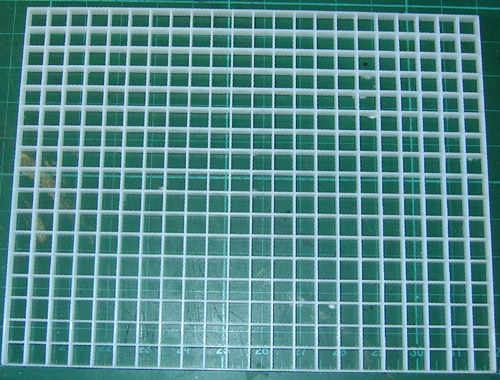
I have a basin that fits my paper making contraption.
A thick plastic grid (see pic below), a fine mesh screen or plastic window screening, my paper molding frame (I use a metal picture frame that you put together yourself so I can make any size I want). I put this into my plastic basin and pour my slurry into my frame area. Sometimes I'll fill the basin with slurry mixture so that I can rock the frame contraption back and forth to even out the slurry, sometimes I don't. Depends on my mood. Sometimes I may want a slightly thicker casting and pour a second blender full of slurry over the same area.
When
my slurry is evenly distributed on my screening, I raise
everything up slowly, while holding the contraption together. I
usually don't use clamps. And I raise slowly to prevent air
pockets from raising the screening and creating uneven areas in
the slurry. I move my contraption over to a waiting cookie
sheet, remove the metal frame, and then press down with a big
sponge to squeeze out water, wringing the sponge constantly to
remove excess water. When most of the water is squeezed out, I
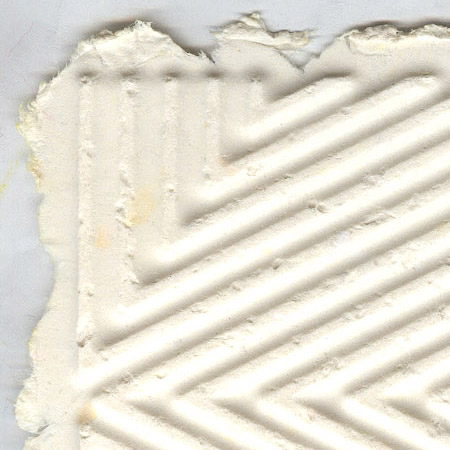
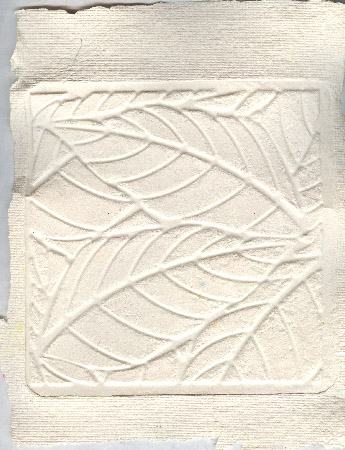
lay my texture plate (Quietfire Design) ont he paper I've
created, then holding the screening/texture plate sandwich, I
carefully flip this over onto a stack of newsprint or towels. I
have now bottom layer of towels, texture plate, paper,
screening. I then continue pressing my sponge trying to remove
even more water and at the same time pressing the paper into the
crevices of the texture plate. When I can't squeeze any more
water out, I see if I can remove the screen from the paper. I
might speed that process up a bit with a hair dryer, or just
leave it alone until it's a little drier.