ID:
Quilling - Jumbo Comb Tutorial
Created: August 10, 2014
Modified:
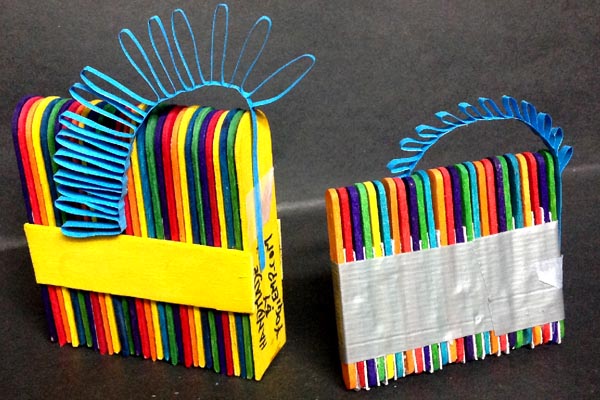
Last year I designed and made some quilling gadgets - the one at the far left is the Jumbo comb.
The one on the right makes wheat sheafs real easy..
|
|
ID:
Quilling - Jumbo Comb Tutorial
Created: August 10, 2014 Last year I designed and made some quilling gadgets - the one at the far left is the Jumbo comb. The one on the right makes wheat sheafs real easy.. |
|
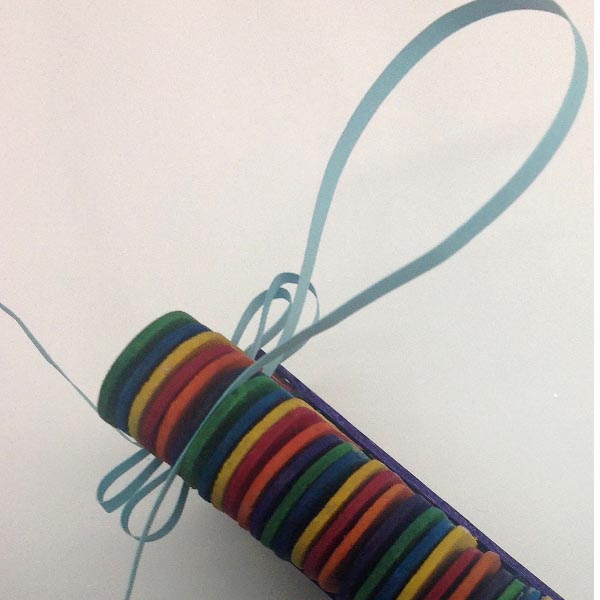
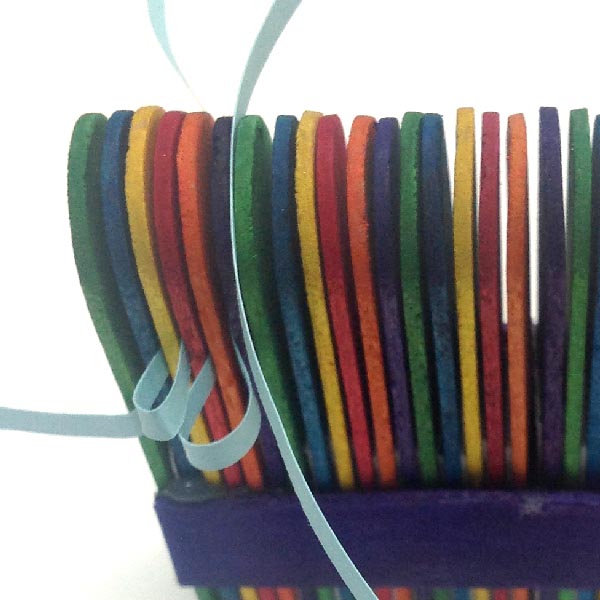
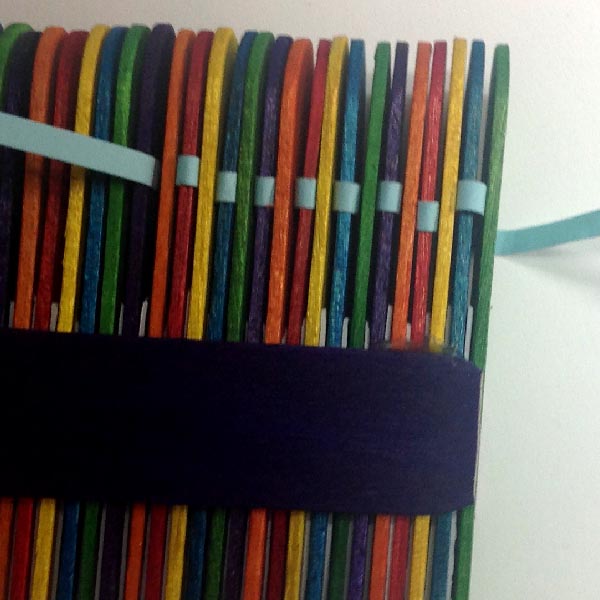
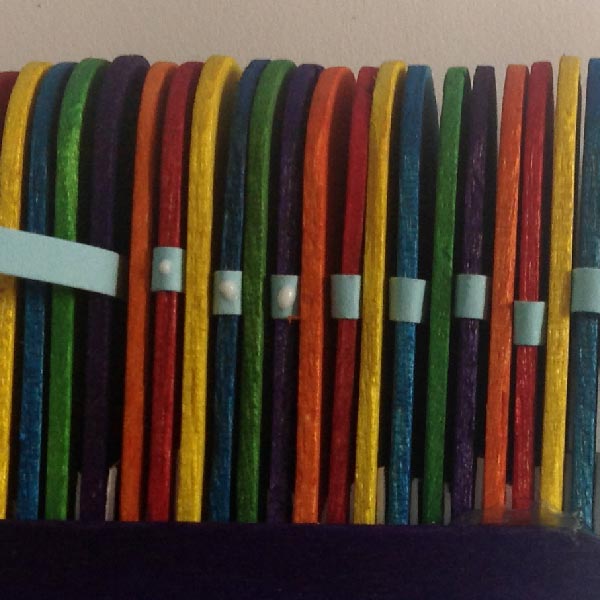
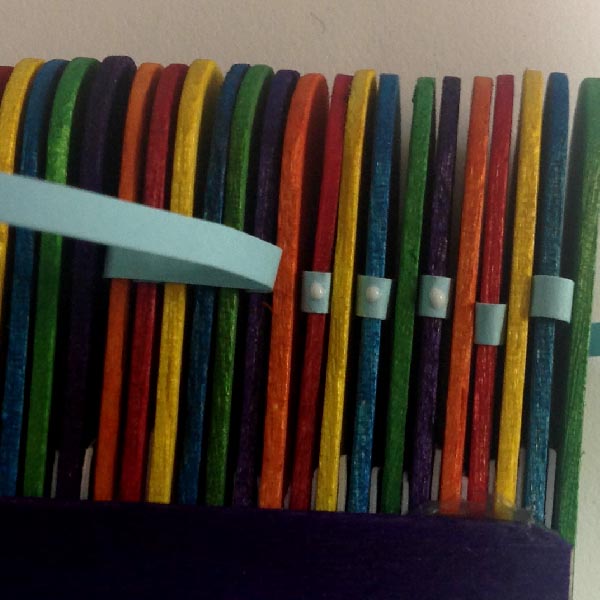
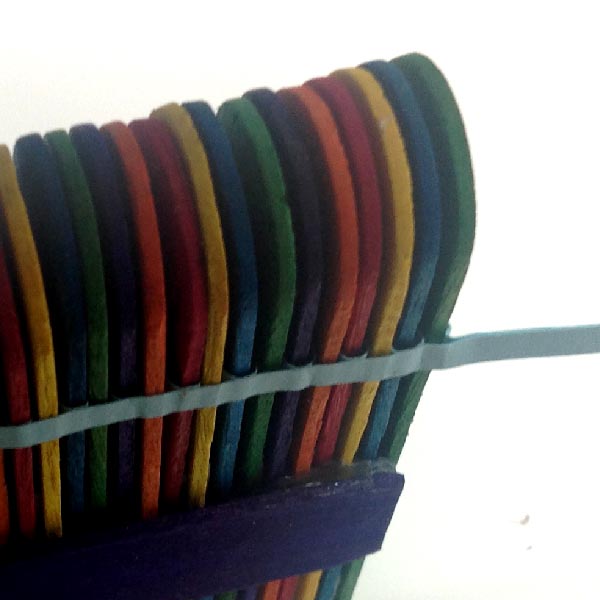
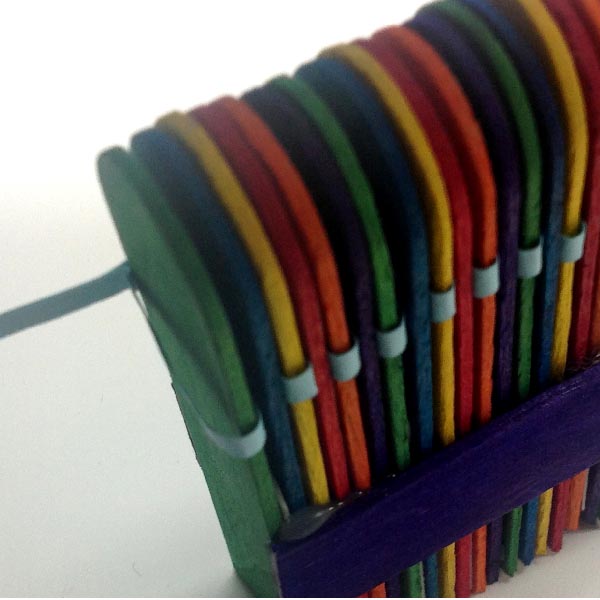
The images above show the sequence of passing the quill strip between the slots in a continuous loop - back and forth. |
|
|
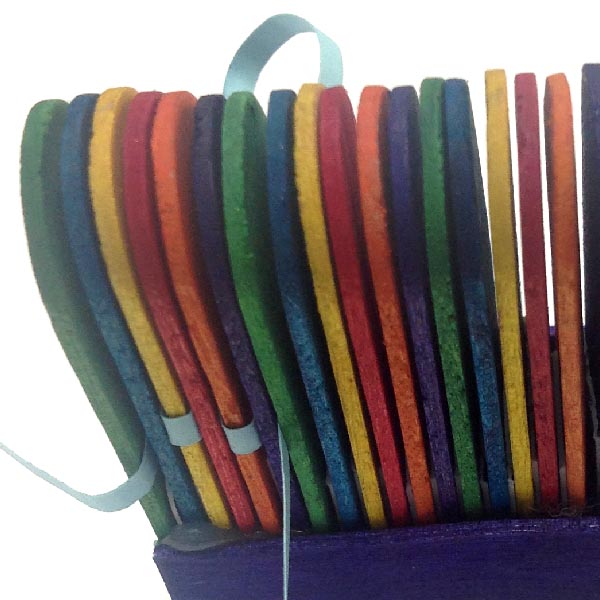
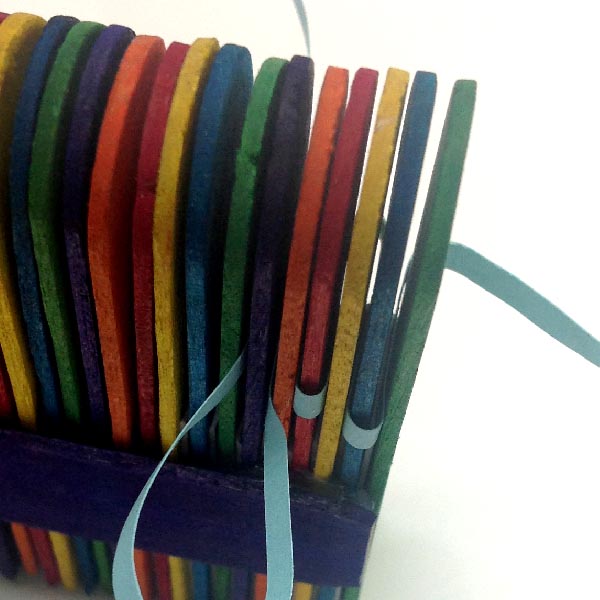
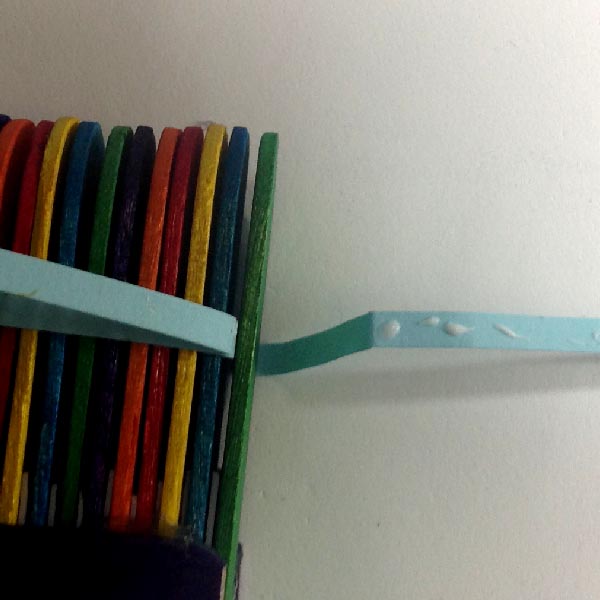
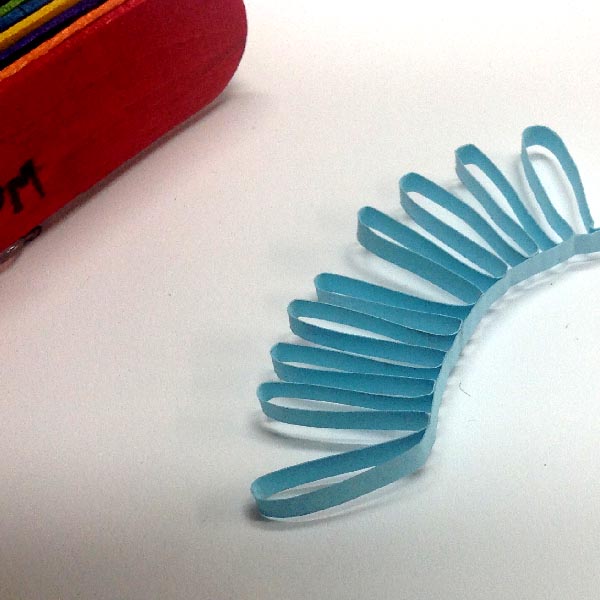
But rather than have the loops as loose as in the image above, they should be rather snug, but not tight. There should be a slight looseness so the paper will release easily at the end. |
|
|
|
|
|
|
|
Here are a couple links to fern type leaves, which also become the start of the flower cones. And here is a flower shape. |
|
Please use your back button for previous pages or should you wish to go to the Nitty Gritty Gallery please click on
|
| Home |
Page Index (text only) |
Glass Gallery |
"And More" Gallery |