ID: Glitter "Holly
Leaf"
5"w x 7"h
Created: October 1, 2009
Modified:
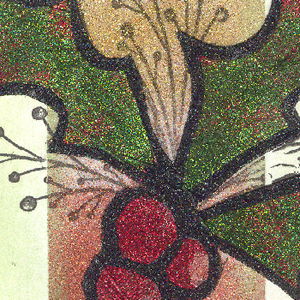
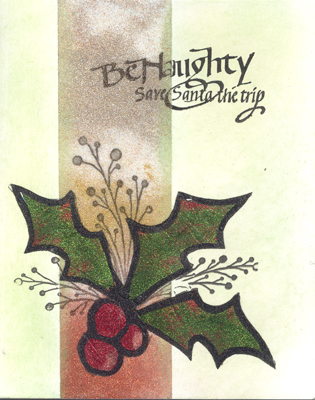
The holly leaf/berries are a rubber stamped image on the release paper of the double sided tape and then cut out, glittered and adhered to the main card.
Supplies:
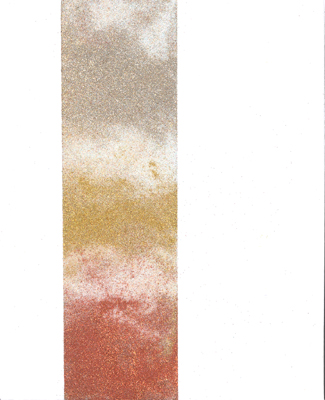
Sookwang Tape 2.5"w
Glitter Ritz Micro Fine glitter - Peridot,
Regal Red, Orange, Gold, Stardust, Warm Highlights
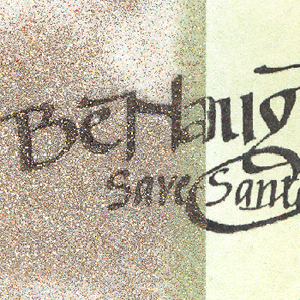
Rubber Stamps: Quietfire Design
Be Naughty
Rubber Stamp Artful Stamper "Large Holly #CM1405P"
Versafine stamp pad
Black Onyx
Staz-On Black
Embossing Powder Clear
White Cardstock
Pan Pastels Permanent Green
Tint, Bright Yellow Green Shade