ID: DT Sept/10 - Flourish House - Thank You Card
Size: 5"w x 7"h
 

Created: April 28, 2011
Modified: June 27, 2012

SUPPLIES: (Note: most of the supplies can be found online at QuietfireDesign.ca (items in Pink)
Cardstock Cream or warm white (1.5 sheets 8.5 x 11")
Cardstock Core'dinations Color Core "Elements" cardstock 1/2sheet - teal
Versafine Black Onyx

Embossing powder clear
Heat Gun
Versamagic "Hint o Pesto"
Distress Stamp pads "Broken China"
Rubber Stamp "Flourished Flight" set, "Thank You"
Spellbinder's "Parisian Accents" or other border die
Die cutting machine of choice or  Grand Calibur


Sookwang tape 1/2"
Ritz Micro Fine glitter "Stardust"
Glue Pen
Clipola gold
Heart charm
Co-ordinating ribbon
Half Pearl adhesive stickers
Sanding Block
Ruler or paper trimmer
Scor-it board

X-Acto knife
Bone folder
White Glue
Stamp Positioner (optional)


INSTRUCTIONS:

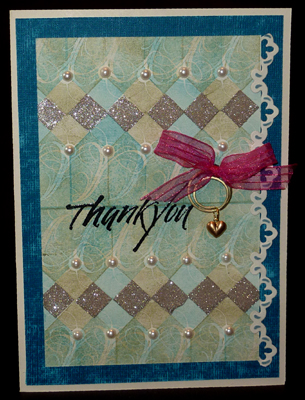
Score, fold and trim the cream cardstock to make a 5"w x 7" h side folded card.

Cut a piece of Core'dinations cardstock a little smaller than card front. Sand edges and adhere to card front.

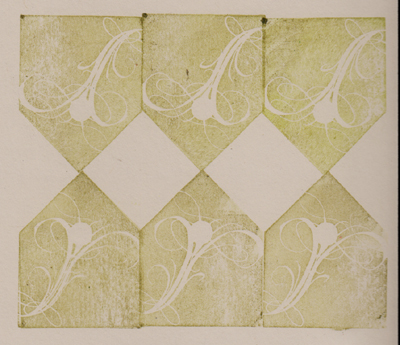
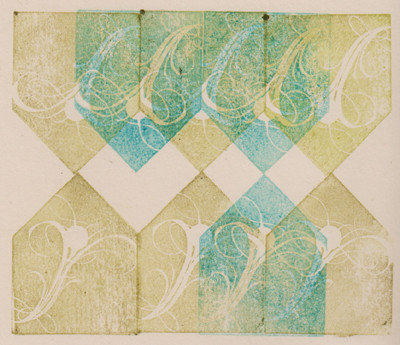
Make background - see below. Die cut a border with a Spellbinders die in cream, emboss and sponge Broken China. Trim down as shown and adhere to back of background piece. Adhere to card front.

Stamp the "Thank You with the Black stamp pad and clear emboss.

Attach a gold split ring to the heart charm, string onto the clipola, tie a bow and string the clipola through the knot on the back. adhere to card front with some glue, allow to set completely before standing up.

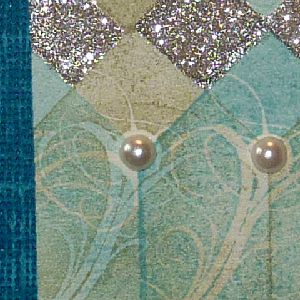
Add half pearls in each little circle of the flourishes.

Repeatedly stamp the flourish house as shown in figure "Background #1" using the Versamagic "Hint o Pesto" pad on cream cardstock, to create a finished background approx 4"w x 6"h.

Note: Use a stamp positioner if needed. I trim my rubber right up to the design and then I eyeball where to stamp it. A little deviation here and there, makes it your own...

Repeat stamping as shown in figure "Background #2", using the Distress Broken China pad, first stamping on a scrap piece of paper to remove excess ink, then stamping on background piece, also shift the stamp design over, so it overlaps two previous houses. You can now start to see the little open squares to fill with cut pieces of Sookwang tape and then glittered. Burnish well. Touch up any mismatch tape areas with the Quickie Glue pen and more glitter. Trim down background, keeping the design balanced and to fit card as shown.


Background Sample #1


Background Sample #2


Return to  NittyGritty  Gallery


Home Page Index
(text only)
Glass
Gallery
"And More"
Gallery