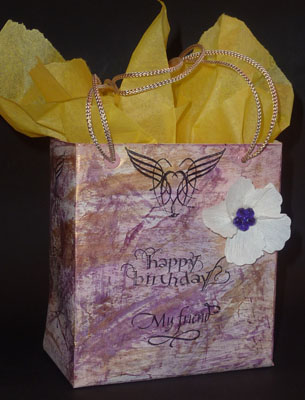
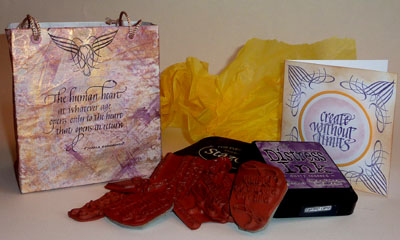
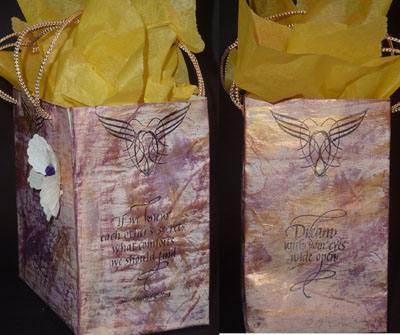
ID: DT Project - Gift Bag &
matching card
Size: 4.5"w x
3"d x 5"h
Created: May 19, 2011
Modified: July 11, 2011
SUPPLIES:
(Note: most of the supplies can be found online at
QuietfireDesign.ca (items
in Pink)
Newspaper (1 folded over page)
White Cardstock
Tissue Paper bright rose
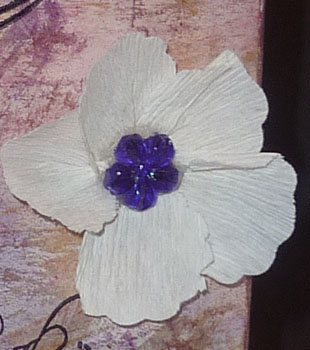
Crepe Paper for flower
Spellbinders Nestabilities
"Standard
Circle large"
Die Cutting
Machine of choice
Big Shot
Staz-On black
or
Archival
Distress Stamp pads
"Dusty
Concord",
Scattered Straw,
Worn Lipstick
Gesso
& credit card
Lumiere Paint "Halo
Violet Gold" & "Bright Gold" & 1/2" brush
Matte Medium
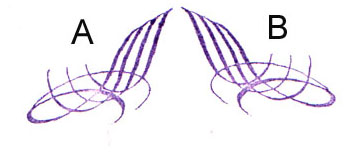
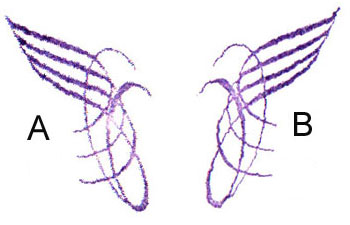
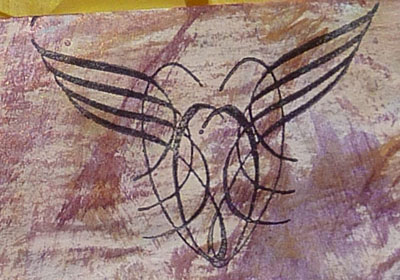
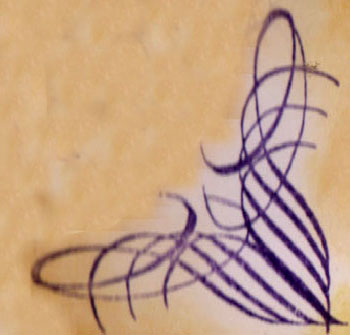
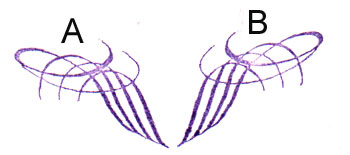
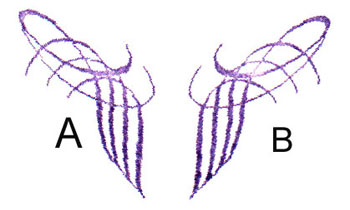
Rubber Stamp
"Calligraphic
Wings" set,
"Let
Them Eat Cupcakes",
"Friends
", "If
We Knew ", "
The Human Heart", "Dream
With Your "
Clear embossing powder
Heat Gun
EK Success "Seal" punch (or 1"dia scalloped or reg circle)
Circle Punch 5/8"dia
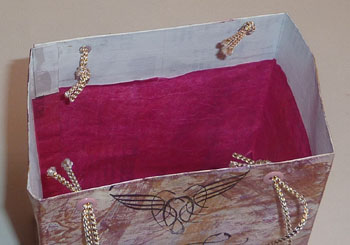
Rhinestone Flower
String approx 30"
Eyelets 4 pcs sized for string
Setting tools
X-Acto knife
Sharp scissors
Stamp Positioner
Craft Sheet
Bone folder
Golden's Extra Heavy
Gel medium
various adhesives
Sookwang Tape,
White Glue,
Glue stick