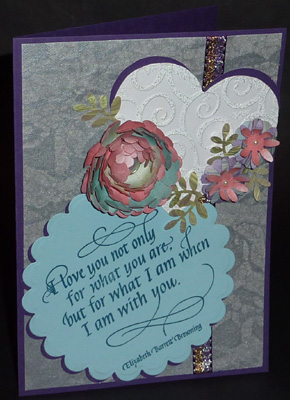
ID: DT February 2010 Love You with Scalloped Flower Card
Closed: 5"w x 7"h each
 

Created: January 30, 2010
Modified:

SUPPLIES: (Note: most of the supplies can be found online at QuietfireDesign.ca (items in Pink)
 

Purple, White & Light Blue cardstock
Silver Waves metallic paper
Small pieces of a green and a purple marble paper
Rubber stamps
: I Love You
Spellbinder's Nestabilities Classic Scallop Circle large; Classic Hearts
Die cutting/embossing machine
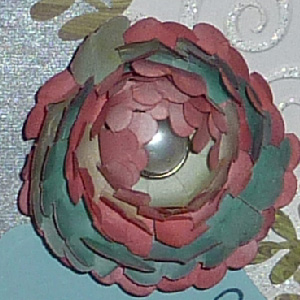
Clay forming tool & Fun Foam (for shaping petals)
Cuttlebug D'Vine Swirls
Distress Stamp pads: Worn Lipstick, Broken China, Dusty Concord
Sponging Tool
Versafine stamp pads: Deep Lagoon
Stamp pad Perfect medium (or other clear pigment pad)
Rubber brayer
Clear embossing powder
Winter Wonderland embossing powder (or other glitzy powder)
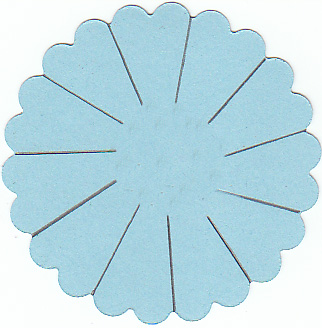
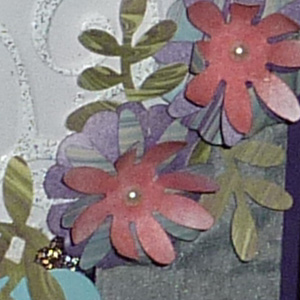
Punches: EK Success "Fern Frond"; Punch Bunch "Daisy"
Xacto knife

Glue stick &/or double sided tape
Aleene's tacky white glue (or other PVA glue)
Coordinating purple/silver ribbon
Half Pearls (very small)
Pearl Brad
Heat Gun
Scor-It


INSTRUCTIONS Scalloped Flower:

Color your white cardstock, both front and back, for one large and one smaller scalloped circle, concentrating more on the blue tones. Then do another piece of cardstock concentrating more on the pink tones. I used the smallest and the next size up for this flower, which when formed gave me a flower approx 2"w. Die cut 1 large and 1 smaller from the blue, and do the same for the pinky tone.

Cut slits in between every 2nd scallop as shown in diagram on all four circles.

Placing your scalloped circle on the fun foam, and using the rounded edge of a clay forming tool (the bowl and tip of a spoon can also be used) press down near the tip of the petal and then work toward the center, The petal should start to curl. Continue all the way around. Do this for all 4 scalloped circles. Now put a dot of glue on the bottom of one of the larger circles and nest within the other large circle. Put a dot of glue on one of the smaller circles (opposite color) and nest within the larger assembly. Finally do the same with the last circle. Pierce a hole in center and add brad, making sure the prongs on back are really flat. You can cut them so they aren't so long if needed. Now place the flower in your hand and start closing your fist, which should be forming the flower into a tight bud shape. Place flower on table and gentle start opening the petals so it looks more natural.

Set aside

INSTRUCTIONS Daisy Flower and Leaves:

Use the scraps from the scallop circle, sponging a small piece with some Dusty Concord. Punch out 6 daisies, 2 from the purple, 2 from the pinky tone and 2 from the purple marble. Using the clay forming tool or large stylus, get petals to curl a bit. Glue bottoms and assemble one on top of the other to create 2 flowers. Add a half pearl in the centers.

Punch out several fern fronds from the green marble paper

Set all this aside


Die cut 2 circles using the largest scalloped circle, one from the light blue cardstock and one from the Purple cardstock. Also emboss the blue one using the tan embossing mat. Rubber stamp the quote on the blue one, centering it and using the Deep Lagoon pad and clear embossing it.

Adhere the blue to the purple so it is slightly off set creating a faux shadow.

Die cut a nice sized heart (4th one up) from the white cardstock. Then put it into the D'Vine Swirls folder and through the embossing machine. Brayer with Perfect Medium and thermal emboss with the Winter Wonderland embossing powder.

Die cut a purple heart as well, same size.


INSTRUCTIONS Card Assembly:

Score and fold your purple cardstock, and trim as required.

Cut a piece of the silver metallic paper approx 1/4' smaller both on height and width of main card. Adhere the ribbon to the right side area of metallic paper, tucking and adhering ends to back. Adhere this to front of card, centering it.

Adhere your purple heart to upper right side, tilting it pleasingly over the ribbon. Adhere your scalloped quote circle to card, overlapping the heart and slightly at a tilted angle for interest. Then adhere your white heart, overlapping on the scalloped circle and slightly offset from the purple heart creating the faux shadow. Adhere your flowers and leaves in a pleasing arrangement.

Return to  NittyGritty  Gallery


Home Page Index
(text only)
Glass
Gallery
"And More"
Gallery