ID: Cuttlebug Asian Folders - Techniques
 

Created: January 12, 2010
Modified:

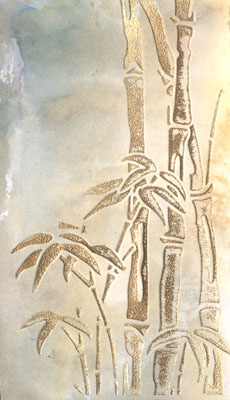
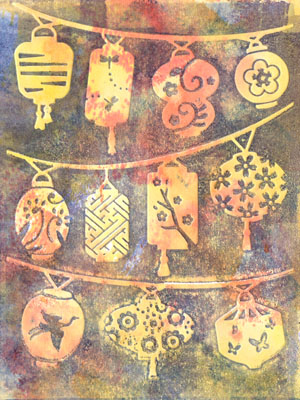
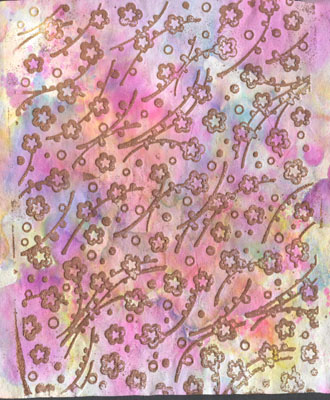
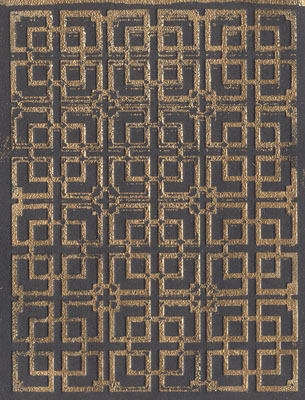
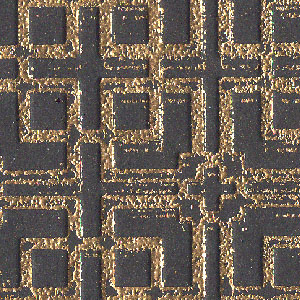
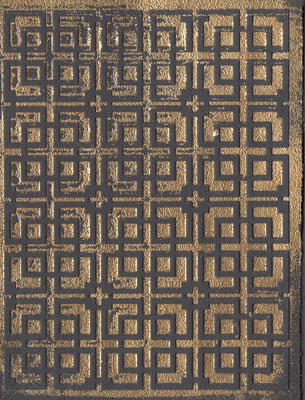
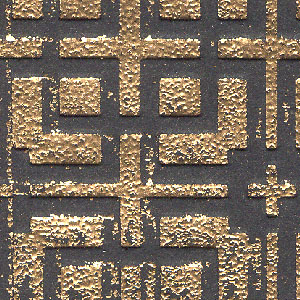
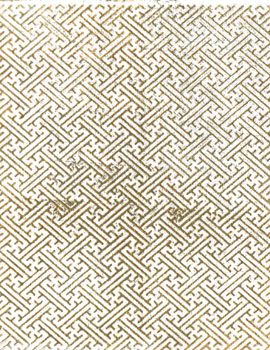
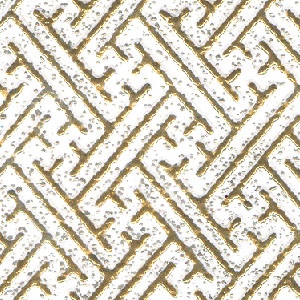
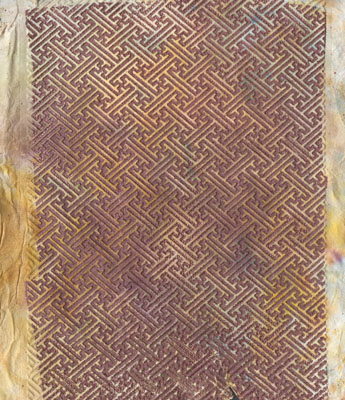
I got this set of Asian Cuttlebug folders at the beginning of January and have been loving them. So I thought I'd make a sampler of techniques using them.

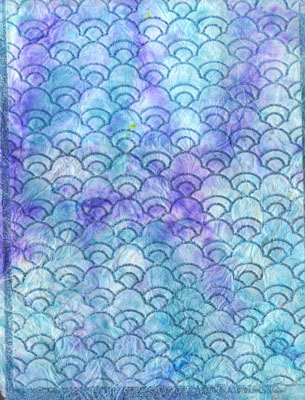
I have some nice takes on the one with the fish swimming, but they just don't scan well. I will try to get some photographs of them instead.

There are 8 folders in this set; 4 A2's and 4 that are 5 x 7"

NOTE: When I say positive side of the folder, that's the side that has the Cuttlebug logo on it.


Love the Bamboo folder.

I put some Kaleidacolor rainbow pad "Creole Spice" on a melt art mat, misted with water, and swirled my 65# white cardstock through it. Dried it. Brayered Versafine Toffee on the negative side of the folder, ran it through the Cuttlebug, then thermal embossed it with Queen's Gold.


I put some Kaleidacolor rainbow pad "Creole Spice" on a melt art mat, misted with water, and swirled my 65# white cardstock through it. Dried it. Brayered Versafine Toffee on the positive side of the folder, ran it through the Cuttlebug, then thermal embossed it with Queen's Gold.


I put some Kaleidacolor rainbow pad "Birthstone" on positive side of folder, misted with water and ran 65# white cardstock through the Cuttlebug.

The other two that I did; one was the same as above but a lighter version.

The other one I colored the negative side of the folder with Tombows, pounced a Perfect Medium pad over it, then ran 65# white cardstock through the Cuttlebug, thermal embossed with clear. Then sponged Distress Blue Jeans, misted with water.

This is another one that was hard to scan. I used a Big & Juicy felt pad "Spice" 9only the orangey section), on the positive side of the folder. misted with water and ran 65#white cardstock through the Cuttlebug.

Note: I cleaned off the face and hand of any stamp pad ink. The raised embossed image is quite white and has nice shadows from the orange ink.


This one didn't quite turn out the way I wanted so I repeated the procedure below.

I also did this on on 65# white cardstock and the horizontal bars cracked open, so did the one below with 110# cardstock and that worked better.

I put Distress Mustard Seed, Worn Lipstick & Dried Marigold on a melt art mat, misted with water, swirled the cardstock through it, then dried it.

I pounced with Versafine Majestic Blue & brayered with Imperial Purple on the positive side of the folder, ran it through the Cuttlebug, and thermal embossed with clear.

One I found the lanterns too glaring and the background color too washed out.


I put Distress Scattered Straw, Mustard Seed, and a touch of Worn Lipstick on a melt art mat, misted with water, swirled the 110# white cardstock through it, then dried it.

I brayered the dirty folder with the Imperial Purple on the positive side of the folder, ran it through the Cuttlebug, and thermal embossed with Old Island Twilight.

Now the lanterns have more of a glow and the background is more like a night sky.


This is another beautiful pattern. all the plum blossoms are done on Rice Paper (Washi)

I put some Kaleidacolor rainbow pad "Creole Spice" (only the yellow section), & Birthstone on a melt art mat with touches of Distress Broken China, misted with water, and swirled my paper through it. Dried it. Brayered Versafine Toffee on the negative side of the folder, ran it through the Cuttlebug, then thermal embossed it with Detail Copper.

 I put some Kaleidacolor rainbow pad  Birthstone on a melt art mat with touches of Distress Broken China, misted with water, and swirled my paper through it. Dried it. Brayered Versafine Majestic Blue on the positive side of the folder, ran it through the Cuttlebug, then thermal embossed with clear.

I found the pink in the Birthstone pad a bit too strong, which is why I added some yellow in the one above.


This is my favorite of the plum blossom sheets. It's a pity you can't see this in real life.

I used the same colors as the first one; Kaleidacolor rainbow pad "Creole Spice" (only the yellow section), & Birthstone on a melt art mat with touches of Distress Broken China, misted with water, and swirled my paper through it. Dried it. Brayered Versafine Toffee on the positive side of the folder, ran it through the Cuttlebug, then thermal embossed with Artful Stamper Magnolia.

The way the colors blended on this one and the gorgeous color of the magnolia is just fabulous.

This is another  one done on rice paper (washi).

Kaleidacolor "Blue Breeze" and a touch of Distress Dusty Concord on a melt art mat, misted with water, and swirled my paper through it. Dried it. Brayered Versafine Majestic Blue on the positive side of the folder, ran it through the Cuttlebug, then thermal embossed with clear.


Both of the weave patterns I did on black Full Spectrum cardstock.

This one was brayered on the negative side with Toffee, ran it through the Cuttlebug, then thermal embossed with Queen's Gold.

There's a subtle difference brayering on the negative or positive side.

This one is brayered on the positive side with Versafine Toffee, ran it through the Cuttlebug, then thermal embossed with Queen's Gold


 65# white cardstock, run through the Cuttlebug, high points brayered with Versafine Toffee and thermal embossed with Peridot.

Simple but nice.

 This is another one that looks better in real life. Also done on rice paper (washi)

Kaleidacolor "Creole Spice" and some Distress Scattered Straw on a melt art mat, misted with water, and swirled my paper through it. Dried it. Brayered Versafine Toffee on the positive side of the folder, ran it through the Cuttlebug, then thermal embossed with Garnet.


Return to  NittyGritty  Gallery


Home Page Index
(text only)
Glass
Gallery
"And More"
Gallery