Origami Leaf - Life Not Measured
Top Fold Card : 4.5h x 7"w

ID: Origami Leaf cards
 

Created: October 5, 2011
Modified:

I came across this Origami Leaf  design on Paper Zone Blog, tried it and was impressed to make these cards. Will be using the design on more cards and ATCs.

Both cards are made with the same 12 x 12 scrapbook paper cut in half. One uses the negative side which has been decorated and the other uses the positve printed paper side.

I'm also using several quote stamps from Quietfire Design  

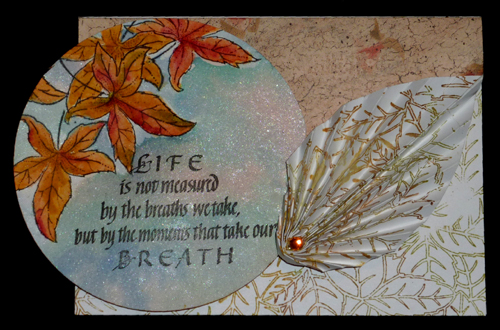
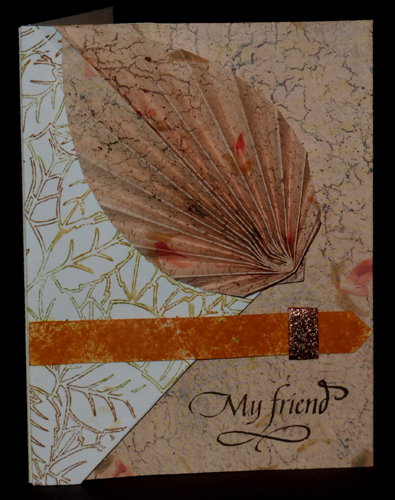
I repeatedly stamped a leaf background stamp (Prairie Rubber Stamps #2301) on the white side of the paper using Distress stamp pads (Peeled Paint, Wild Honey, Vintage Photo) and misting with water. Dried thoroughly. Then used Martha Stewart scoring tool, which I found the best for this job because it had a right angle adapter and the grooves were at regular intervals. I've got both a Scor-It board and a Scor pal, both of which can be used, but not easily... See template below for scoring details. I adhered it to a top fold white card.

Then I saw some painted leaves done on a friends blog (Leslie Miller) that I fell in love with, so had to do them too (Flourishes set #SS078). I painted them with the same colors Leslie used (Tombows 993, 026, 098 &837) on cheap watercolor paper. I used a frisket product to mask my leaves and then used Distress Stains (Tattered Rose, Broken China, & Faded Jeans) misted with water and some Perfect Pearls mist. Let that dry. It was originally done in a rectangular shape, but then I decided to cut it into a circle. And attached to the card.

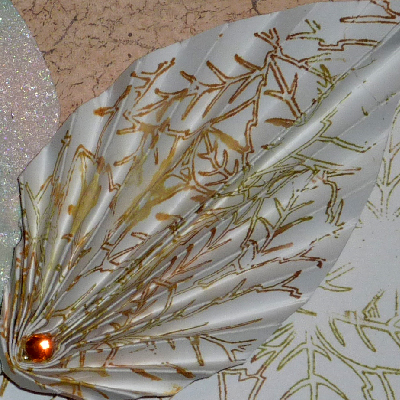
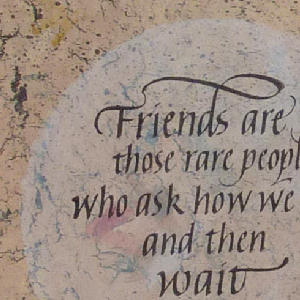
I stamped the quote with Versafine Black Onyx. Added an amber rhinestone in the leaf's folds.

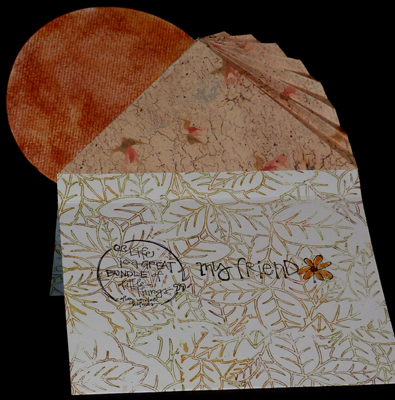
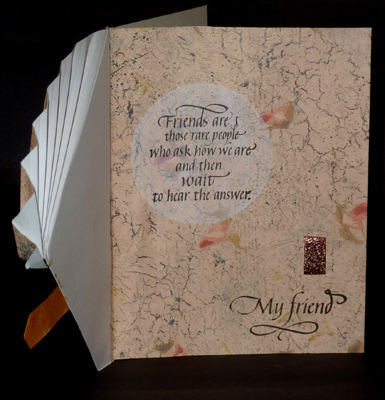
Under the front flap I colored the back of the watercolor circle with Distress pads and stamped the quote and sentiment (Michael's value stamps) with the black.

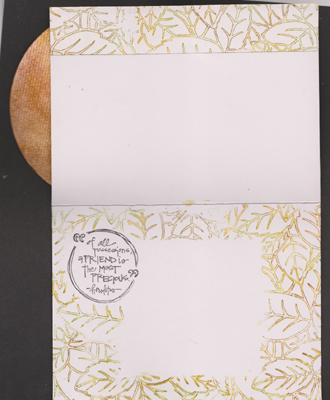
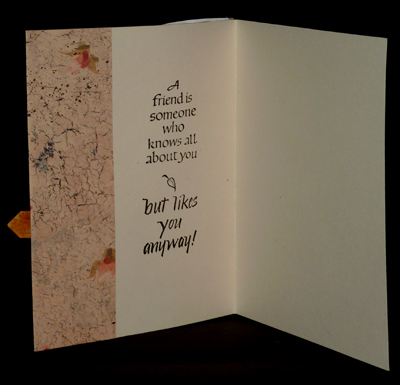
Inside card stamped another of the Michael's value stamps in black, masked it and the square for writing with post it notes, then stamped the leaf border same as the scrapbook paper.


under front flap

 
inside card

I repeatedly stamped the leaf background stamp and scored etc. same as above card. Adhered it to a side fold card. added the faux belt and loop to keep it closed. The loop was embossed with Judi Kins Rustique Tin Can embossing powder - love the color. The faux belt is white cardstock pressed into the Wild Honey stamp pad and then lightly sponged to even out the color.

I stamped the sentiment with Versafine Black Onyx.

Under the front flap I  die cut a circle in some scrap cardstock and used it as a stencil to apply Distress Stains Picket Fence. Dried and then stamped the quote with the black.

Inside card stamped another quote with the black.


Origami Leaf - My Friend
Side Fold: 4.25"w x 5.5"h


under front flap

 
inside card

Use any size paper or light weight cardstock, preferably a rectangular shape. Mine were basically 6 x 12"

Fold "B" up towards left edge, burnish.. Fold "A" up towards right edge, burnish.

Whichever side you want to use for your leaf should be facing downwards.

Set Martha's right angle triangle against left edge of scoring board. Butt the "A" "B" side against it with the tip of the "A" corner at a whole number. Then score every 1/4"  till you get to the "B point.

Note: I found it easiest to start the accordion folds from the  largest line so I didn't have to turn my paper back and forth as I was folding. Lightly burnish each fold.

Holding the folds together, flip the fold created by the "A" towards the back. Adhere this  triangle to the back.

The leaf shape is there, just bring it towards the front.


Please use your back button for previous images or should you wish to go to the Hand Painted More Cards Gallery  or More Cards 2 Gallery please click on one of the links below.

More_Cards Gallery or More_Cards2 Gallery

or click the Home button to go to the More Cards 2011 Gallery


Home Page Index
(text only)
Glass
Gallery
"And More"
Gallery