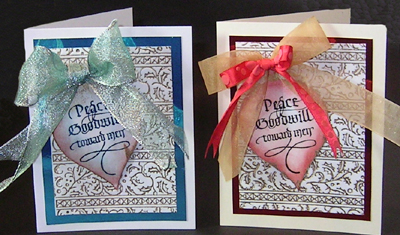
ID: Holly Ribbon - Xmas 09 cards
4.25"w x 5.5"h

Created: November 14, 2009
Modified:


I picked up several of the new Cuttlebug embossing folders. What a great bunch of folders. All these cards use the Holly Ribbon 5 x 7 embossing folder # 37-1927.

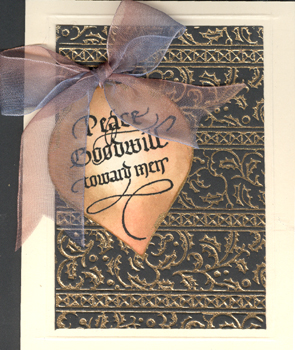
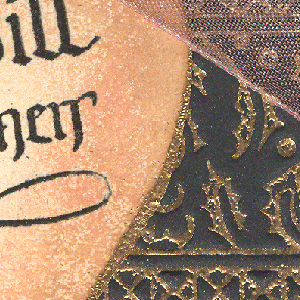
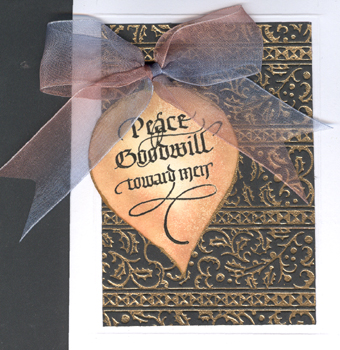
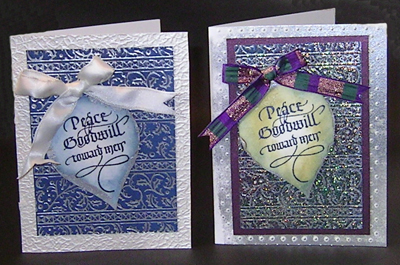
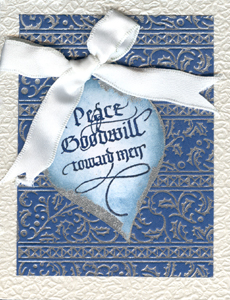
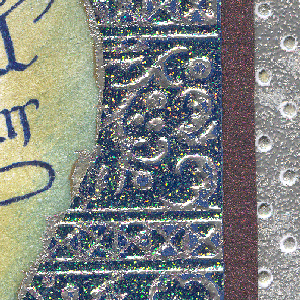
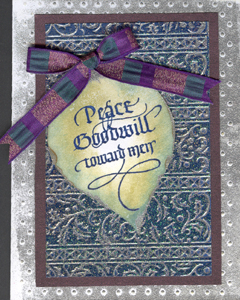
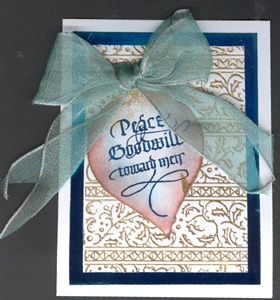
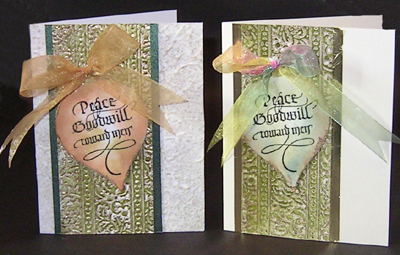
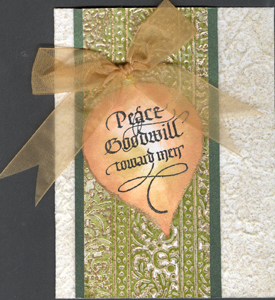
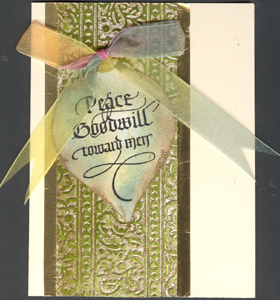
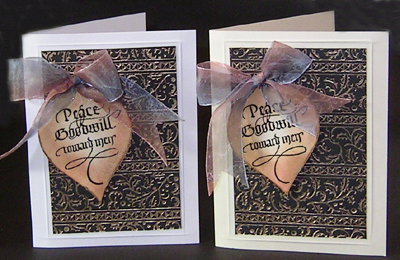
For all of them I first inked up the embossing folder, sometimes on the negative side, but mostly on the positive side and thermal embossed when it came through the Cuttlebug, with gold or silver. For several of them I then ran a brayer over the high points and thermal embossed again. Trimmed down to size either as a vertical background or a horizontal background. Adhered it to either a cream toned or white card.

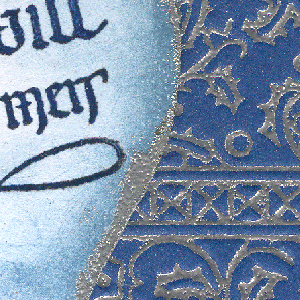
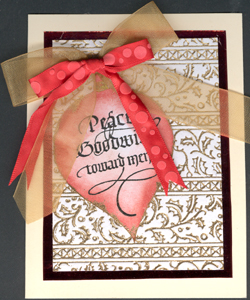
I rubber stamped the quote (Quietfire Design "Glory to God") only using the bottom portion of the quote and stamping with Versafine Black Onyx or matching color stamp pad and clear embossing. Found an image of an ornament that was a little smaller than I needed, so enlarged it, went through the various programs and then cut it out with my Cricut. (Could have cut them out by hand, but it definitely saved time and then came out so neat, no jagged edges). Then I thermal embossed the edge with either the gold or silver. Used a sponging tool and various complimenting Distress stamp pad colors to color the ornament.

For the final touch added a large bow in whatever color I took a fancy too.

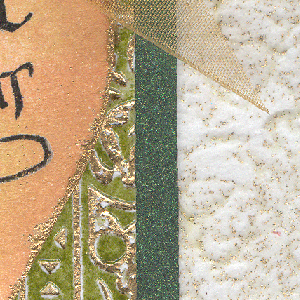
There are a few individual details, like the Scor-it lines on these two cards, or mounted to metallic cardstock.

ID: VSN Nov09-Fabric-Quilt #1

Detail of #2
Done on Black cardstock with Queen's Gold embossing powder.

ID: VSN Nov09-Fabric-Quilt #2


Both done on the same deep blue cardstock and both thermal embossed with silver embossing powder. The one on the right had a second coating and was brayered with Perfect Medium and embossed with Holographic embossing powder.

ID: VSN Nov09-Fabric-Quilt #3

Detail of #3


Layered a piece of white pearlized textured paper onto the main card, then the holly ribbon piece.


I ran the white card through the Cuttlebug with the Swiss Dots folder, brayered the high points (and got the low points too) and thermal embossed with silver. Mounted the holly ribbon to an amethyst metallic cardstock, then onto the main card.

Detail of #4

ID: VSN Nov09-Fabric-Quilt #4


Both done on the white cardstock and both thermal embossed with Queen's Gold embossing powder.

ID: VSN Nov09-Fabric-Quilt #5

Detail of #5


Layered it onto a red shiny metallic cardstock . Tied a double ribbon.


Layered it onto a deep blue shiny metallic cardstock .

Detail of #6

ID: VSN Nov09-Fabric-Quilt #6


These were the vertical designs. Both done on white cardstock and thermal embossed with Queen's Gold. Then I did a the second layer, using the brayer with Distress Shabby Shutters and clear embossing. I had done it only to half the design to test it out, liked it and continued with the other half, but one side was lighter than the other, so had to cut them apart, creating the vertical design.

ID: VSN Nov09-Fabric-Quilt #7

Detail of #7

Layered it onto a metallic green cardstock then onto a heavy textured white mulberry paper which I had run the brayer over with Perfect Medium and embossed with a mix of clear and gold embossing powder, to create a speckled background.

Layered it onto Art Emboss Extra Light weight gold foil.

Detail of #8

ID: VSN Nov09-Fabric-Quilt #8


Please use your back button for previous images or should you wish to go to the Hand Painted More Cards Gallery  or More Cards 2 Gallery please click on one of the links below.

More_Cards Gallery or More_Cards2 Gallery


Home Page Index
(text only)
Glass
Gallery
"And More"
Gallery