|
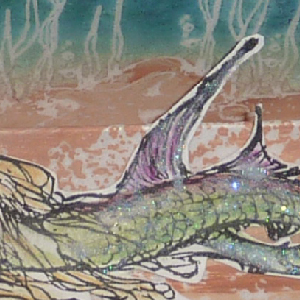
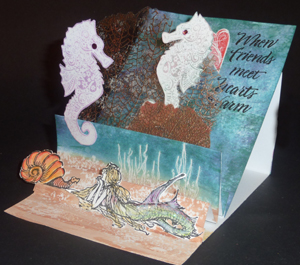
I stamped the foreground of the
step cardstock with beach sand (Starving Artistamp) and sea bottom flora (Onyx
Xpressions) and clear embossed them, then painted over it with Ceramcoat Delta
acrylic paint in a flesh tone and then streaked it with a deeper mocha, aloowed
it to dry a bit then wiped off the paint from the embossed areas.
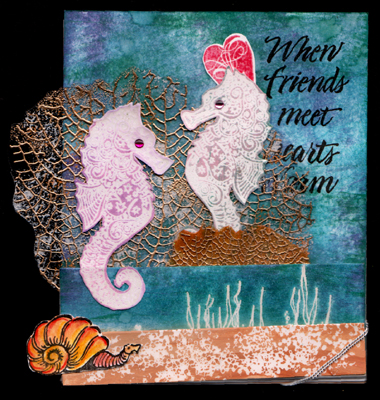
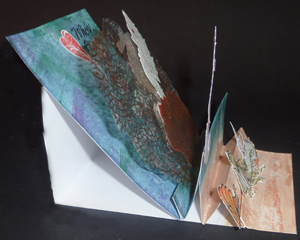
On the rest of the step part
cardstock, work direct to paper with Distress Broken China all over, some Stormy
Sky and swipe across a couple times with Dusty Concord and Pine Needles. Mist
with water and dry.
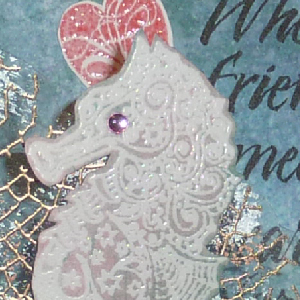
Stamp the
first three lines of the quote (Quietfire Design "When Friends meet...") with
Versafine Black Onyx using the stamp positioner or the
tracing paper method and stamping to the extreme right of the card. Stamp the
bottom two lines. This removed a heart that was in the center. Stamp the
Flourishing Heart on some scrap cardstock with the Worn Lipstick, clear emboss
and cut out leaving a small white border all around. Adhere to card next to
quote.
On the main easel part of card, stamp & paint the foreground with the same as
above, then make a small fold that will be the stopper for the easel/step part
of the card and continue folding to create the back and easel part the step
portion will be attached to. |
 |