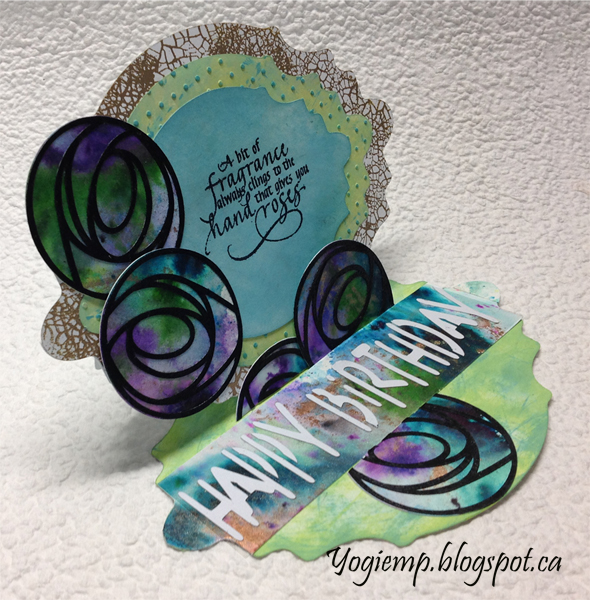
ID: "May/19 - Easel Digi Ornate Frame - A Bit Of Fragrance - Deco Rose" card
size: 7"w x 5"H 

Created: May 25, 2019
Modified:

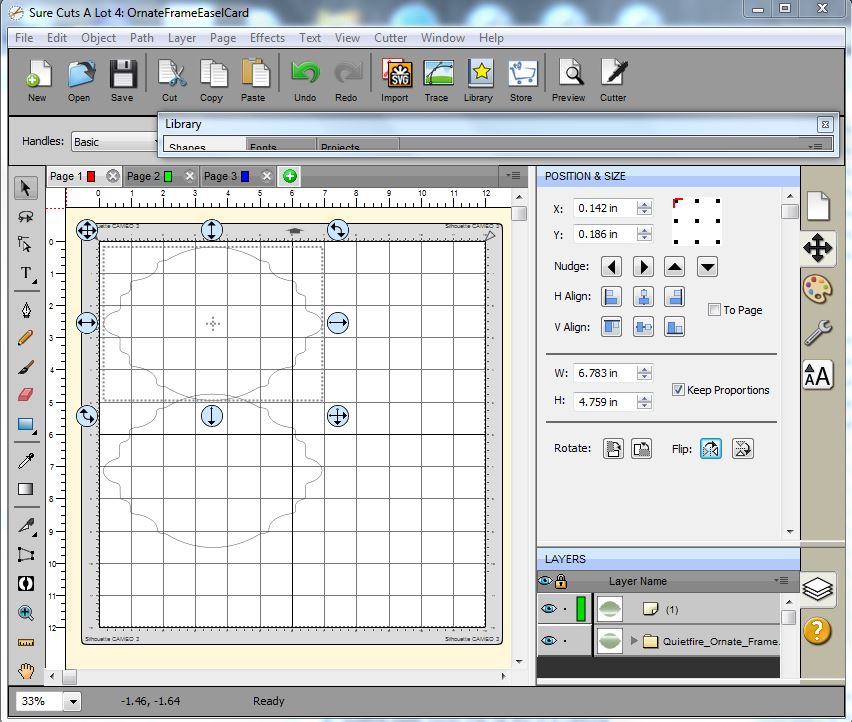
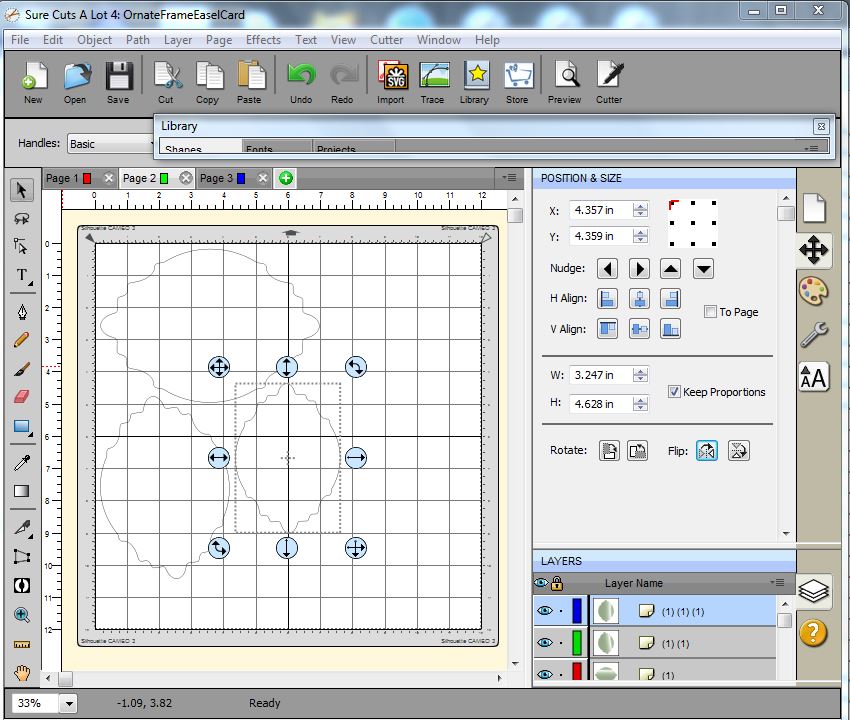
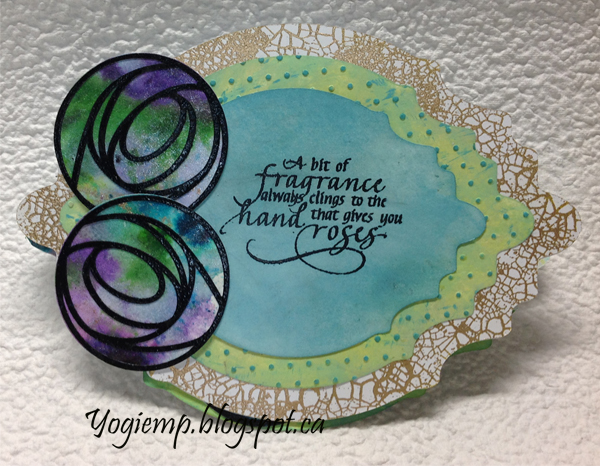
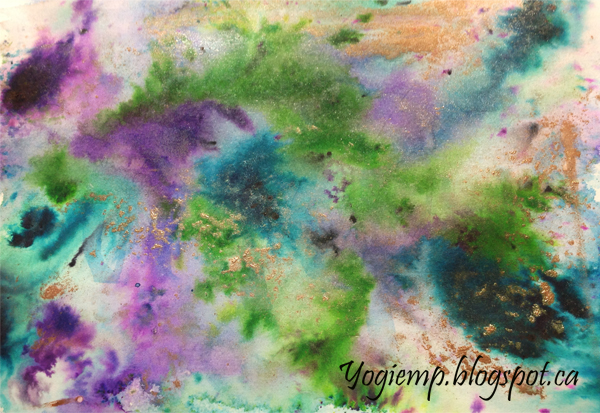
My turn on the Quietfire Digital blog. Suzanne came out with a bunch of beautiful digital frames and had to use one of them. Also love the deco type roses and I was in a colorful mood...

I'm using a design element background stamp from Quietfire Design ("Crackle Background")

I'm using a clear quote stamp sets from Quietfire Design ("A Bit Of Fragrance Collection" 8pce set)  also available from Elizabeth Craft Designs HERE 

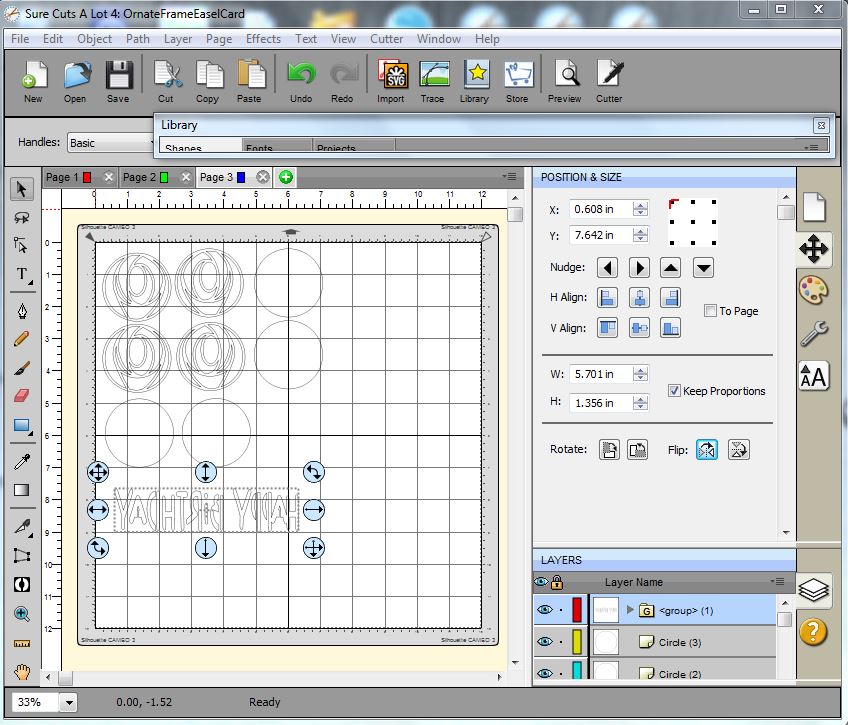
And am using a few of Suzanne's electronic files available on Silhouette onLine store. Click images to purchase.         

Opened SCAL (Sure Cuts A Lot) and the Ornate Frame. Pulled out the largest frame and deleted the rest. Flipped, squeezed and elongated it and resized it to approx 7"w x 5"h. Copy & paste, then flip top to bottom. Move to join with the first frame, overlapping slightly, weld together. Cut from white cardstock. Then score through the joined point and the upper one at the half way point through those nodes on either side. You now have your easel structure.


Copy and paste one of the frames from page 1 to page 2, keeping it the same size.

Paste 2 more of them and while in the same configuration as the original frame - resize them to 5.695" x 4.002 & 4.628" x 3.248" then move them on your mat to be cut from white cardstock 


The largest layer was stamped with the crackle background using Versafine Toffee and embossing with Queen's Gold embossing powder. Note: I only stamped around the edges pf the frame. No need to stamp the whole thing... Adhered to the bottom portion of the top folded part.

The next layer was colored with Distress Oxide pads direct to paper ("Twisted Citron" and a bit of "Cracked Pistachio") then dry embossed with Cuttlebug "Swiss Dots" embossing folder. High points hit with "Peacock Feathers"

Top layer: Quote stamped with Versafine Clair "Twilight" and embossed with Emerald Creek Seth Apter "Eclipse" embossing powder, then sponged with Distress Oxides all over with "Broke China" and "Mermaid Lagoon". Dampened a paper towel and wiped of inks from the quote area.


On page 3, opened the Nouveau Rose file. Ungrouped everything and moved the 4 rose pieces to the mat. Cut from white cardstock. Inked the outlines with the twilight and embossed with the Eclipse.

Added a circle the same size as rose (2.122" sq). copied and pasted 3 more and cut from the decorated cardstock below. Adhered the outlines to the decorated circles and adhered 2 of them the card front.

Opened the Happy Birthday Gear Box, ungrouped (do it several times) then delete the gears above and below the Happy Birthday. Move to mat and enlarge to 5.701" x 1.356". Flip from left to right (you need a backward image for next step). Cut from white cardstock. While still on mat, apply a very thin bead of glue to each letter - careful, don't get glue on other areas... then press the decorated cardstock used for flowers onto the letters. Allow to dry a couple minutes then remove from mat and trim down to fit card floor.

DECORATED BACKGROUND PAPER: Wet some cold press watercolor paper and drop in Ken Oliver Liquid Metals (Verdis Gris, Amethyst, Sky, and Yellow Gold). playing and tilting and adding more water where needed. let dry.

On the floor: Direct to paper with the Twisted Citron and the Broken China. Used a sponge to blend colors a bit.

Scored and adhered the rose to act as my stopper. 

Adhered the Happy Birthday panel, then adhered the last rose splicing to fit and used the left over and attached to stopper.


Please use your back button for previous pages or should you wish to go to the Misc Challenges Card Gallery 2019 please click on

or to go to the Misc Challenges Card Gallery 2018 click HERE

or to go to the previous Misc Challenges Card Gallery click HERE

or  And More Gallery for other hand made greeting cards please click the link below.

More Cards Gallery


Home Page Index
(text only)
Glass
Gallery
"And More"
Gallery