ID: Feb/19 - Easel Digi Barista - Coffee & Friends - Celebrate - HB
size: 7"w x 5"H 

Created: February 22, 2019
Modified:

My turn on the Quietfire Digital blog and Suzanne came out with more coffee digital images... and you know how much I love coffee. BIG GRIN

I'm using a design element stamps, quote and sentiment stamps from Quietfire Design 

("Grid Background"); ("But First Coffee" 8pce set); ("Tea" 7pce set); ("Just For You" 4pce set) 

And am using an electronic file from Suzanne Cannon available on Silhouette onLine store. Click image to purchase.


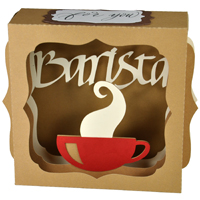
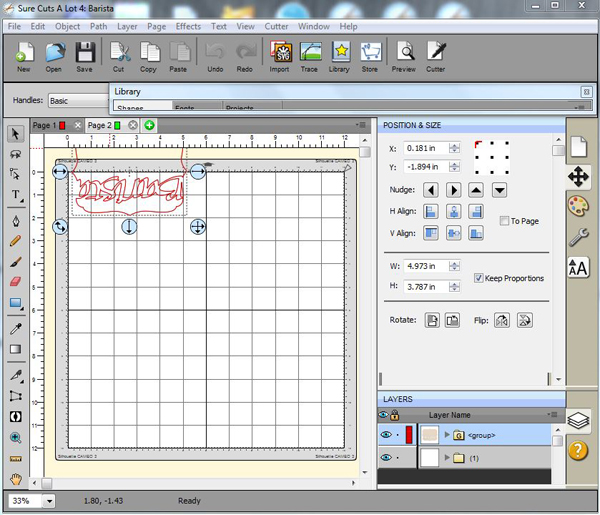
Opened SCAL (Sure Cuts A Lot software) and the - Barista file. Removed the box piece. Grouped all and increased size so one of the page layers was approx 6.7"w. See layout below. Cut all from white 110# Staples Cover cardstock.

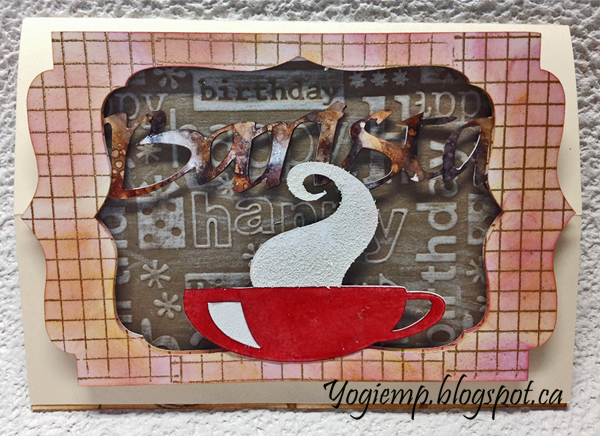
Copied and pasted the "barista" layer to page 2 and flipped it so it hangs off the cutting area. I 
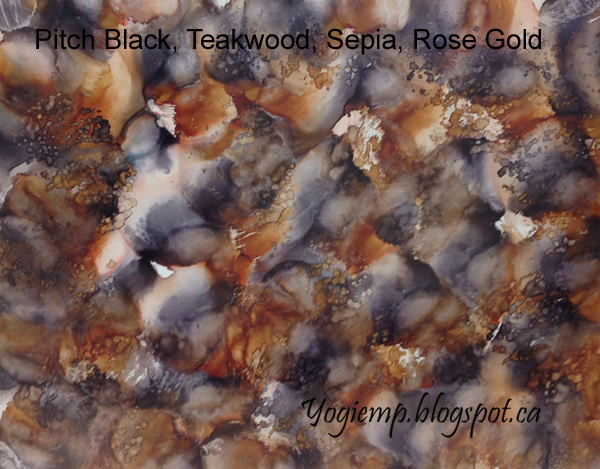
only wanted the "barista" word. Cut from an alcohol decorated background (see below). Fussy cut the "barista" word apart from the frame and adhered to the background layer.

Inked the grid stamp with Versafine "Toffee", repeatedly stamped on both layers and then embossed with Queen's Gold embossing powder. Sponged Distress "Picked Raspberry" and "Mustard Seed" all over. 

Inked the cup direct to paper with the Barn Door and embossed several times with UTEE to get a really glossy ceramic look. Adhered to front layer. Inked the shine with white and embossed with Stamp Mania "Glacier White" embossing powder. Adhered to cut. Inked the steam piece with Versamark and embossed with Emerald Creek "Soft Fallen Snow" - love the textural effect.
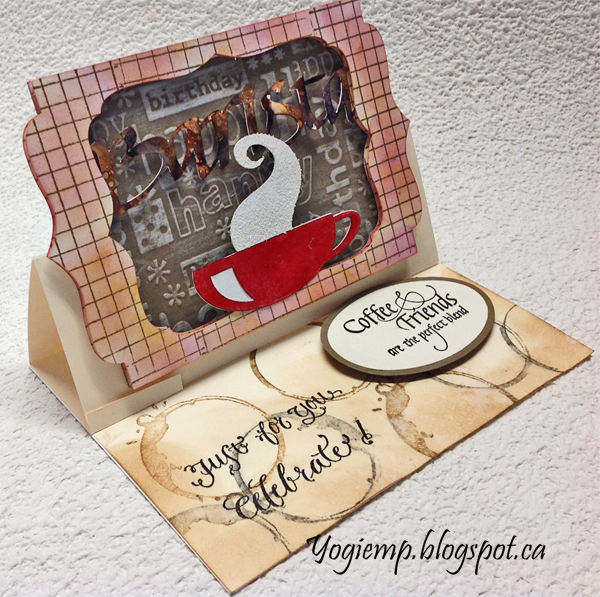
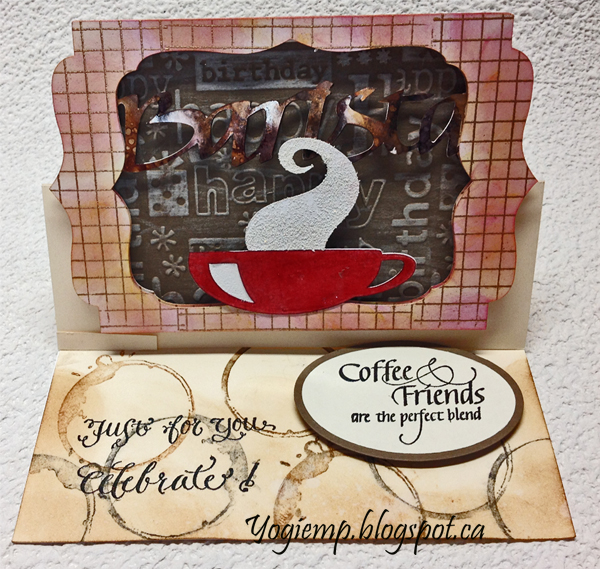
 

Cut, scored my easel structure from cream cardstock. 

Dry embossed a piece of brownish cardstock using Cuttlebug "Happy Birthday" embossing folder. Hit the high points using Distress Picket Fence pad. Trimmed down to the straight edges of the front layers. Adhered to easel structure.

Adhered the Barista layer using 3D foam tape, then the cup layer with 3D foam tape.


On the floor. Stamped the cup rings with Distress "Vintage Photo" for some of the rings and "Black Soot" for others, overlapping. Sponged some brown around the edges and lightly over the stamping. Misted with water. Dried

Stamped the "Just For You" and "Celebrate" with the black and clear embossed.

Stamped the "Coffee & Friends" with the black on white cardstock. Clear embossed. Die cut the stamped layer and the brown layer with Spellbinder's Petite oval die sets. Adhered both together then onto the floor with 3D foam tape to act as my stopper.

Added a small piece of folded cardstock along the left edge to help with my stopper.


Some of you may have seen this background recently but thought I'd put it here as well...

Applied The inks "Pitch Black", "Teakwood", "Sepia", "Rose Gold" and some Alcohol Blending solution to my felt tool then pressed and twisted the tool onto my photo paper. After doing this to the whole paper, leaving some white areas, started bouncing the tool lightly in some areas.

I love the result I got from the twisting motion. 

Please use your back button for previous pages or should you wish to go to the Misc Challenges Card Gallery 2019 please click on

or to go to the Misc Challenges Card Gallery 2018 click HERE

or to go to the previous Misc Challenges Card Gallery click HERE

or  And More Gallery for other hand made greeting cards please click the link below.

More Cards Gallery


Home Page Index
(text only)
Glass
Gallery
"And More"
Gallery