ID: MC Apr/16 - Kensington Bag - Love You Mom card card
size: 5"w x 7"h

Created: April 30, 2016
Modified:

Love this Kensington bag... (Tonic Studios)

One of the NEWEST "A Way With Words" dies from Elizabeth Craft Designs ("Love & You"), designed by Suzanne Cannon (also available HERE & HERE). 

I'm also using a sentiment & quote stamp  from Quietfire Design  

("Just For You" 4pce set); ("Just Living is Not Enough...")


side view


back view


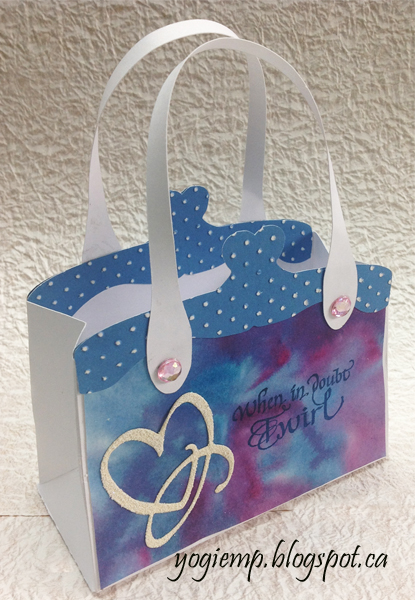
Cut all the pieces from cream toned cardstock. Folded all the score lines and adhered the front, back and two side panels together, leaving it flat to decorate.

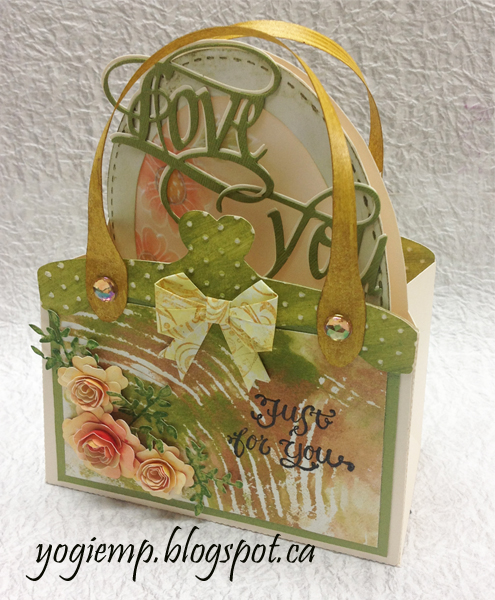
Used the front panel insert to cut a piece of my Gelli plate decorated paper from my stash (finally using some of it...). Adhered it to a green Bazzill monochromatic cardstock and used my Layering Ruler to cut a 1/8" border around, then adhered it to the front and back.

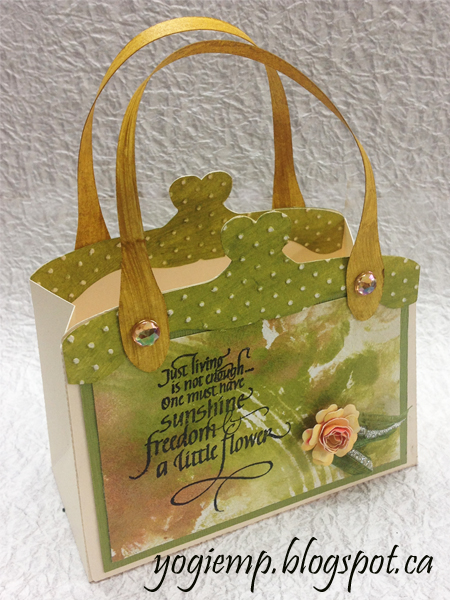
Stamped the sentiment on the front and the quote on the back using Versafine Black Onyx and clear embossed.

The top edge pieces, I painted with Distress acrylic daubers "Peeled Paint", ran through my machine with the Cuttlebug "Swiss Dots" embossing folder, then sanded the high points. Adhered them to the top edge, backing it with a 2nd piece.

Adhered all my flower and leaf elements. (Die-Namics "Hybrid Heirloom Roses");  (CC Designs "Leafy Branch"). Added a small piece of Sari ribbon under the back rose.

Adhered an origami paper bow, also from my stash... (YouTube instructions HERE)

Painted the handles front and back with Distress acrylic dauber "Tarnished Brass", dried, shaped between my fingers to get it to curl, then adhered to bag adding iridescent pink toned gems.

Stamped the flowers (AlteNew "Floral Motifs") using Distress Picket Fence on heavy weight vellum. Turned the vellum over and tooled it using a small balled stylus over a piece of fun foam. Careful, don't press too hard or you'll go through the vellum... With the same tool, created some shading and center dots.

Painted the flowers with Spectrum Noir alcohol pens, starting with a deep tone of yellowish/orange and then all over the flower with a very pale yellow. Used a bright yellow in the center and rimmed it with brown, then blending. Die cut with the 2nd largest stitched ovals. (Elizabeth Craft Designs)

Die cut the largest Stitched Ovals and then the 3rd largest from cream toned cardstock to create a frame. Hit the high points with "Forest Moss", then sponged some around the edges. Adhered the oval vellum piece to the frame.

Scored and folded my cream toned card, placing the largest die just off the fold line and die cutting. Manually cut the window opening, then adhered the vellum frame piece to the front of the card.

Die cut the feet (Creative Expressions "Petite Arched Adornments") and adhered to oval.


Die cut the "Love" and "You" from cream toned cardstock and green Bazzill monochromatic cardstock, adhering the 2 layers together slightly off set, then on the card front.

eCut the word "Mom" and a shadow layer from the cream cardstock. Inked the top layer with green and embossed with "olive" embossing powder. Adhered to shadow layer and then on to card front.

here's the 1st one I made...

 Please use your back button for previous pages or should you wish to go to the Misc Challenges 2016 Gallery please click on

or to go to the Misc Challenges Card Gallery 2015 click HERE

or to go to the previous Misc Challenges Card Gallery click HERE

or  And More Gallery for other hand made greeting cards please click the link below.

More Cards Gallery

Home Page Index
(text only)
Glass
Gallery
"And More"
Gallery