ID: 
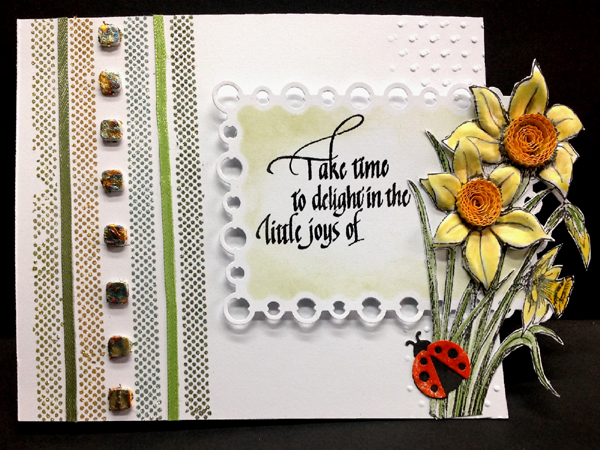
SABH Mar/14 - Side Easel Spring - Take Time card
size: 7.5"w x 5"h (closed)

Created: March 11, 2014
Modified:

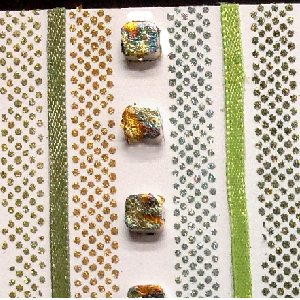
Quietfire Design is having a blog hop in conjunction with Scrapbook Adhesives. We were allowed to choose a bunch of product to try out and I was pleasantly pleased. My favorite adhesives are my ATG gun and Sookwang tape and then just the cheap 3D foam tape, but as you can see on the card, I found some other nice ways to use their adhesive along with the regular use of them. BIG GRIN

I'm also using a quote stamp from Quietfire Design that I use a lot. It's was created as a winter/Xmas stamp, but if you omit the words "the Season" and put in your own word, it' a limitless quote.

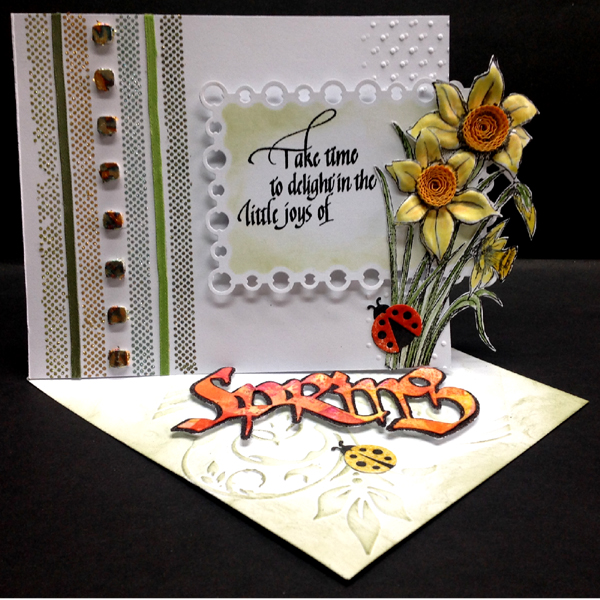
I also calligraphed/created the word "Spring" and is available as a jpg image, an SVG, & a SCUT file (for SCAL - Silhouette). If you don't have a Silhouette machine or this software program, you will need to have the capabilities of uploading it to your cutting software.

contact me here to get the lattice file

I cut my white cardstock (5"h x 11"w), scored and folded  similar to this diagram but changed the height to 5". Scored at the 5" mark on the left of the 11" side of my cardstock. Then scored the diagonal line.

Folded the front flap in and layered another piece of white cardstock that was decorated the same size as the base of the floor and adhered to the front flap (see gluing area on the above diagram "glue front here").

I love the dots from the Scrapbook Adhesive E-Z Dots runner. I applied vertical lines on my white cardstock and sprinkled with various colors of Glitter Ritz micro fine glitter (Chartreuse, Gold, Celadon & Peridot), burnished well.

Adhered the small 3D foam adhesive squares and applied Green Variegated gold leaf to them and brushed of the excess using the brush that comes in the Perfect Pearls set.

Then adhered the narrow ribbon in 2 shades of green using the Crafty Power Tape.

Embossed the right side  using Cuttlebug "Swiss Dots" folder. As mentioned above adhered this layer to the front of my side easel card.


top view


Stamped the quote (masking of those two words) using Versafine Black Onyx and clear embossed. Die cut with Spellbinders "Pearl Effects Card Creator", sponged Distress "Forest Moss" around the edges and adhered to card front using the larger of the 3D foam squares.

Stamped the daffodils (Art-Kure "Daffodils") twice on white cardstock using the black. Colored with Prisma colored pencils, then fussy cut the 1st stamped image all around. Fussy cut the 2nd stamped image, but only the individual petals (one at a time), and used a large balled stylus to shape the petals. Dipped the edge that falls in the center of the flower in some glue and adhered to 1st stamped flower. Repeated till all petals were adhered.

Used a strip of quilling paper and crimped it prior coiling and allowing the coil to loosen, adhered the end and then adhered the coil to the flower center. Adhered the flower to the card front.

Die cut the lady bugs (eCraft Designs). colored the body with a black Zig writer, then the wings with Distress,

 "Persimmon" or "Mustard Seed" and clear embossed. Adhered the wings to the body and on to the card.

Embossed the floor of the card using Couture Creations Romantique Series "Breeze" and sponged some Moss over the high points.

eCut the word "Spring from white cardstock including a shadow layer. Applied Distress pads direct to paper in the Mustard, Persimmon & Picked Raspberry, then added some of these colors to a craft mat. Misted the eCut with water to blend some of the color and then smeared it carefully on the wet craft mat, dried. Repeated till I got the right concentration of color. Applied Versamark all over the colored letters and clear embossed.

Ran the shadow layer through my Zyron, burnished well to remove the overspill of the glue, adhered my colored letters then sprinkled with Glitter Ritz micro fine glitter "Javea Bean". Burnished and wiped off the excess. Adhered to floor of card with the small 3D foam squares.

card closed


Please use your back button for previous pages or should you wish to go to the Misc Challenges 2014 Gallery please click on

or to go to the previous Misc Challenges Card Gallery click HERE

or  And More Gallery for hand made greeting cards please click the link below.

More Cards Gallery


Home Page Index
(text only)
Glass
Gallery
"And More"
Gallery