card closed

ID: DT Mar/14 - Easel Gelli Bkgr'd Thank You - Gratitude card
size: 7"w x 5"h (closed)

Created: March 29, 2014
Modified:

I love doing Gelli Print backgrounds using dye ink pads.

I'm using a a quote stamp from Quietfire Design and an eCut file (available on the Silhouette online store)


Creating the Gelli Print: I used Memento dye ink pads, but any juicy dye ink pad will work on cheap cold press watercolor paper.

I pounced "Dandelion" all over the Gelli plate, then did about 4 pounces of each of the next colors, overlapping them and angling my pad for each pounce "Tangelo", "Teal Zeal", "Lilac Posies". Then I brayered the Gelli plate to blend the square edges from the dye pads. Be careful if you brayer too much you'll get MUD... so just once or maybe twice over any area. Place a stencil over the Gelli Plate (Prima 12 x 12 #960445 - dots/circles) and pounce with a clean piece of paper towel to remove some of the dye ink from the opening in the stencil. Remove stencil and lightly mist with water and pull your print. Dry.

Don't bother cleaning your Gelli plate if you do more printing. adds character to subsequent prints. BIG GRIN

I then eCut my "Thank You" word. Carefully removed it from my mat, keeping all the little pieces (don't lose them...). I applied some Distress "Peacock Feathers" on the word only, and clear embossed.

Cut another piece of cardstock (white) the same size as my card front. Applied double side tape all over it and adhered the cut out Gelli plate print to it. I then inserted the embossed word and started inserting the little drop out pieces.

When done, you can run your finger over the whole piece and it will be just one layer, no raised areas.


The white area you see above is the area where I still have to insert the drop out pieces and shows the double sided tape showing through.

side

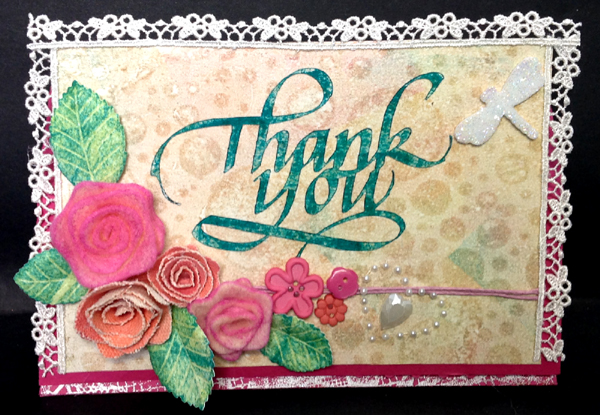
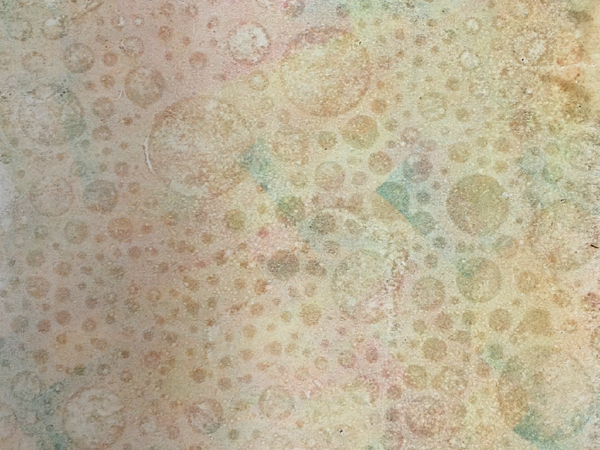
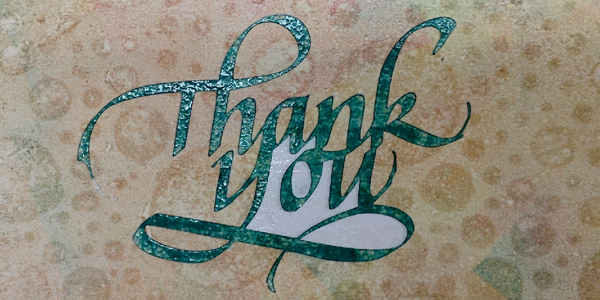
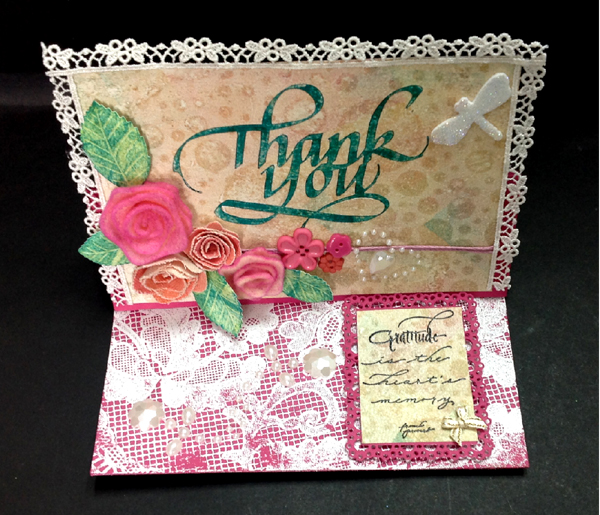
I trimmed down my Gelli eCut piece down. Wrapped a piece of pink twine around twice, adhering it to the back. Adhered the white lace around both side edges and top area using Allene's glue.

Die cut the flowers (Marianne Creatables LR0162) from some cheap felt (Michael's store) & hand painted canvas material I had left over from some journal projects. Shaped them and adhered the bottoms with hot glue, then hot glued them to the card. PS the felt flowers were a salmon color which I sprayed with a mix of Dylusions "Funky Fuchsia"; Rangers Perfect Pearls "Perfect Pearls" & water in a mini mister.

Die cut the leaves (Memory Box "Sonora Rose") from another Gelli print background. This die has embossed vein leaves, so I lightly swiped the Peacock pad over the the leaves (the veins show up more now). Shaped them with a large balled stylus on a foam mat and adhered with the glue gun.

Added some floral buttons I picked up at the last sewing show.

The dragonfly is a Scrapbook Adhesives 3D foam cut out which I sprinkled with glitter.

I added the white pearl heart shape (K&Co adhesive gems pkg.)

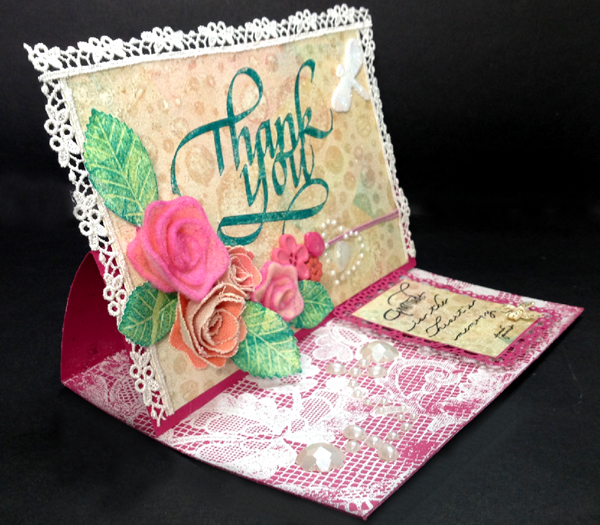
Adhered to the front of my my easel folded deep pink card.

card open


Stamped the lace floral background (Harmonie stamps) using Versafine Toffee and embossing with white embossing powder direct to floor.

Stamped the quote on a small piece of the Gelli background using Verafine Black Onyx and clear embossing. Trimmed close.

Die cut the border 3 times from a left over piece of the card using  (Marianne Creatables CR1242), then splicing them together. Adhered to floor with a double layer of 3D foam tape.

As a final touch added some pearl flourishes from the K&Co pkg & a small bow..


Please use your back button for previous pages or should you wish to go to the Misc Challenges 2014 Gallery please click on

or to go to the previous Misc Challenges Card Gallery click HERE

or  And More Gallery for hand made greeting cards please click the link below.

More Cards Gallery

 
Home Page Index
(text only)
Glass
Gallery
"And More"
Gallery