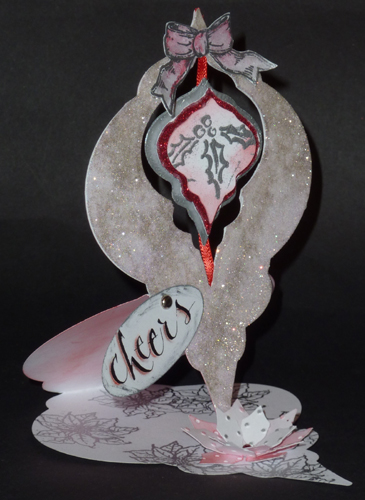
CreatedByHandChallenge.Wordpress.com
December 6/11  "Santa or Ornament dies"

ID: MC Nov/11 - Ornament Die - Cheers (Easel) card
4"w x 5.5"h closed

Created: November 30, 2011
Modified:

One of the challenges this week is White & Silver with a touch of 1 other color... then I had a few other things in the back of my mind and the rest just came about. This one is defintely not one layer.

I'm using a design element (holly leaves) stamp from the new Xmas rubber from Quietfire Design

I started by die cutting a medium sized ornament (Spellbinders "Heirloom Ornament 2010"), then using the die to cut the outside and inside profiles with an x-zcto knife from white cardstock. The largest I embossed with silver embossing powder (2 of them), the middle one I coated with glue and used Ritz micro fine glitter "Regal Red", the smallest one I stamped the holly leaves and embossed with the silver and then sponged a bit of Distress "Festive Berries". Adhered them together with pop dots between the layers. Adhered the red ribbon and then adhered another silver ornament to the back.

Put a piece of 6"w Sookwang tape on a piece of white cardstock and die cut the largest ornament from the set and nesting a smaller ornament to get the cut out to hang my ornament from above. Removed the release paper from the large cut out and sprinkled Ritz micro fine glitter "Warm Highlights" and then "Stardust", burnishing well. Die cut another largest ornament and used the first die cut to place my smaller die to get an exact cut out. Adhered the hanging ornament to the back of the glittered ornament, then adhered the 2nd cut out to the back which hides the ribbon and adds some strength to the ornament.

Side view

Closed

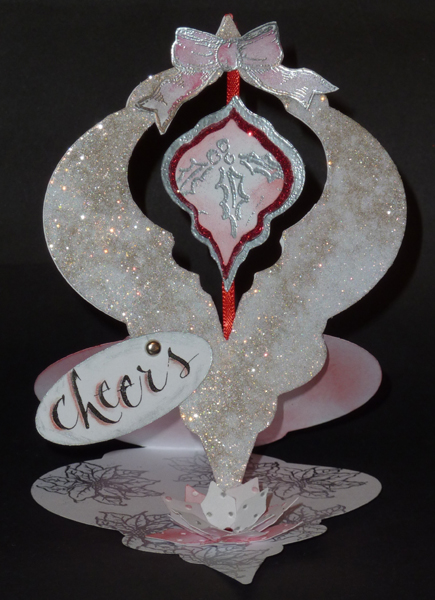
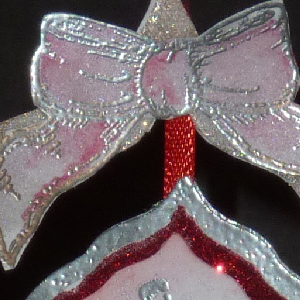
Stamped the bow (Flourishes "Holiday Sparkle" set #173) and embossed with the silver, then painted with some watercolors, cut out and adhered to ornament.

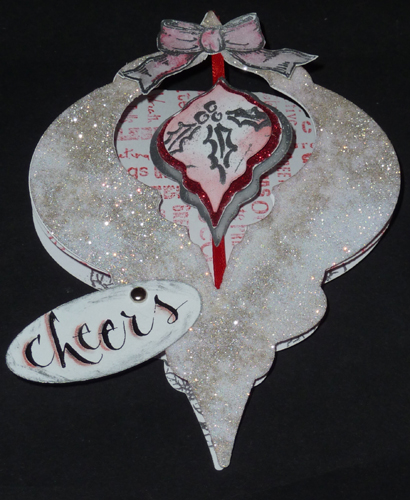
Top folded my white card and placed the largest Ornament die just slightly above the fold, then cut it out. Folded the top layer down (note: I made my offset about 1/3 & 2/3). Stamped the Xmas text (Impression Obsession "Christmas Text")  on the top of the front fold down so it will peek out of the opening in the ornament. I did a 2nd generation stamping so it would be a bit lighter and more subdued using the Festive Berry pad.

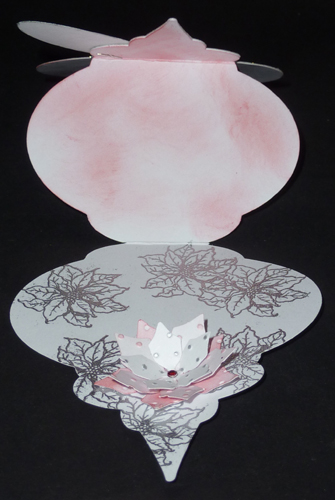
Sponged a bit of the red on the underside (inside) of the card. Repeatedly stamped the small Poinsettia (Flourishes "Poinsettia & Boxwood" set #37) on the floor of the card and embossed with the silver. Adhered my ornament to the front folded cut out.


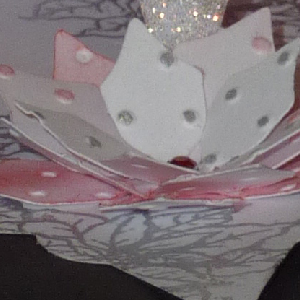
Die cut the two smallest of the Poinsettia (Spellbinders "Layered Poinsettia") from white cardstock, embossed with the Cuttlebug "Swiss Dots" embossing folder, sponged the red on the reverse side of the bottom layer and hit the high points  on the right side of the next layer. Used a silver gel pen and colored the dots on the top layer. Adhered them together and added a small red rhinestone. Adhered to card floor as my stopper.

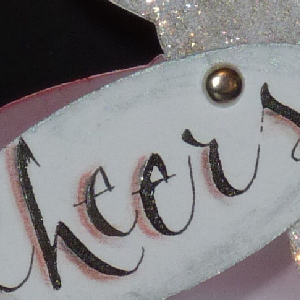
Die cut a small oval (Spellbinders), wrote in my word using a Nikko G nib and Sumi ink. When dry, shadowed with a bit of red colored pencil and then an HB pencil and a paper stump. Used a Silver leafing pen to edge the oval. Attached to card with a small silver brad.
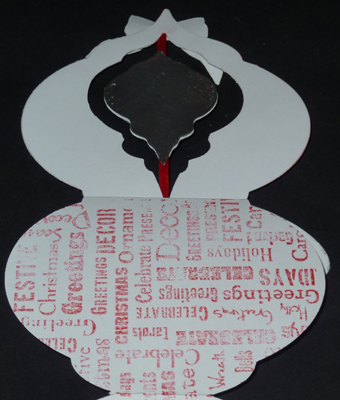
Back view of text that peeks through opening

Inside

Please use your back button for previous pages or should you wish to go to the Misc Challenges 2011 Gallery please click on

or to go to the previous Misc Challenges Card Gallery click HERE

or  And More Gallery for hand made greeting cards please click the link below.

More Cards Gallery


Home Page Index
(text only)
Glass
Gallery
"And More"
Gallery