ID: MC Jan 11 - Much Love HB card
7"w x 5"h

Created: January 16, 2011
Modified:

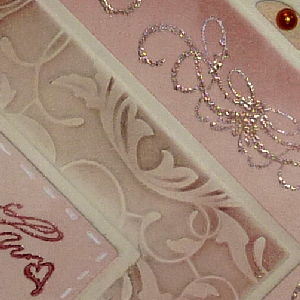
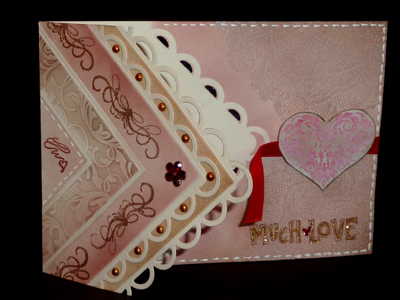
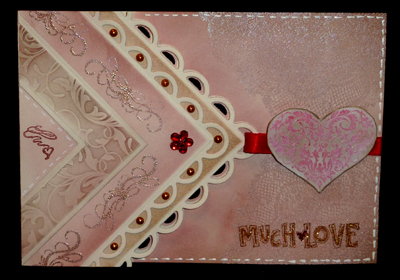
I got some online tips on using my Spellbinders dies and wanted to try it out. I think it worked out fabulously... One technique was weaving a piece of cardstock through the die which is how I cut the scalloped edge using the Lacey Squares #5 die (#S4-295). The other technique was die cutting and using the Impressibilites embossing dies without getting any decorative embossing on the embossed edge.

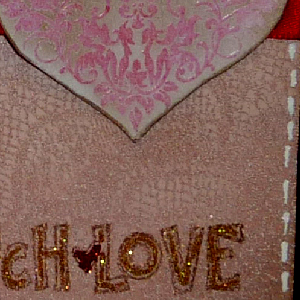
The flourished heart and the flourish border are both by Quietfire Design.

So to do the weaving technique I cut my cream toned cardstock the width of the diagonal opening on the largest die which is approx 5" and used the length of my cardstock which is 8.5". I slipped the cardstock through the die so that one part hid the die and one part of my cardstock was under the die. I made sure the inner corners were equal so my center scallop would fall at the right spot. Ran it through my machine and then again embossing it. Repeated it with a second piece of cream cardstock. Sponged Distress Aged Mahogany on the first piece and Pumic on the second piece. I scored the first one so I had a 7" base card and the fold over was whatever it was - in this case it was 4.5". I cut off the excess of the second one and adhered it on the inside to the first one so the cut edge would land in the scored fold area and not be visible.

I cut another scalloped square and used it as a stencil to color the bottom piece.

The other technique was to die cut and decorative emboss without getting the decorative embossing on the embossed edge of the die cut. Boy that sound convoluted... But you can see what I mean on the detail pic at right. I used the Flourishes Impressabilities #12-1009 stencil.

I Lay the stencil on my magnetic mat, placed my two dies on top (I used the largest and the #3 die (Classic Squares Large #S4-126), making sure a diagonal cut would run through the corners of each square. Ran through my machine, then again with the tan mat.

I then sponged the Pumice all over and touched it with the Mahogany. I really love this look.

Stamped the flourish heart with the Mahogany and clear embossed. Stamped the flourishes with Brilliance Pearlescent Beige and embossed with a home made mix of clear and Queen's Gold.

Added the golden half pearls and the red rhinestone flower. I also reinforced the scallops where the ribbon winds through. Added faux stitching with a Inkssentials white pen.


The Lace on the base of the card is a Donna Salazar Stamp called Lacey Goodness (#DS-1084), which I seem to gravitate to all the time. Stamped with the Beige and embossed with Antiquities "California Stucco".

The heart is from Flourishes (Fanciful Flourishes set #95) and stamped with Brilliance Rocket Red and clear embossed, then cut around the edge, and edged with a Krylon Gold Leafing pen and adhered to the card on the right side only so the ribbon could slip underneath.

Much Love was stamped with Versafine Vintage Sepia. I wrote inside the outline design with a Quickie glue pen and sprinkled Glitter Ritz micro fine glitter Gold and in the heart some red.

On the inside of the card I stamped everything with Aged mahogany "Birthday Wishes" (Cornish Heritage farms "Silhoette Blooms II), "Valentine" (Impression Obsession "Love is All Around" set #CL65), "Hug" (Local King Rubber "Froggie #M07FR001).

The stitching on this part of the card was done with white Enamel Accents.

The black section within the scallops is black micro fine glitter.

Please use your back button for previous pages or should you wish to go to the Misc Challenges 2011 Gallery please click on


or to go to the previous Misc Challenges Card Gallery click HERE

or  And More Gallery for hand made greeting cards please click the link below.

More Cards Gallery


Home Page Index
(text only)
Glass
Gallery
"And More"
Gallery