ID: MC Dec/11 - Star Dies 3D - Joy Peace card
4"w x 8.5"h

Created: December 8, 2011
Modified:

I came across these 3D stars that were decorated with Zentangles and said to myself - WOW. So decided to try them using rubber stamps instead. Really like the look of them. Not great for mailing though...

I'm using a design element (small snowflake) stamp and part of the Textured words Xmas set from Quietfire Design

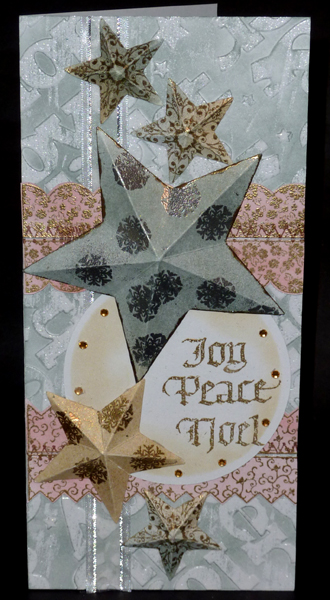
I started by sponging white cardstock with various Distress colors, Iced Spruce or Antique Linen, and some with an overlapping of color. Misted with Perfect Pearls "Perfect Pearls" or "Sunflower Sparkle", dried, then cut out with the Star die set (Spellbinders). Stamped designs on all the stars, some with the small snowflake and embossed with either silver or gold embossing powder. On the large star, inked the edges of the star and 
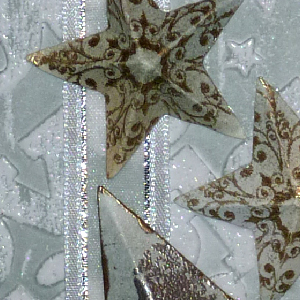
embossed with the silver. On the very small stars stamped with a flourished snowflake (Inkadinkado) and embossed with the gold.  
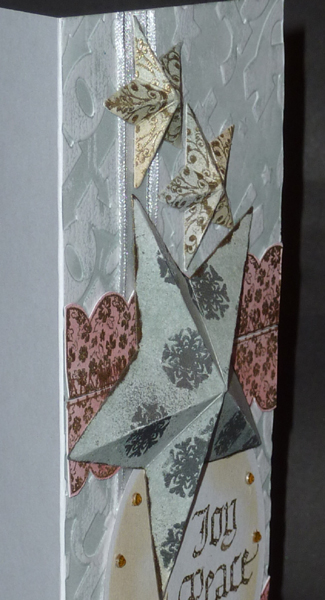
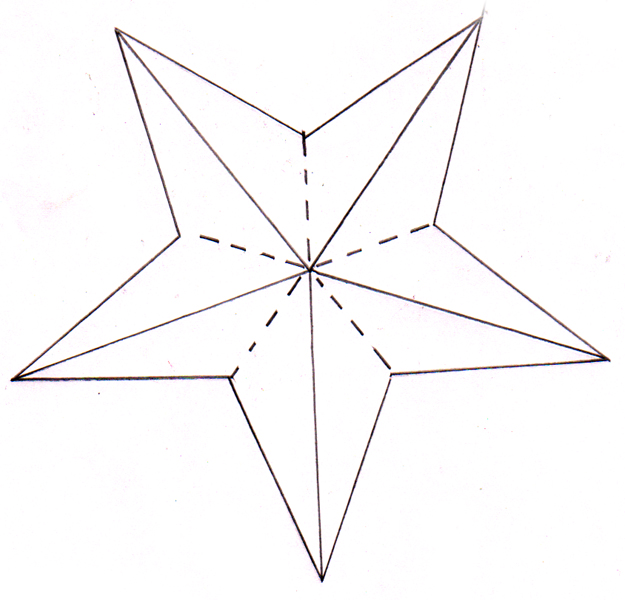
Using my Recollections trimmer with the scoring blade, scored all my lines from the tip of a star point to it's opposite edge (see diagram below). I then burnished the score line  of the star points with my fingers. Then pressed two star points together to create a valley fold of the score line between them. Did this for all star points. At the end you have a star that is 3 dimensional and can be very 3D or flatter.

Cut a piece of white cardstock the height of my card and a little wider than needed. This is the first time I've done this technique, but will do it again. Since the embossing folder (Cuttlebug "Joy & Cheer" #37-1900) I'm using is way smaller than my 8.5" height and it's text word, which can't be turned around etc, I had a dilemma... So lay the folder at odd angles each time and embossed that way. Looks neat. I then hit the high points witha Perfect medium pad and clear embossed. Sponged Iced Spruce. adhered this to my tall side folded white card. Trimmed off the overhang. Adhered a vertical white gauze/gold thread ribbon on the left side.

Side view

Stamped some lace borders (Flourishes "Country Charm Borders" set #154) using the Antique Linen pad and gold embossing them, then cutting them out. Sponged some Festive Berries very lightly (appears pinky). Adhered them to card, straight edge to straight edge. Then with a faux stitching stamp (Stamper's Anonymous "Spring Sprung") and Vintage Sepia stamp pad, stitched the two edges together.

Die cut a circle (Spellbinders), sponged some Antique Linen around the edges, stamped the words with the same pad and embossed with the gold. Adhered to card, then adhered the stars with Glossy Accents. Added small amber rhinestones.


Score from star point to opposite edge along solid & dashed line. Hand crease fold line along solid lines only. bring two star points together along creased fold lines, which pushes the dashed line to become a valley fold. Repeat on all star points.

Please use your back button for previous pages or should you wish to go to the Misc Challenges 2011 Gallery please click on

or to go to the previous Misc Challenges Card Gallery click HERE

or  And More Gallery for hand made greeting cards please click the link below.

More Cards Gallery


Home Page Index
(text only)
Glass
Gallery
"And More"
Gallery