Cover
ID: Flip Flop Happy Birthday Card
6"w x 6"h
Created: August 14, 2009
Modified:
I found the instructions for this card on the Club Scrap website where Tricia gave a wonderful tutorial video. I've never seen it before and it can be tricky to open. Probably needs instructions to the receiver... BIG GRIN
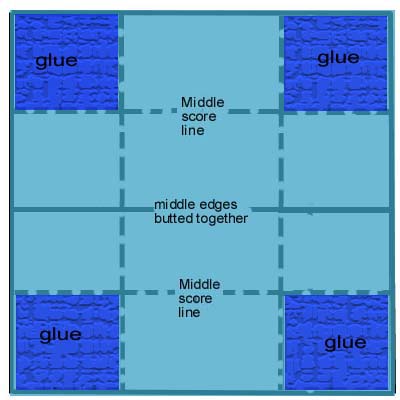
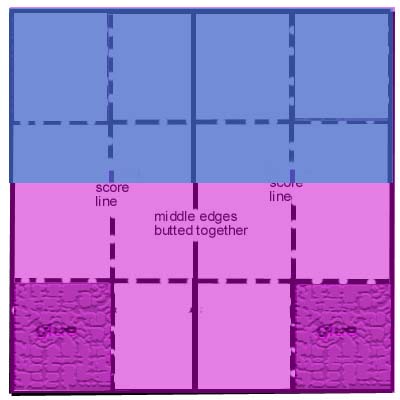
It uses 4 pieces of 3" x 6" pieces of cardstock and they are adhered at four corners. That's it.
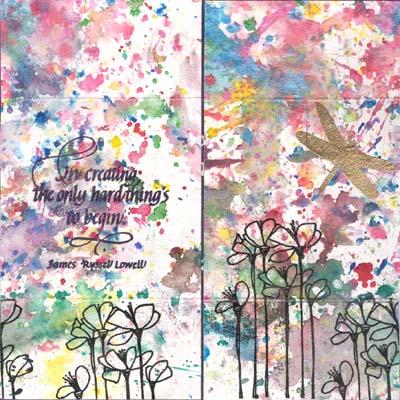
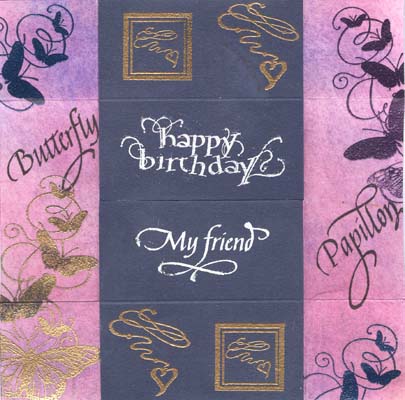
So this is the front. I used a
spattered background I did ages ago on 90# HP watercolor paper, using
pearlescent inks, watercolors
& FW acrylic inks. I rubber stamped the quote (Quietfire
Design) with Versafine stamp pad and clear embossed. The flowers (Old
Island #727D) are repeatedly stamped on the bottom edge using Perfect Medium and
detail black stamp pad. The Dragonfly (also a QF stamp) was done with gold
embossing powder.
Now to get to the next page you need to open the card in the center and flip the pages totally to the back. If you look carefully at the 2nd page below, you'll see several fold lines. That's where everything flips up and over etc.
The "Happy Birthday" & "My Friend" are both QF stamps embossed with white detail embossing powder. The butterflies (Stamp-it set #SISET 010) and word stamps (QF stanps) were embossed with either blue sapphire or Amethyst and a bit of gold embossing powder. The Hearts both in a square and free (QF Stamps) were embossed with gold. Note the back of the watercolor paper from above was first colored with pan Pastels to give a nice tint to the paper and also helps remove the static from the paper.
OK, now to get to page 3, flip the blue cardstock. The "happy birthday" goes up and the "my friend" goes down.
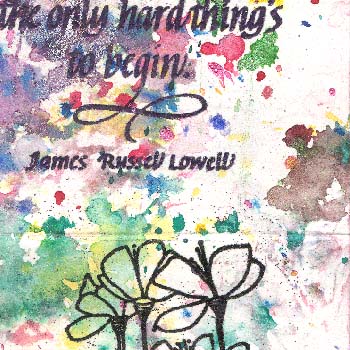
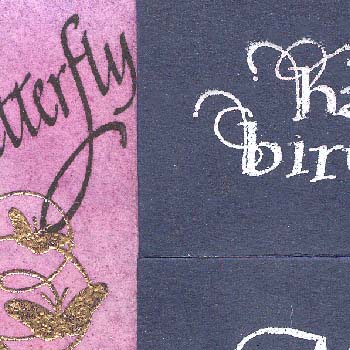
Cover Detail
Page 2
Page 2 detail
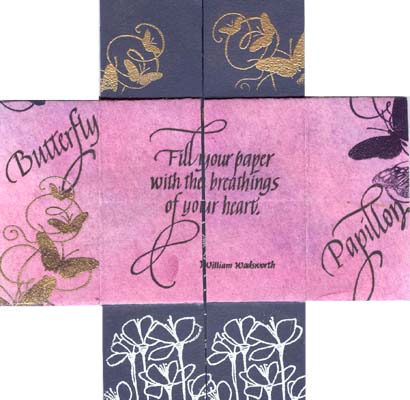
Page 3
So I rubber stamped the quote (QF stamps) with Versafine Black Onyx.
The flowers were embossed with the white embossing powder.
And now we're coming to the last page
Flip the purple
toned flaps totally to the right and left.
And I thought this was a very appropriate quote for this page, since when it flips, it becomes the first page again.
Quote (QF stamp) gold embossed. Floral sprig (Stamp Barn #CFLR 024M) white embossed.
To get back to the first page, flip the quote to the top and the floral sprig to the bottom.
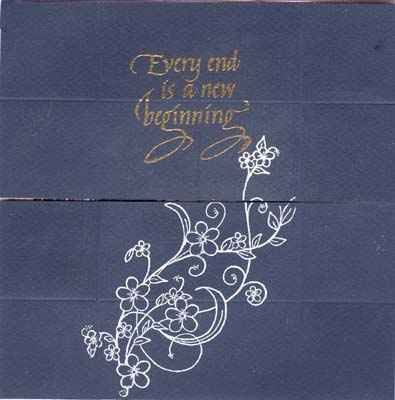
Page 4