ID: Double Loop Fork Bow
 

Created: December 4, 2014

Modified:

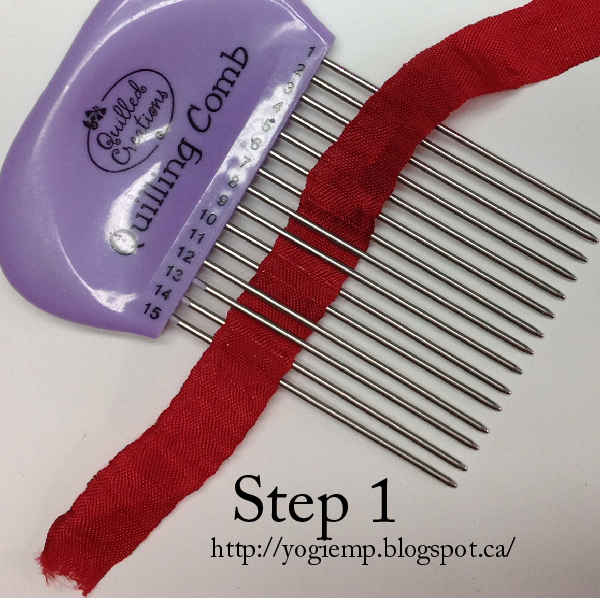
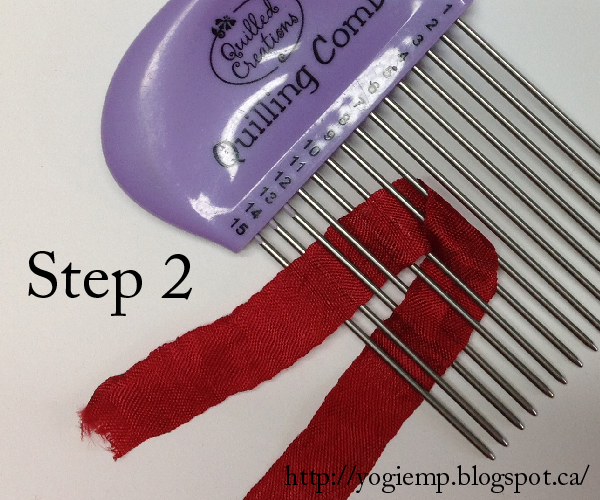
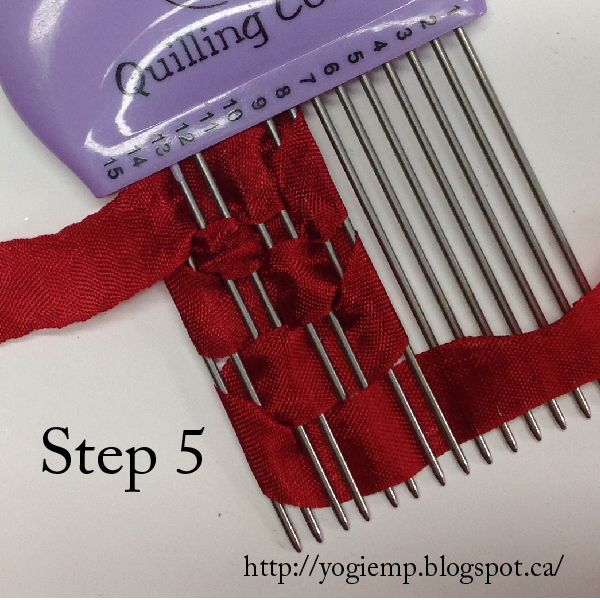
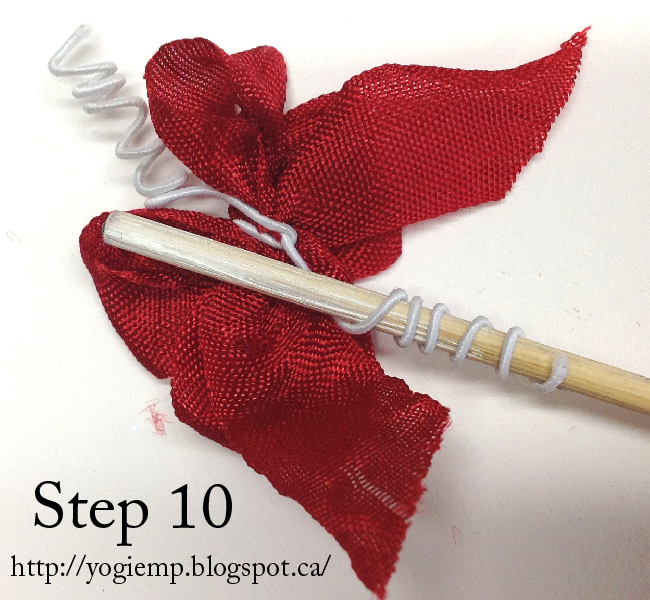
At one of our recent quilling get together, one of the ladies taught us how to do fork bows... When using a fork, the ribbon should be very narrow. So I decided to use my quilling comb and that way I could use various widths of ribbon, just by adjusting how many prongs I weave over... plus I don't have to keep a fork on my desk ROFL.

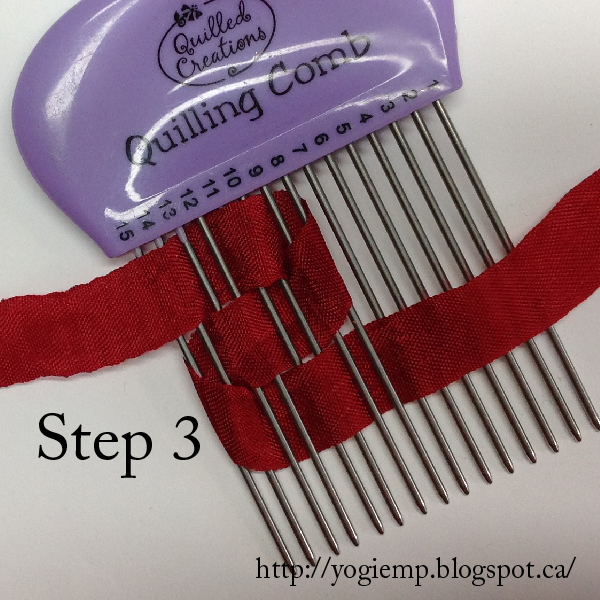
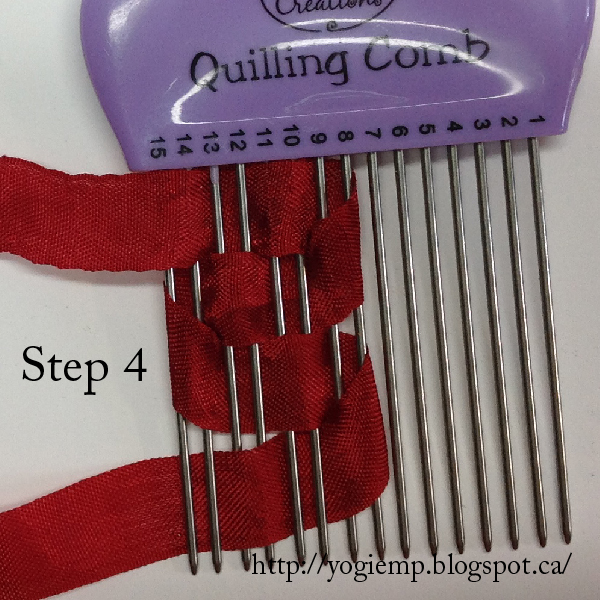
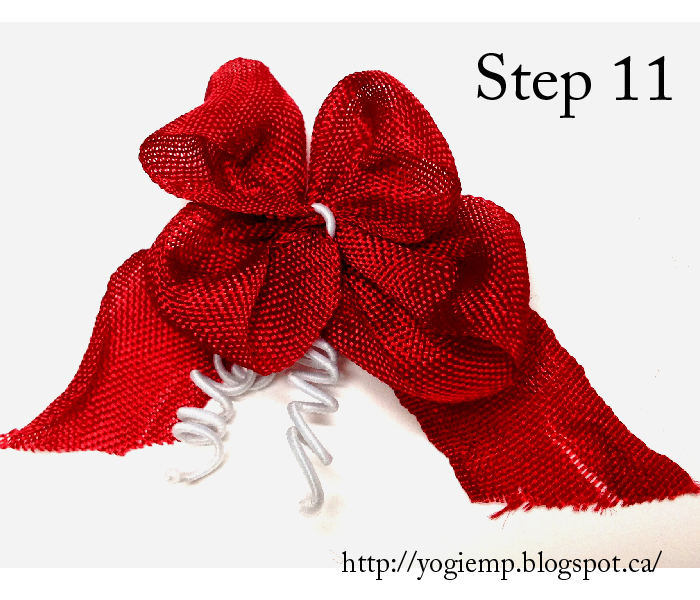
If you want to maker larger loops, then go over 3 or 4 prongs at a time. If you want to make 3 loop bow, then added 2 extra rows of weaving... Have fun.

Step 1: starting the ribbon on the left side and weaving over every second prong for a total of 8 prongs.

Step 2: Weave back towards the starting point.


Step 3: continue weaving to the 8th prong

Step 4: Continue the weave back towards the starting point.


Step 5: the last weave and should end on the opposite side of starting point.


Step 6: we were shown using a small 4" piece of ribbon to tie around our bow, but I decided to use wire thread from Prima (can use floral wire or something similar.). Slip the wire at the top between the 4th & 5th prong and the other end at the bottom between the same 2 prongs. This is the mid point


Step 7: wrap and twist the wire as tightly as you can so it holds the loops securely.

Step 8: remove from quilling tool.


Step 9: Use a bamboo skewer or something similarly as thin to create a coil, then remove from skewer.

Step 10: repeat curling the other end and remove from skewer.


Step 11: bring the curls towards the bottom of bow. Decoratively cut off ribbon ends. Glue to project.


Return to Crafts Gallery or to Glitter Gallery or  to  NittyGritty  Gallery


Home Page Index
(text only)
Glass
Gallery
"And More"
Gallery