ID: Aluminum Metal covered
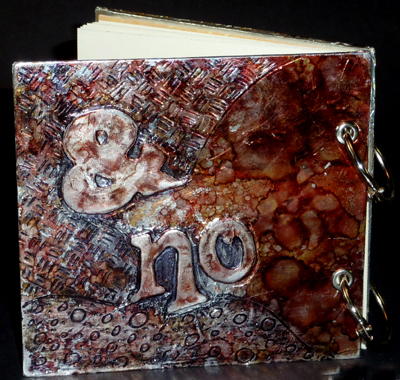
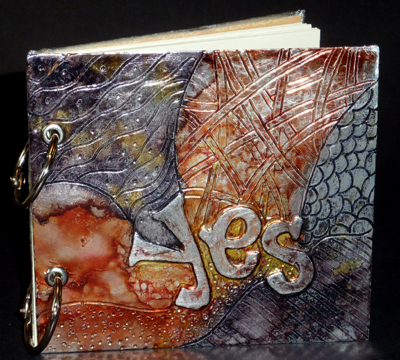
Journal Covers - Yes & No
closed: 4.5"w x 4"h
Created: March 22, 2011
Modified:
For this journal I used a very cheap aluminum foil (No Name Brand from Superstore). It's very very thin.
|
|
ID: Aluminum Metal covered
Journal Covers - Yes & No
Created: March 22, 2011 For this journal I used a very cheap aluminum foil (No Name Brand from Superstore). It's very very thin. |
|
I die cut the letters to spell "yes" on the front and "& no" on the back from white cardstock - double layer, gluing one letter on top of the other and then onto the pre-cut mat board. The letters are a Sizzix "Fun Serif" lowercase set of dies. I put a thin coat of Golden's Soft Gel medium over the whole surface, making sure not to have globs anywhere, and making sure my surface was still wet when I lay down my aluminum foil. I then rubbed with my fingertips to get in to all the recesses and burnish to adhere the aluminum to the mat board. When I was happy with the adhesion, I turned the cover over, trimmed the corners and excess aluminum, as you would for a book cover, and adhered ones side at a time with the Gel Medium, burnishing well. Turned the cover over again to the front and with a BIG balled stylus, started to gently work the aluminum into the crevices of the letters, increasing pressure as I worked the letters. When all letters were done, I used a slightly smaller balled stylus and doodled my designs. You can also write words or draw designs etc. Also try to keep some areas free of designs. |
|
|
|
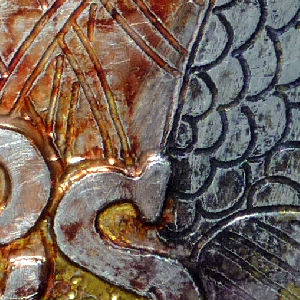
For the front cover, I did something I don't
usually do and that's pounce my alcohol inks (Butterscotch,
Watermelon, Espresso & blender solution) all over first, then
used a large Sharpie marker all over the the designs to get the
black ink in the grooves. Wiped of the excess black ink and
noticed a lot of my color was going away too... so re-pounced my
alcohol inks lightly, because my black lines were disappearing
now... and ended up having the black ink merge with the colored
inks. I really like the effect that had. But I'm sure if I tried
again, it wouldn't work - it was serendipitous. I then sanded the high points of some of the designs and the letters to add contrast. I then put on a generous coat of Dorland's Wax and buffed well with a paper towel. |
|
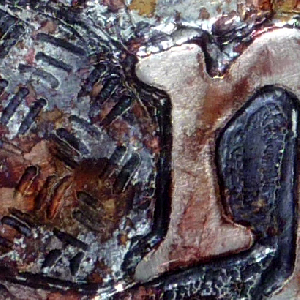
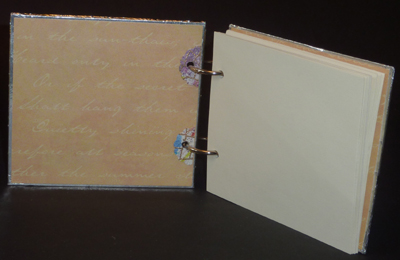
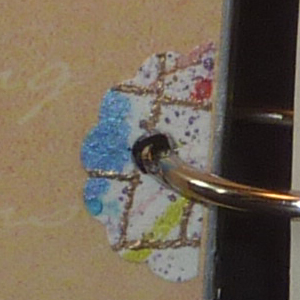
The back was done the same way, although I put my black Sharpie first, cleaned up the excess and then pounced my alcohol inks. Covered the inside of the covers with a scrapbook paper, adhering it with some double sided tape along the edges and glue stick in the middle section. Punched my holes with my Big Bite Crop-a-Dial. Inserted large 1/4" silver eyelets. Didn't like the way they rounded on the inside, so covered them with a portion of a punched out scalloped circle (EK Success) from some misc decorative paper I had on hand, and used my regular Crop-a-Dial to punch out the smaller circle. Adhered it with some white glue. Held everything together with 2 silver binder rings
|
|
|
|
 |
Return to Alum Metal Booklet Gallery or to NittyGritty Gallery
| Home |
Page
Index (text only) |
Glass Gallery |
"And
More" Gallery |