>

Christine Ahmad Workshop
"Words & Delicious" & "Collage Lettering"

Created: May 7, 2010
Modified:

I took another class with Christine Ahmad (actually two classes in one day on May 1st). In the first class we made this booklet which just has a pamphlet stitch binding. For both classes we used the same lettering that I taught last year - a version of Rennie MacKintosh and a basic monoline that you can add boxes to for decorating.

 I sponged various colors of Distress stamp pads over my heavy weight cardstock cover. Spritzed with water and dried. I then sponged more of the same colors through a 6 x 6 stencil (Crafter's Workshop "Kasbah"). I glued down some Angelina fibers. Cut my oval with a template I had made using my Spellbinder's oval die set. I had also die cut the corners (Sizzlets "Architectural Accents") from some black cardstock which I then painted with Eberhard Faber Twin Color "Green/Bronze". Love these colors which come in a wide range and are very similar to Lumieres, but I like these better.


Cover with 2nd page hidden.

I penciled in my oval on the following page, then drew my letters and colored them in with prisma Colors and blending with a white and a Lyra Splender  Blender. Added a couple touches of micro fine glitter, and left one area just black & white (used the Kasbah stencil and a micron pen to put in the desgin)


Again I sponged Distress colors over my text weight paper and sponged through another 6 x 6 stencil "Flower Shower". I absolutely love using stencils. I then wrote in my word with a Micron pen "Blues", which as you can see are the colors I used in the background. Then I added the words "Sing me the" (that just popped into my head). Filled in the letters with doodling and used both watercolor pencils and plain colored pencils, moving the watercolors around with Iridescent medium.


The last page I did was one on a piece of music sheet and I wrote the word "Sing" coloring in the design with my Prisma colors. The dot on the "i" is done with a Quickie Glue Pen and transfer faux gold metal leaf.

I thought I was rather productive for only a 3 hour class.
 

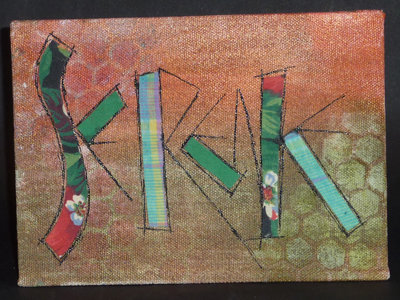
The 2nd class was to do a type of collaging on canvas and then enhancing the lettering. I made my canvas boards from Book Board, covered it with a medium weight unprimed canvas using Golden's soft gel medium, let dry, then put a couple coats of Utrecht gesso. Worked really well and didn't warp. So needless to say, that's the way I'll be making them in the future if I need a canvas...

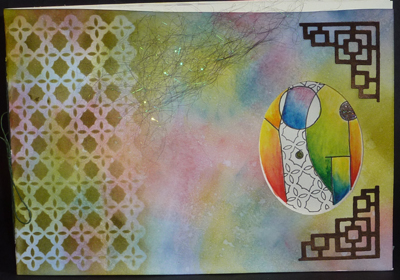
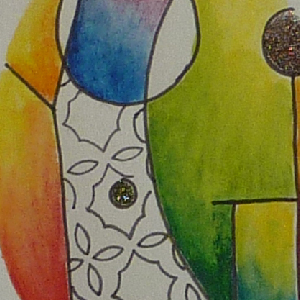
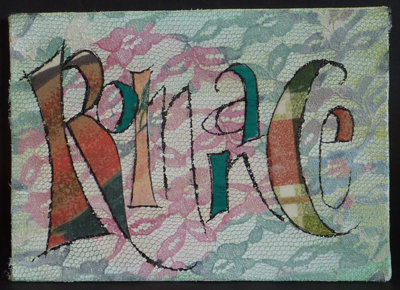
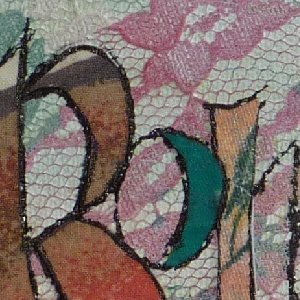
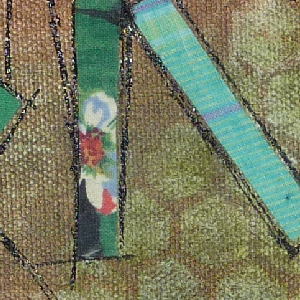
I then put several glazings of greens and drying them. Adhered the lace and gessoed over it with Rheotech gesso (thinner than Utrecht), to mute the strong colors of the lace.

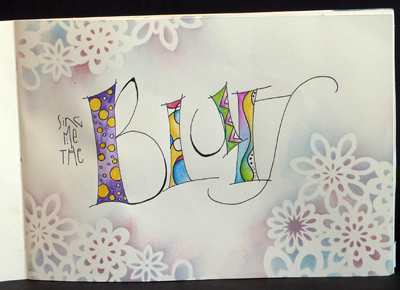
We were told to glue small pieces of fabric to some copy paper using soft gel medium or matte medium. When this was dry, we'd be 
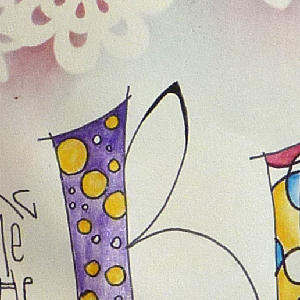
cutting portions of our letters from it. We drew the letters of our word on some scrap paper, then transfered the wide sections to the fabric, cutting out those portions and then adhering them to the canvas. When the adhesive was dry, we then put on our black lines with various tools, like Pitt markers or Sumi inks, or diluted acrylic paint and ruling pens or not so great nibs. Well working on my rough lace was a little challenging...

I also wanted to put pearls and other vintage/Victorian type stuff on it, but haven't gotten around to that yet. One day.

I did a second piece while I was working on the first. I used the Eberhard Twin Colors on this canvas (Green/Bronze & Apricot/Gold) and wiped some off while still wet. I also sponged through a home made Bees Wax design. I used a funky Neuland that I love, although when I did it on paper, the "n" & "e" were further apart, which I didn't like, so I thought I'd put them closer together... I put them a bit too close thought. The position of the "e' makes the "n" look like a "k". c'est la vie. I probably should have put the heavy portion of the "n" on the other side too. But I was just playing.


All in all it was a fun filled day, playing and enjoying friendships.


Please use your computer's back button for previous images Thank You

or click Home for the Calligraphy_Art Gallery


Home Page Index
(text only)
Glass
Gallery
"And More"
Gallery