|
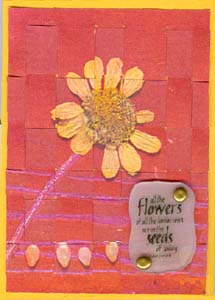
ID: Weave - Daisy - Proverb (unavailable) |
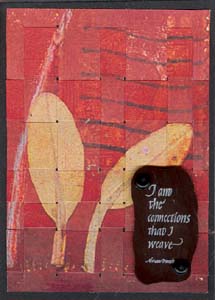
ID: Weave - 2 Leaves - I Weave |
ID: Weave - 3 Leaves - I Weave (unavailable) |
|
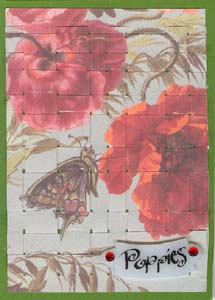
ID: Weave - Poppies BFly (unavailable) |
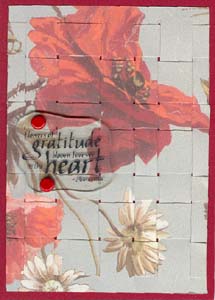
ID: Weave - Poppy Heart (unavailable) |
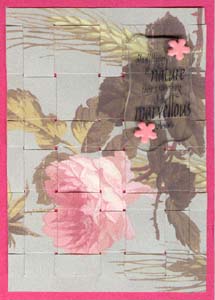
ID: Weave - Rose Aristotle |

|
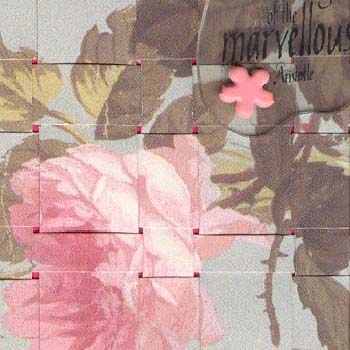
ID: Weave - Rose Aristotle Detail Another trick: when cutting your horizontal strips, don't cut all the way to the edge of your paper. Leave a bit of a border, then when all your strips are cut, Trim that small border away. This helps prevent you loosing the sequence of the strips. It's like a puzzle... |
Instructions: For the ATCs above you will need two sheets of the identical image. Cut one of your sheets to whatever you want as a finished size. In this case it was ATC sized but a little smaller so I could mount it to another cardstock and have a border around it. On your cut sheet you will be cutting vertical lines and from the other you will match the image and cut horizontal strips to weave through the first sheet. There is a trick to this. When you are cutting your vertical lines, you will need to cut an additional sliver from that cut. Do this on each vertical line. Note if you cut the sliver from the top section on the first cut, continue on all cuts this way. The reason you're cutting these slivers is because when weaving the strips, there is always a mismatch and this compensates for it. When all the vertical cuts are made, position your sheet over the second sheet so that the images align perfectly. Using the slits as a guide, mark with a pencil, dots on the top and bottom of a couple of these lines, this will be the boundaries for cutting your horizontal strips. Cut your strips a bit longer than needed so you have some leeway and can trim when everything is woven. When cutting your horizontal strips, you will also need to cut a sliver from them as well. Again always trim from the same section either the top of the strip or the bottom of the strip. Dab with a touch of glue on the ends it needed. Mount onto colorful cardstock |
|
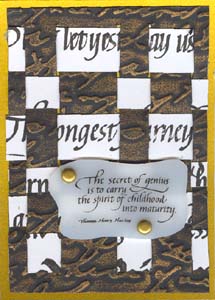
ID: Script Weaving - Huxley |
ID: Script Weaving - Rumi (unvailable) |
|
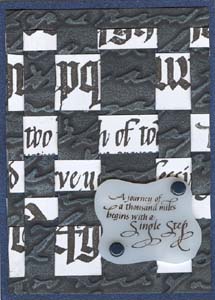
ID: Script Weaving - Single Step (unavailable) |
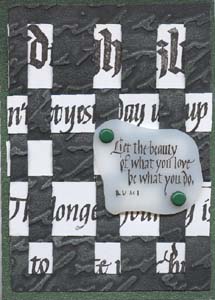
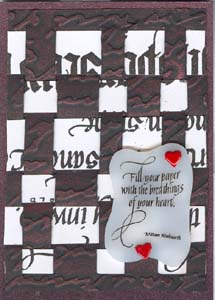
ID: Script Weaving - Wordsworth |
|
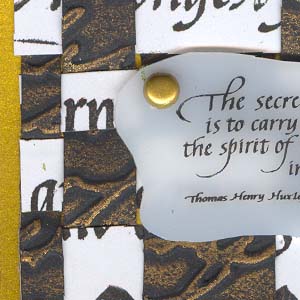
ID: Script Weaving - Huxley Detail |
Instructions: First I cut a piece of black cardstock and ran it through my Cuttlebug using the Script embossing folder. Then using my finger rubbed some Rub On's. I used different colors for each ATC. Then I cut a piece of white cardstock large enough to give me all the strips I would need for my ATCs. I rubber stamped several long single line type quotes (all from Quietfire Design) using a Versafine "Black Onyx" stamp pad. I then cut my strips as needed. These also need a sliver cut both form the vertical cuts and the horizontal strips. I rubber stamped the quotes on various types of Shrink Plastic using various colors of Staz On, punched out the holes with a large hole punch (don't forget it shrinks too), then shrunk it in my dedicated oven. When taking it out of the oven I immediately put it on a melt art mat and lay a piece of heavy glass on top so it would cool totally flat. Attached it to the weaving section only with some brads, then glued the weaving to my main cardstock. Mounted to matching metallic cardstock |
|
|
Please use your computer's back button for previous images Thank You or click on the Home button below to go to the MiscATC Gallery
|
Should you wish to go back to the ATC Gallery please click on the link below.
| Home | Page
Index (text only) |
Glass Gallery |
"And
More" Gallery |